- Created: Primarily April-June 2016
- Materials: Polyurethane Tooling Foam, Cast Aluminum and Bronze
At the beginning of my sophomore year at Stanford I joined the (infamous) Stanford Band, which became the core of my social experience, and unquestionably the highlight of my time there. During my last quarter at Stanford I enrolled in ME318, where we learned how to operate a CNC (computer numerical control) machine. I wanted to create something that would always remind me of that time, and I also wanted to make something I could give to some of my closest friends who helped make the Band the incredible organization it is. These cast embos were the result.
Design

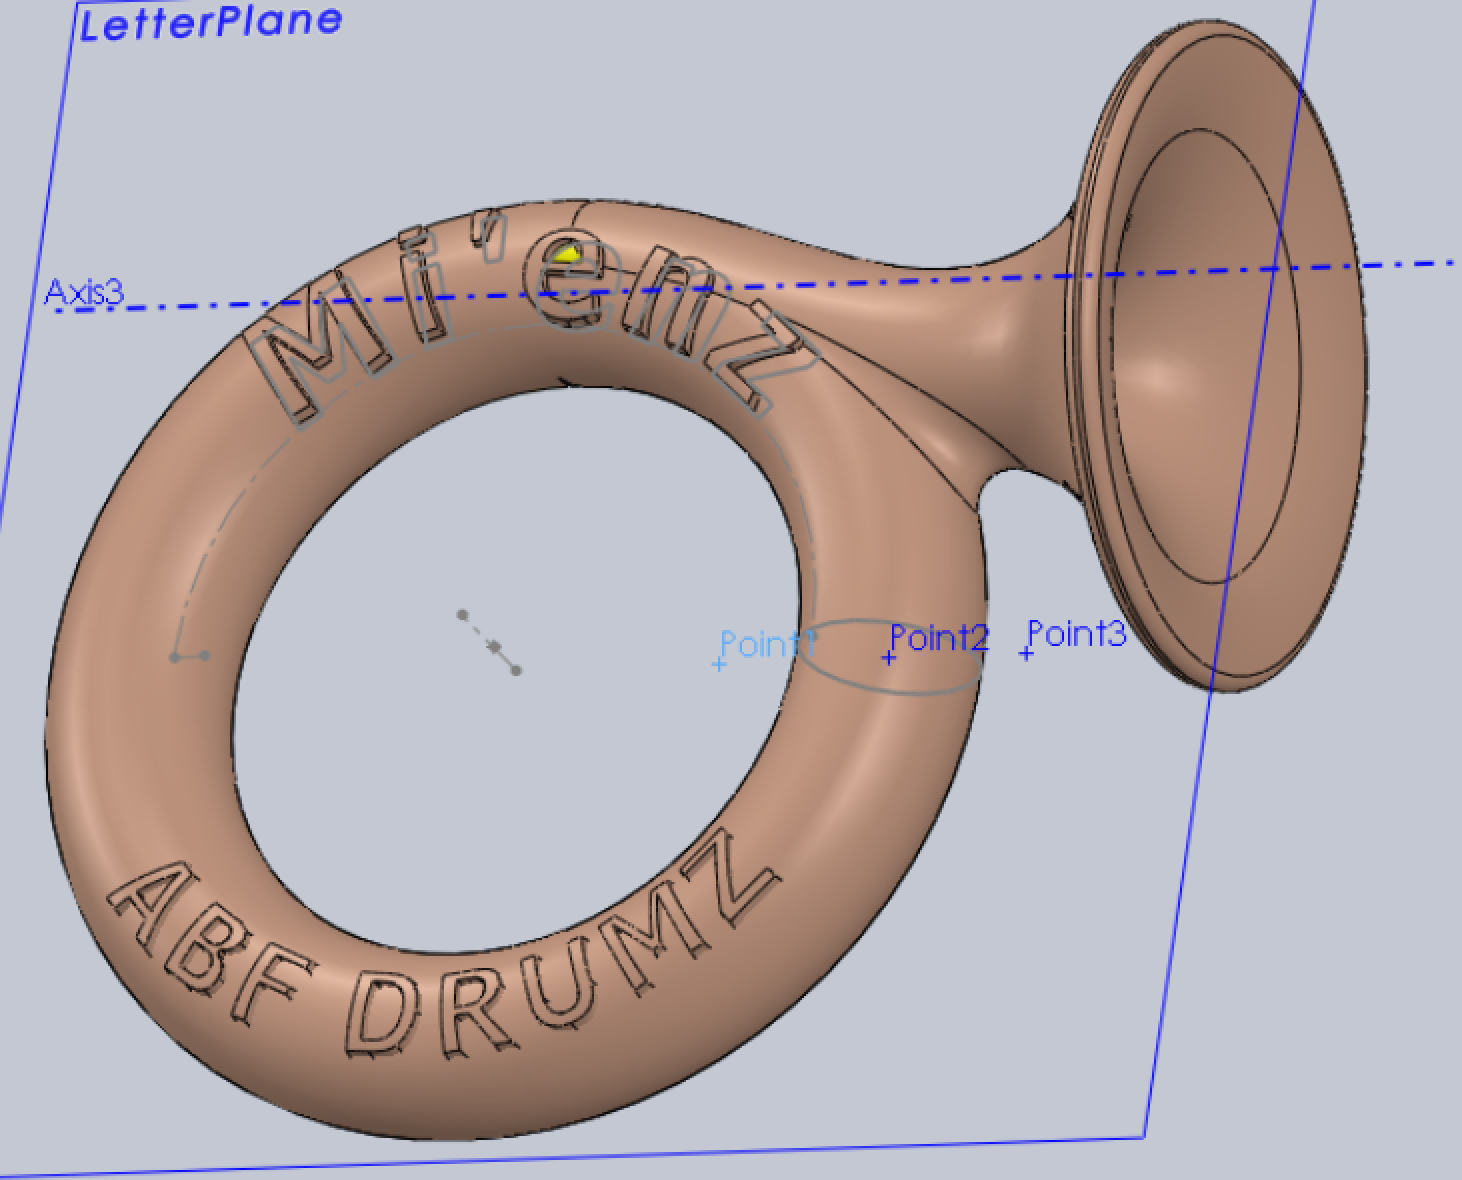
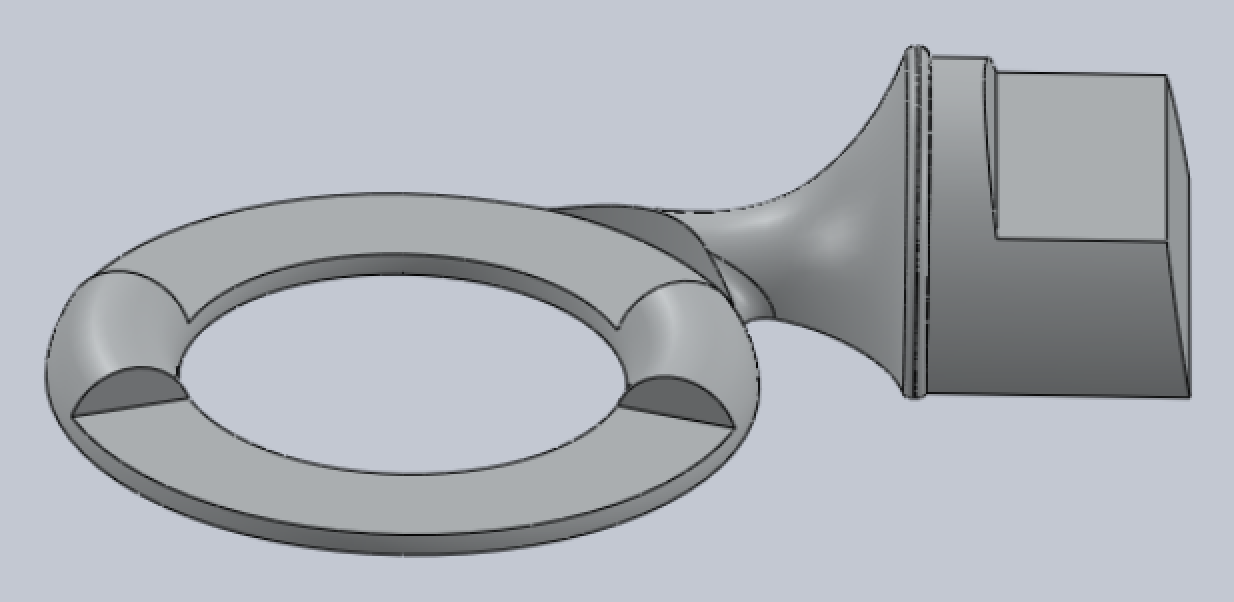
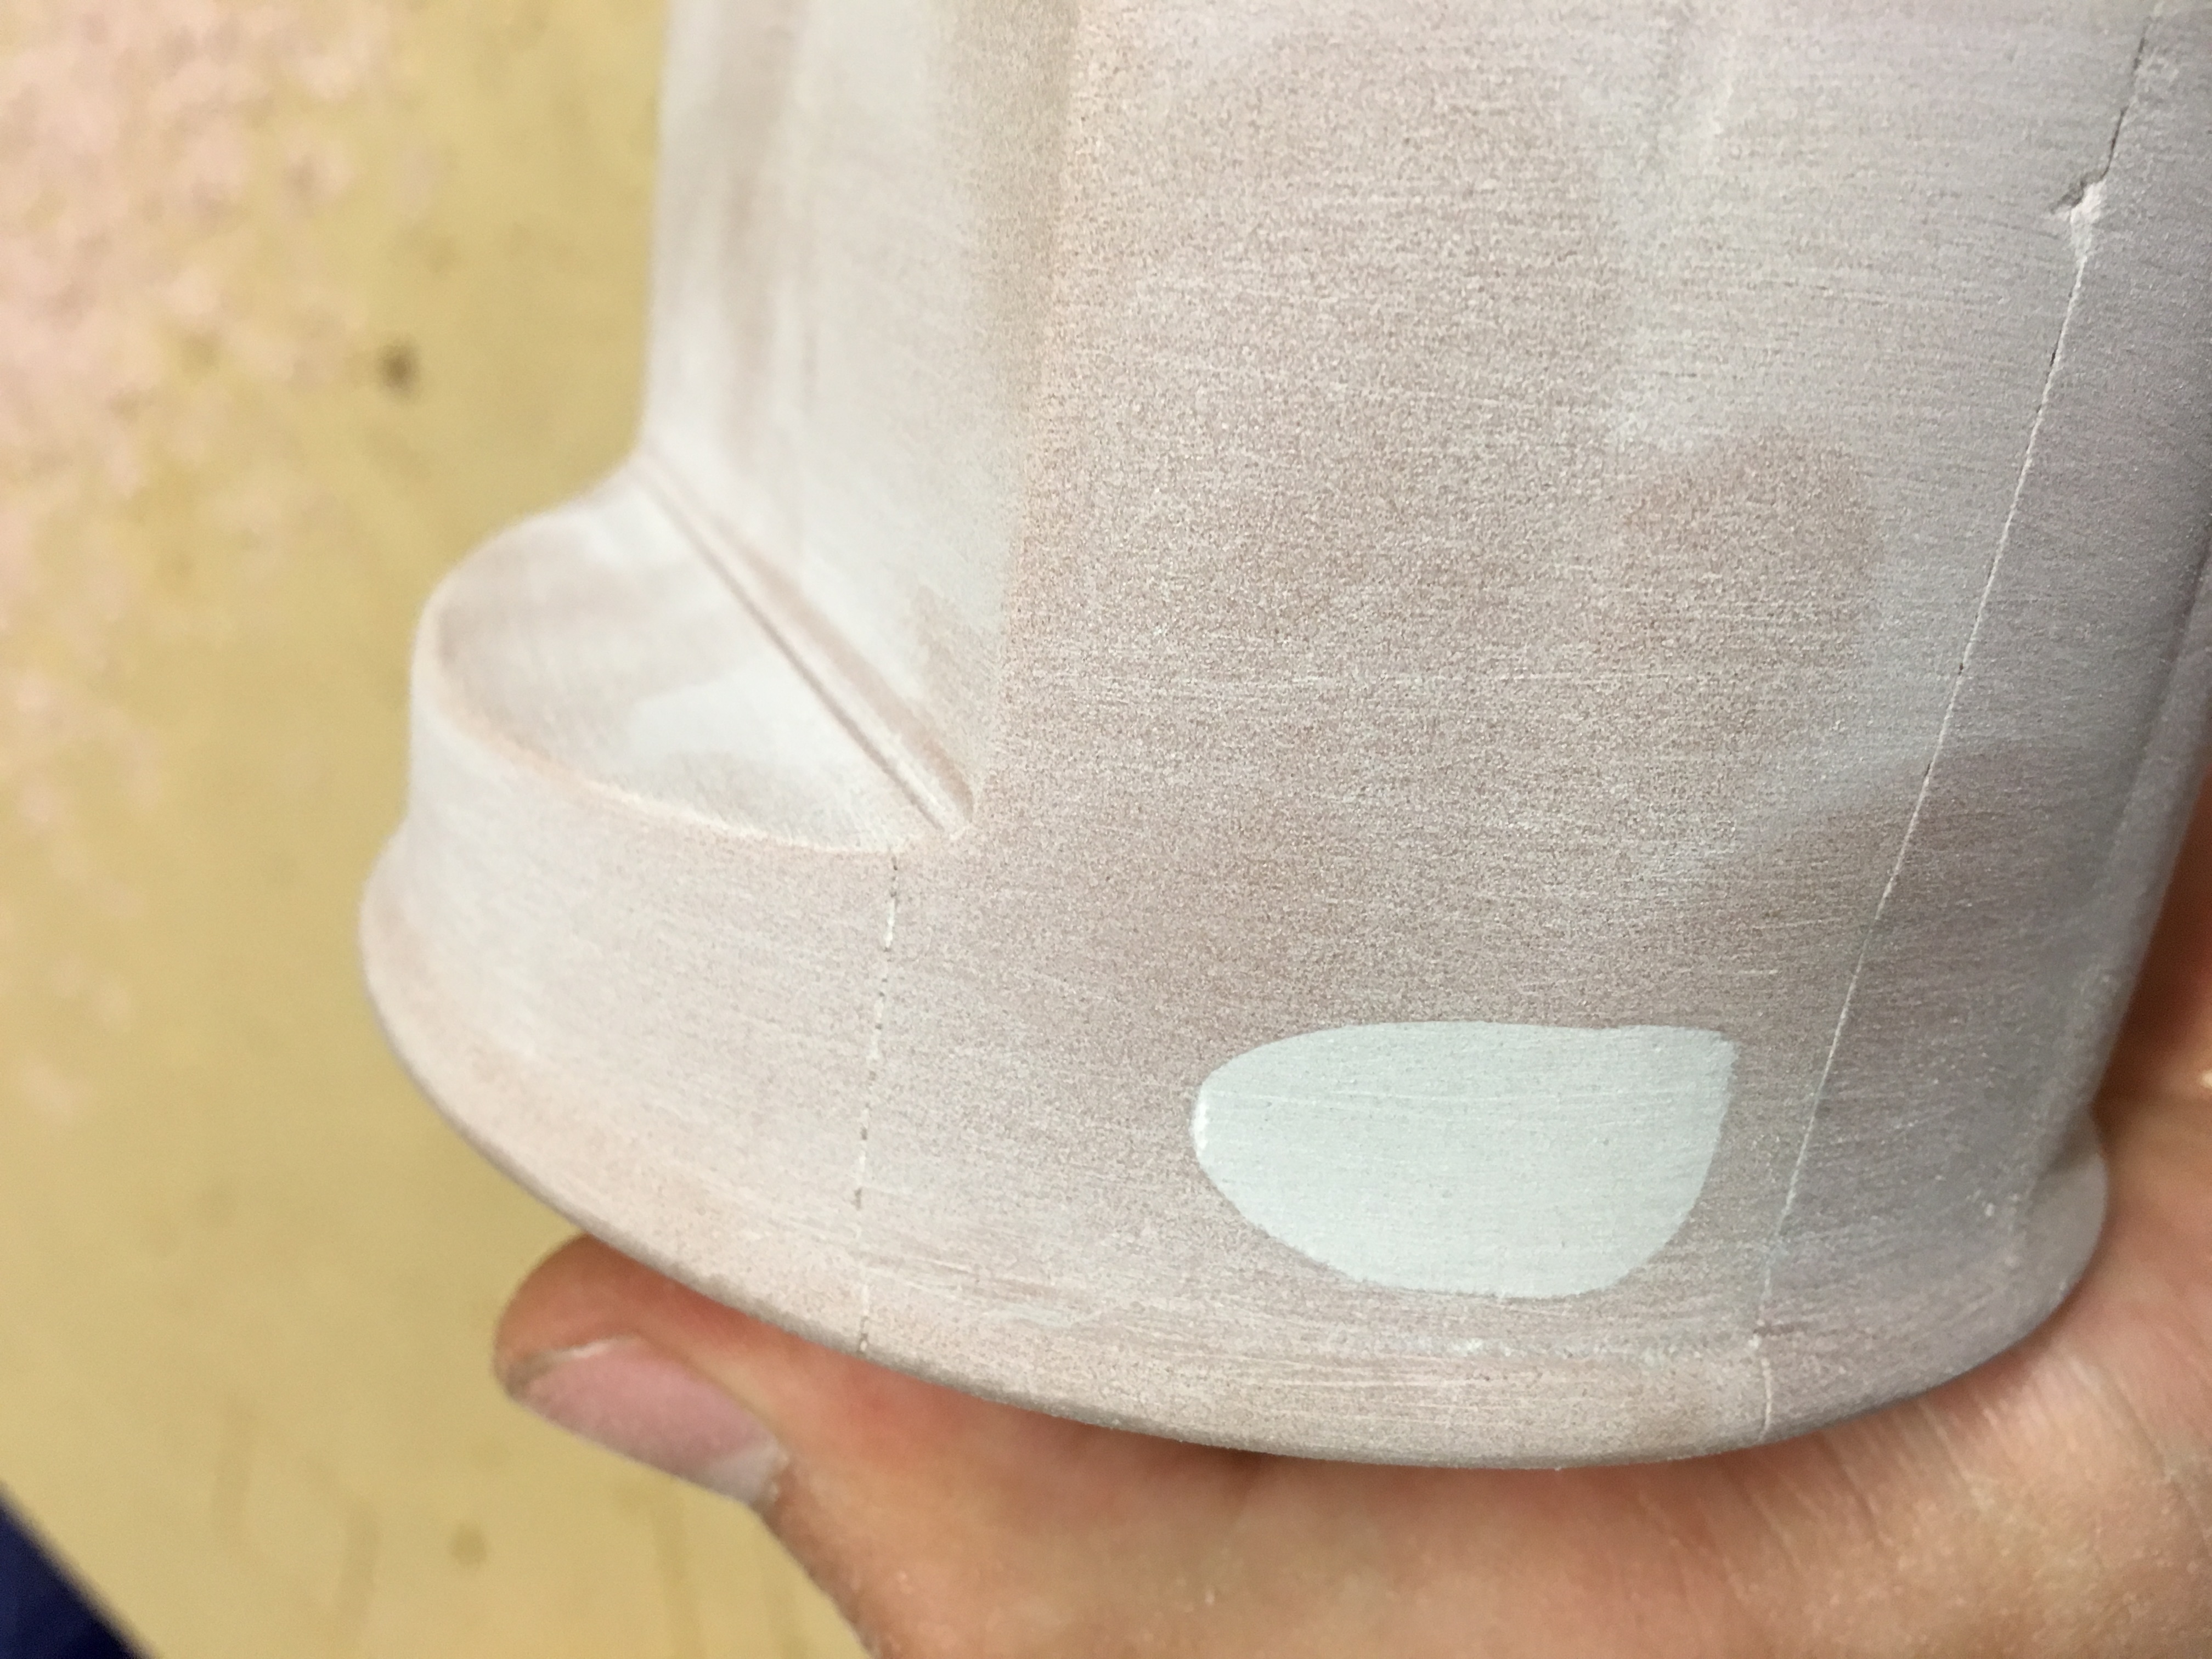
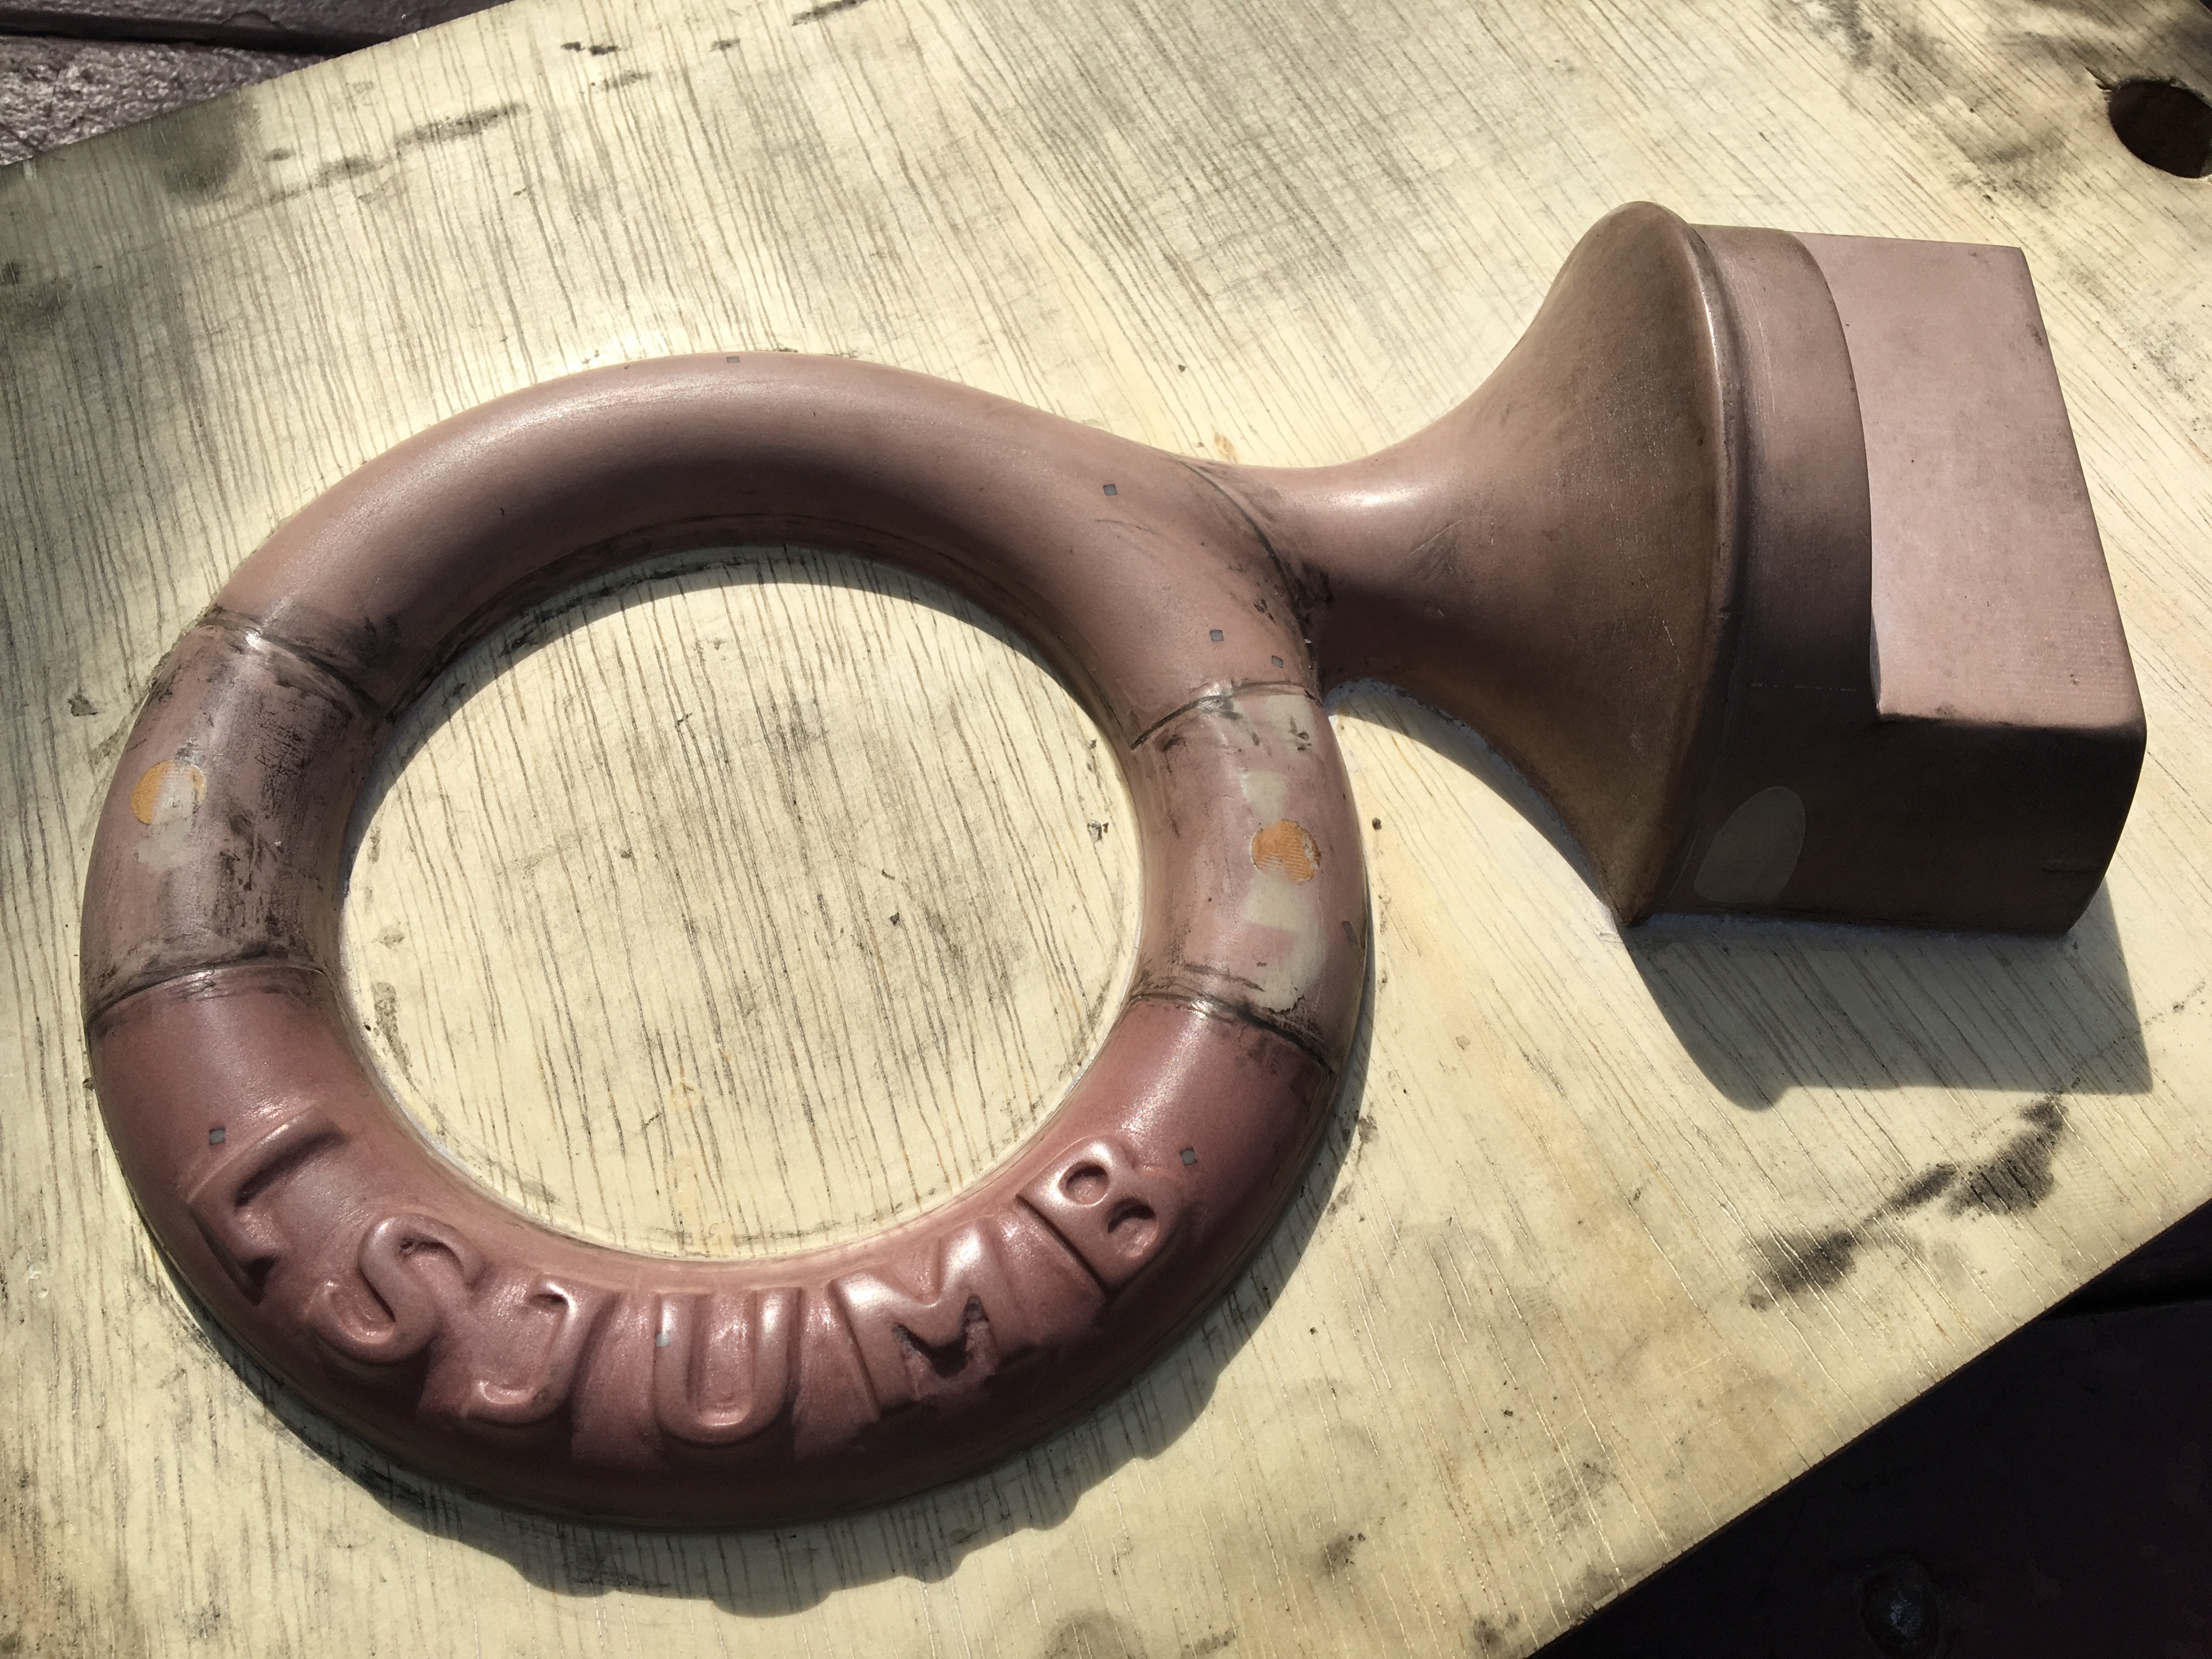
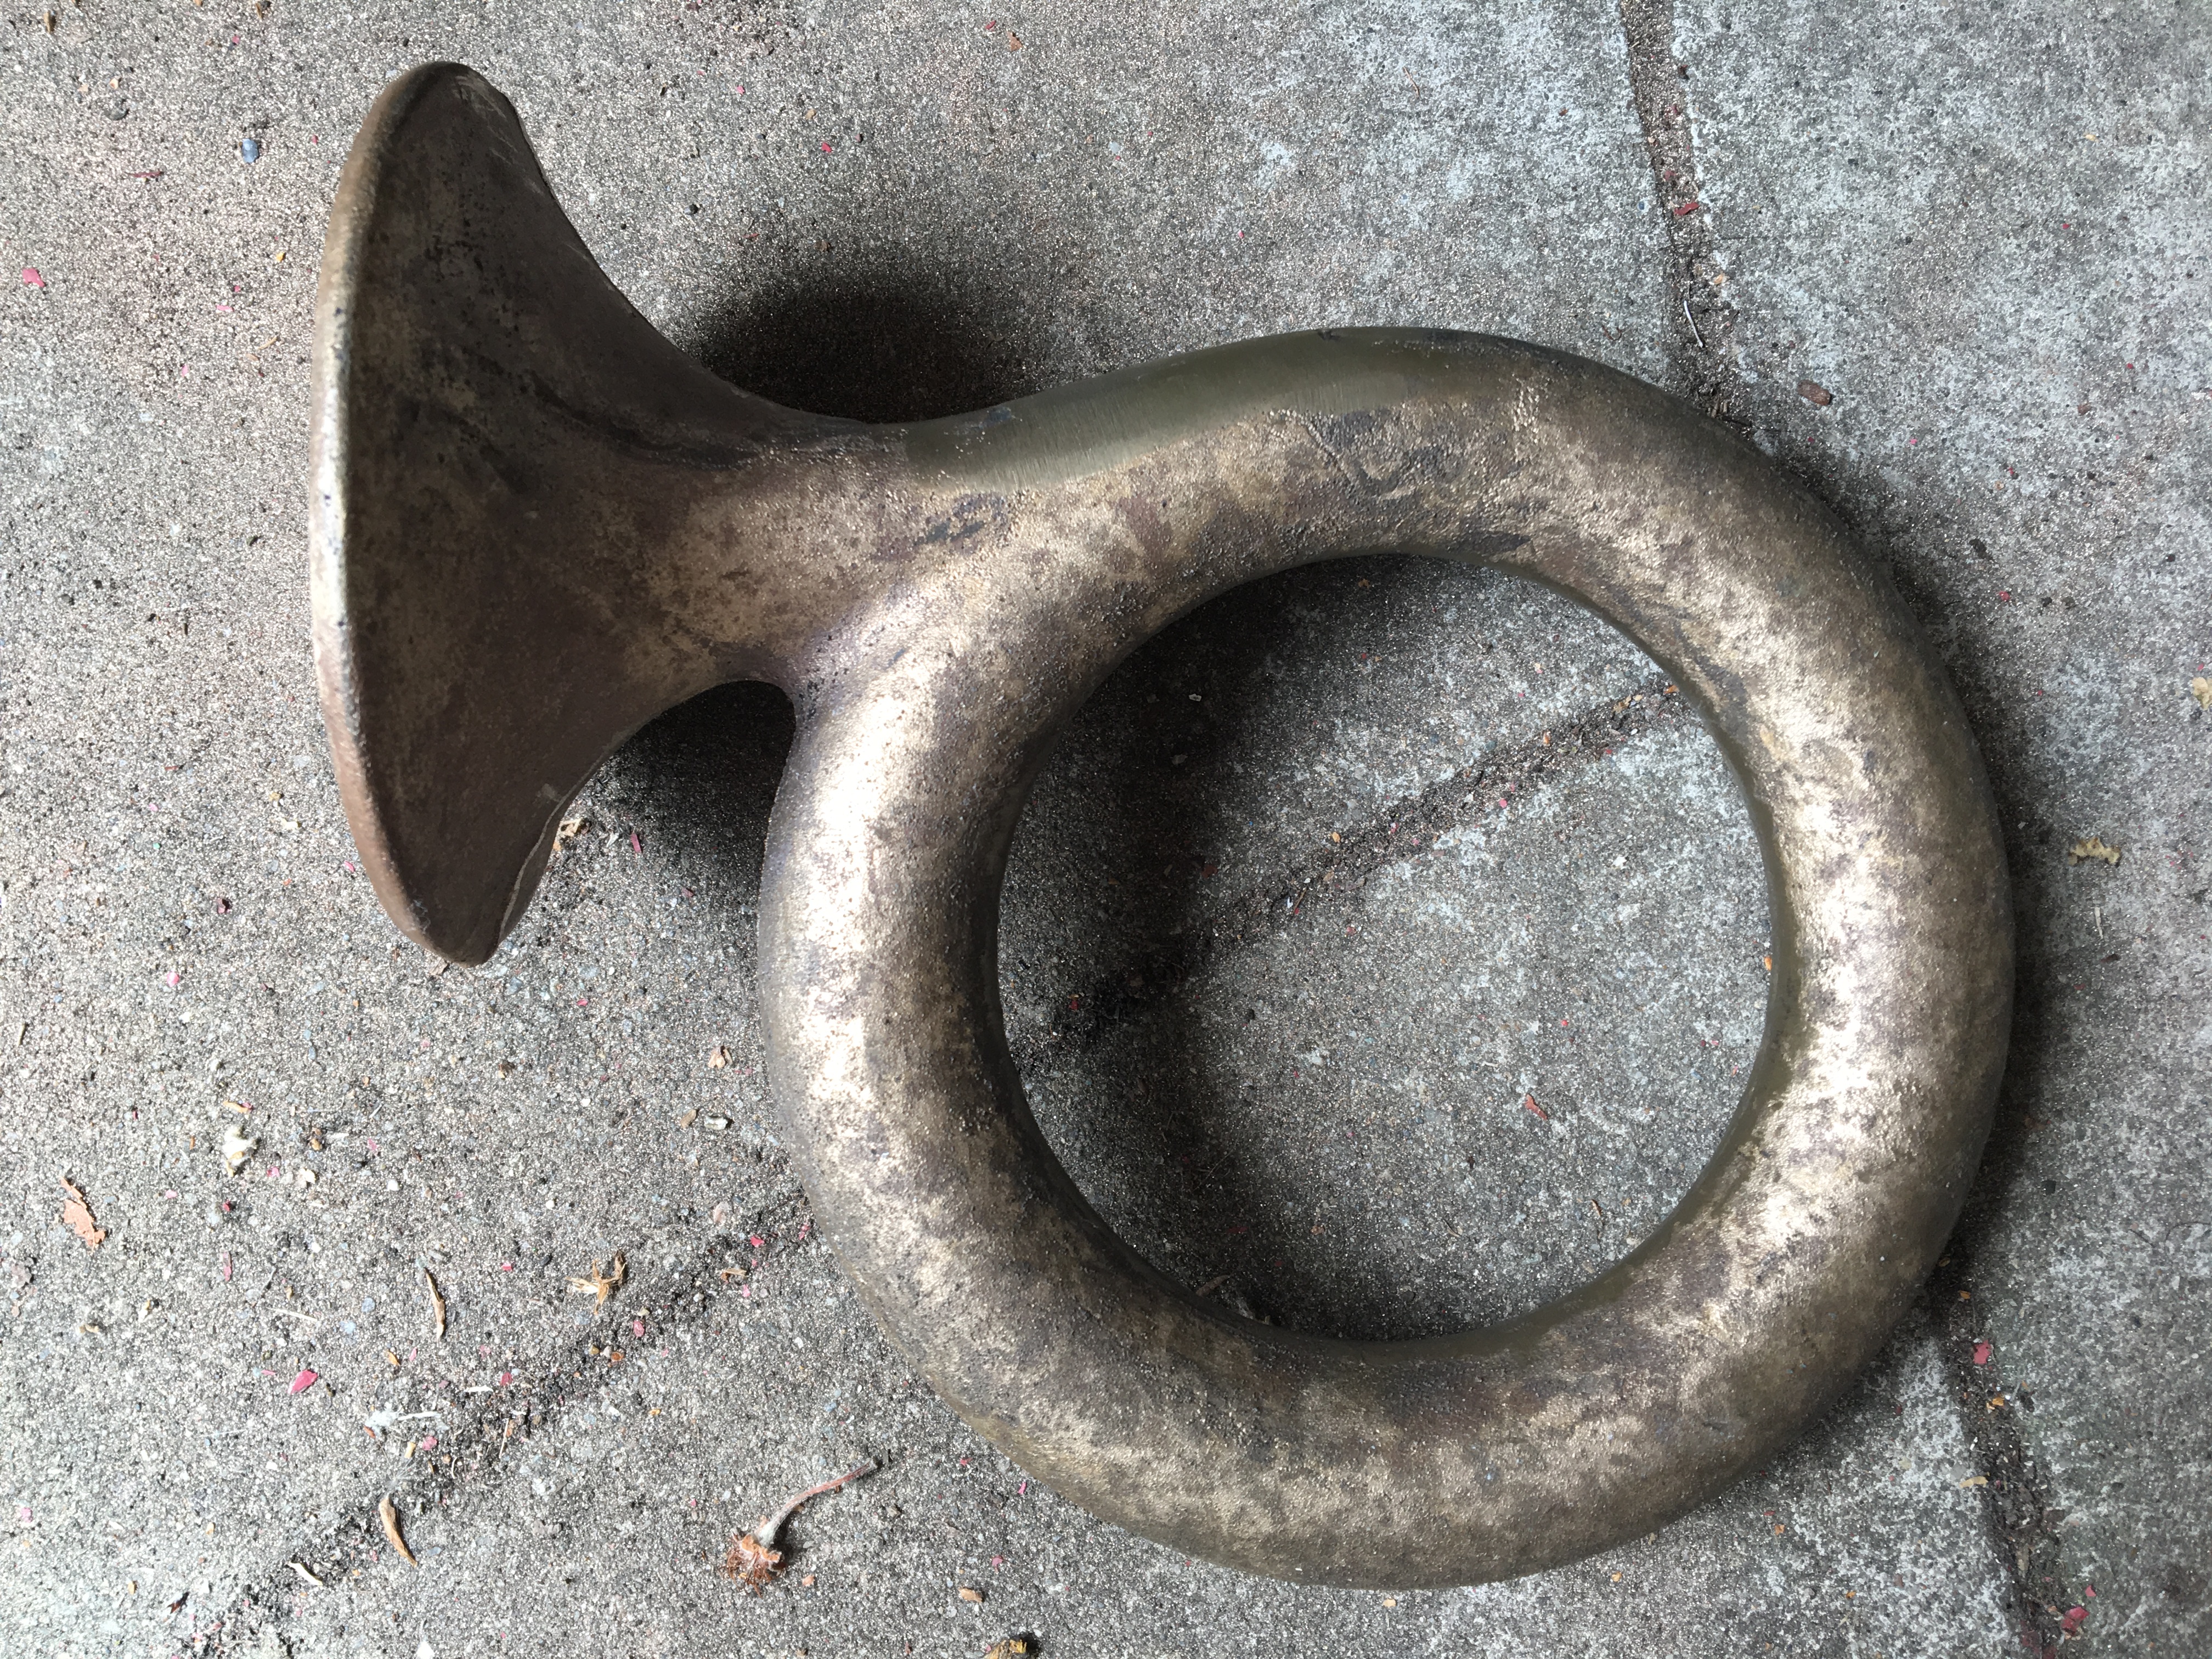
The logo of the Stanford Band is a simple 2D circle with a bell, resembling a French horn without the internal valves or a mouthpiece. I wanted to create a 3D version of this symbol, which I felt would make for a good trophy-style memento.
For personalization I imagined putting people's names on each one along the top of circle, and the role they filled within Band along the bottom. On the bottom of the back I would put the year or years they were active.
Designing this shape in CAD was a fun challenge. Figuring out how to actually make it was an even bigger one.
It quickly became clear that sand casting was the perfect way to create these pieces, but I wasn't sure how I could create the lettering. I considered doing it as a post-processing step: engraving the letters or milling them from an extruded piece of stock, but as a completely novice machinist figuring out to fixture the pieces in the CNC seemed impossible.
I settled on a design with removable and replacable inserts. Machining a small test piece verified that letters could be cut with sufficient clarity.
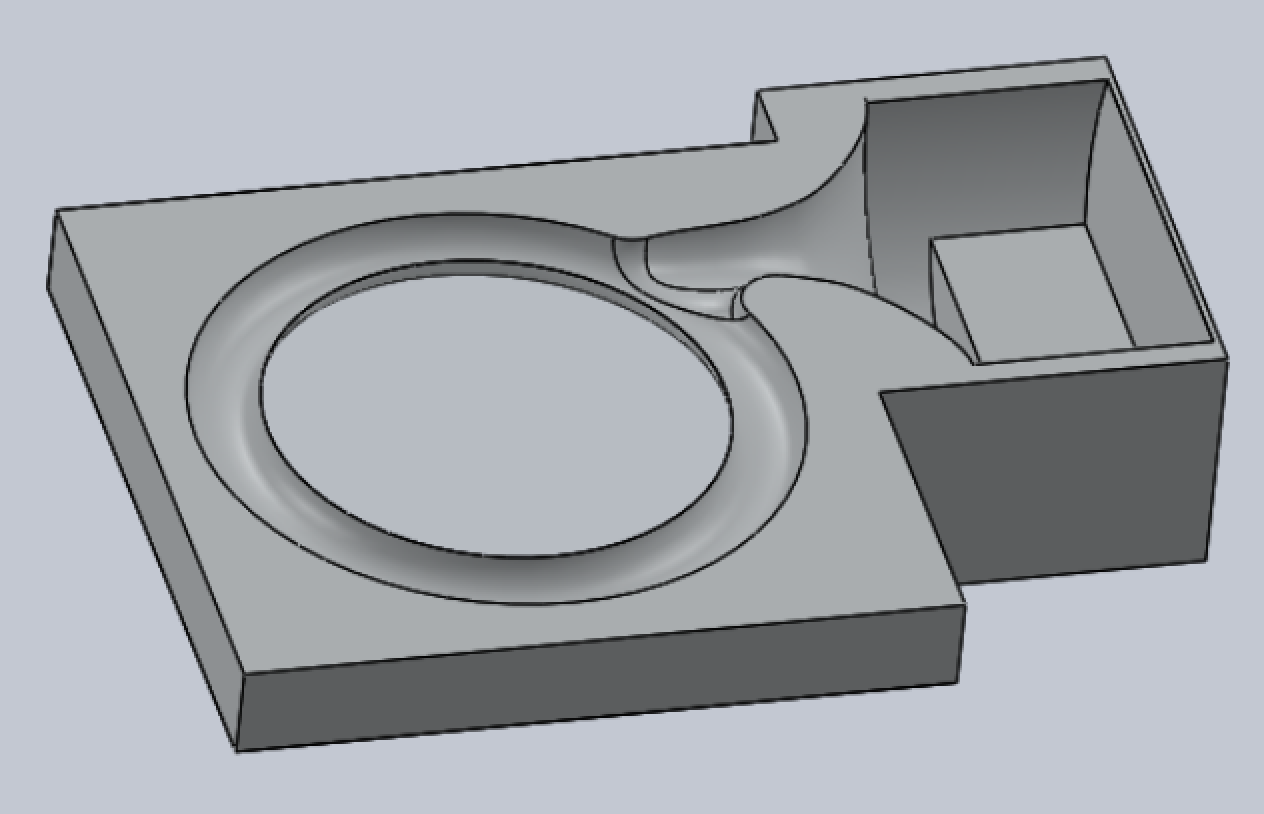
The second major challenge of the design would be figuring out how to cast the horn with a large cavity in the bell. Creating a cavity requires a core. I also originally wanted the entire horn to be hollow. Because there is only one point of entry, the core would have to be cantilevered out from right next to the bell. Even a large counterweight part of the core likely wouldn't prevent it from tipping, so the plan was to support the rest of the core using chaplets.
I created a design for the core box that also included the bell cavity and and an internal ring, but it later became clear when trying to construct the core that the internal ring wasn't really feasible. I also never had a clear plan for how I would remove the interior core.
Pattern Creation
Creating the entire pattern for casting consisted of multiple steps. I had to machine the main pattern itself and then glue it to a piece of plywood. I then needed to machine separate inserts for each separate cast. Finally I also had to machine the core boxes. I did the bulk of the machining for the main pattern and the core boxes first.
Main Pattern
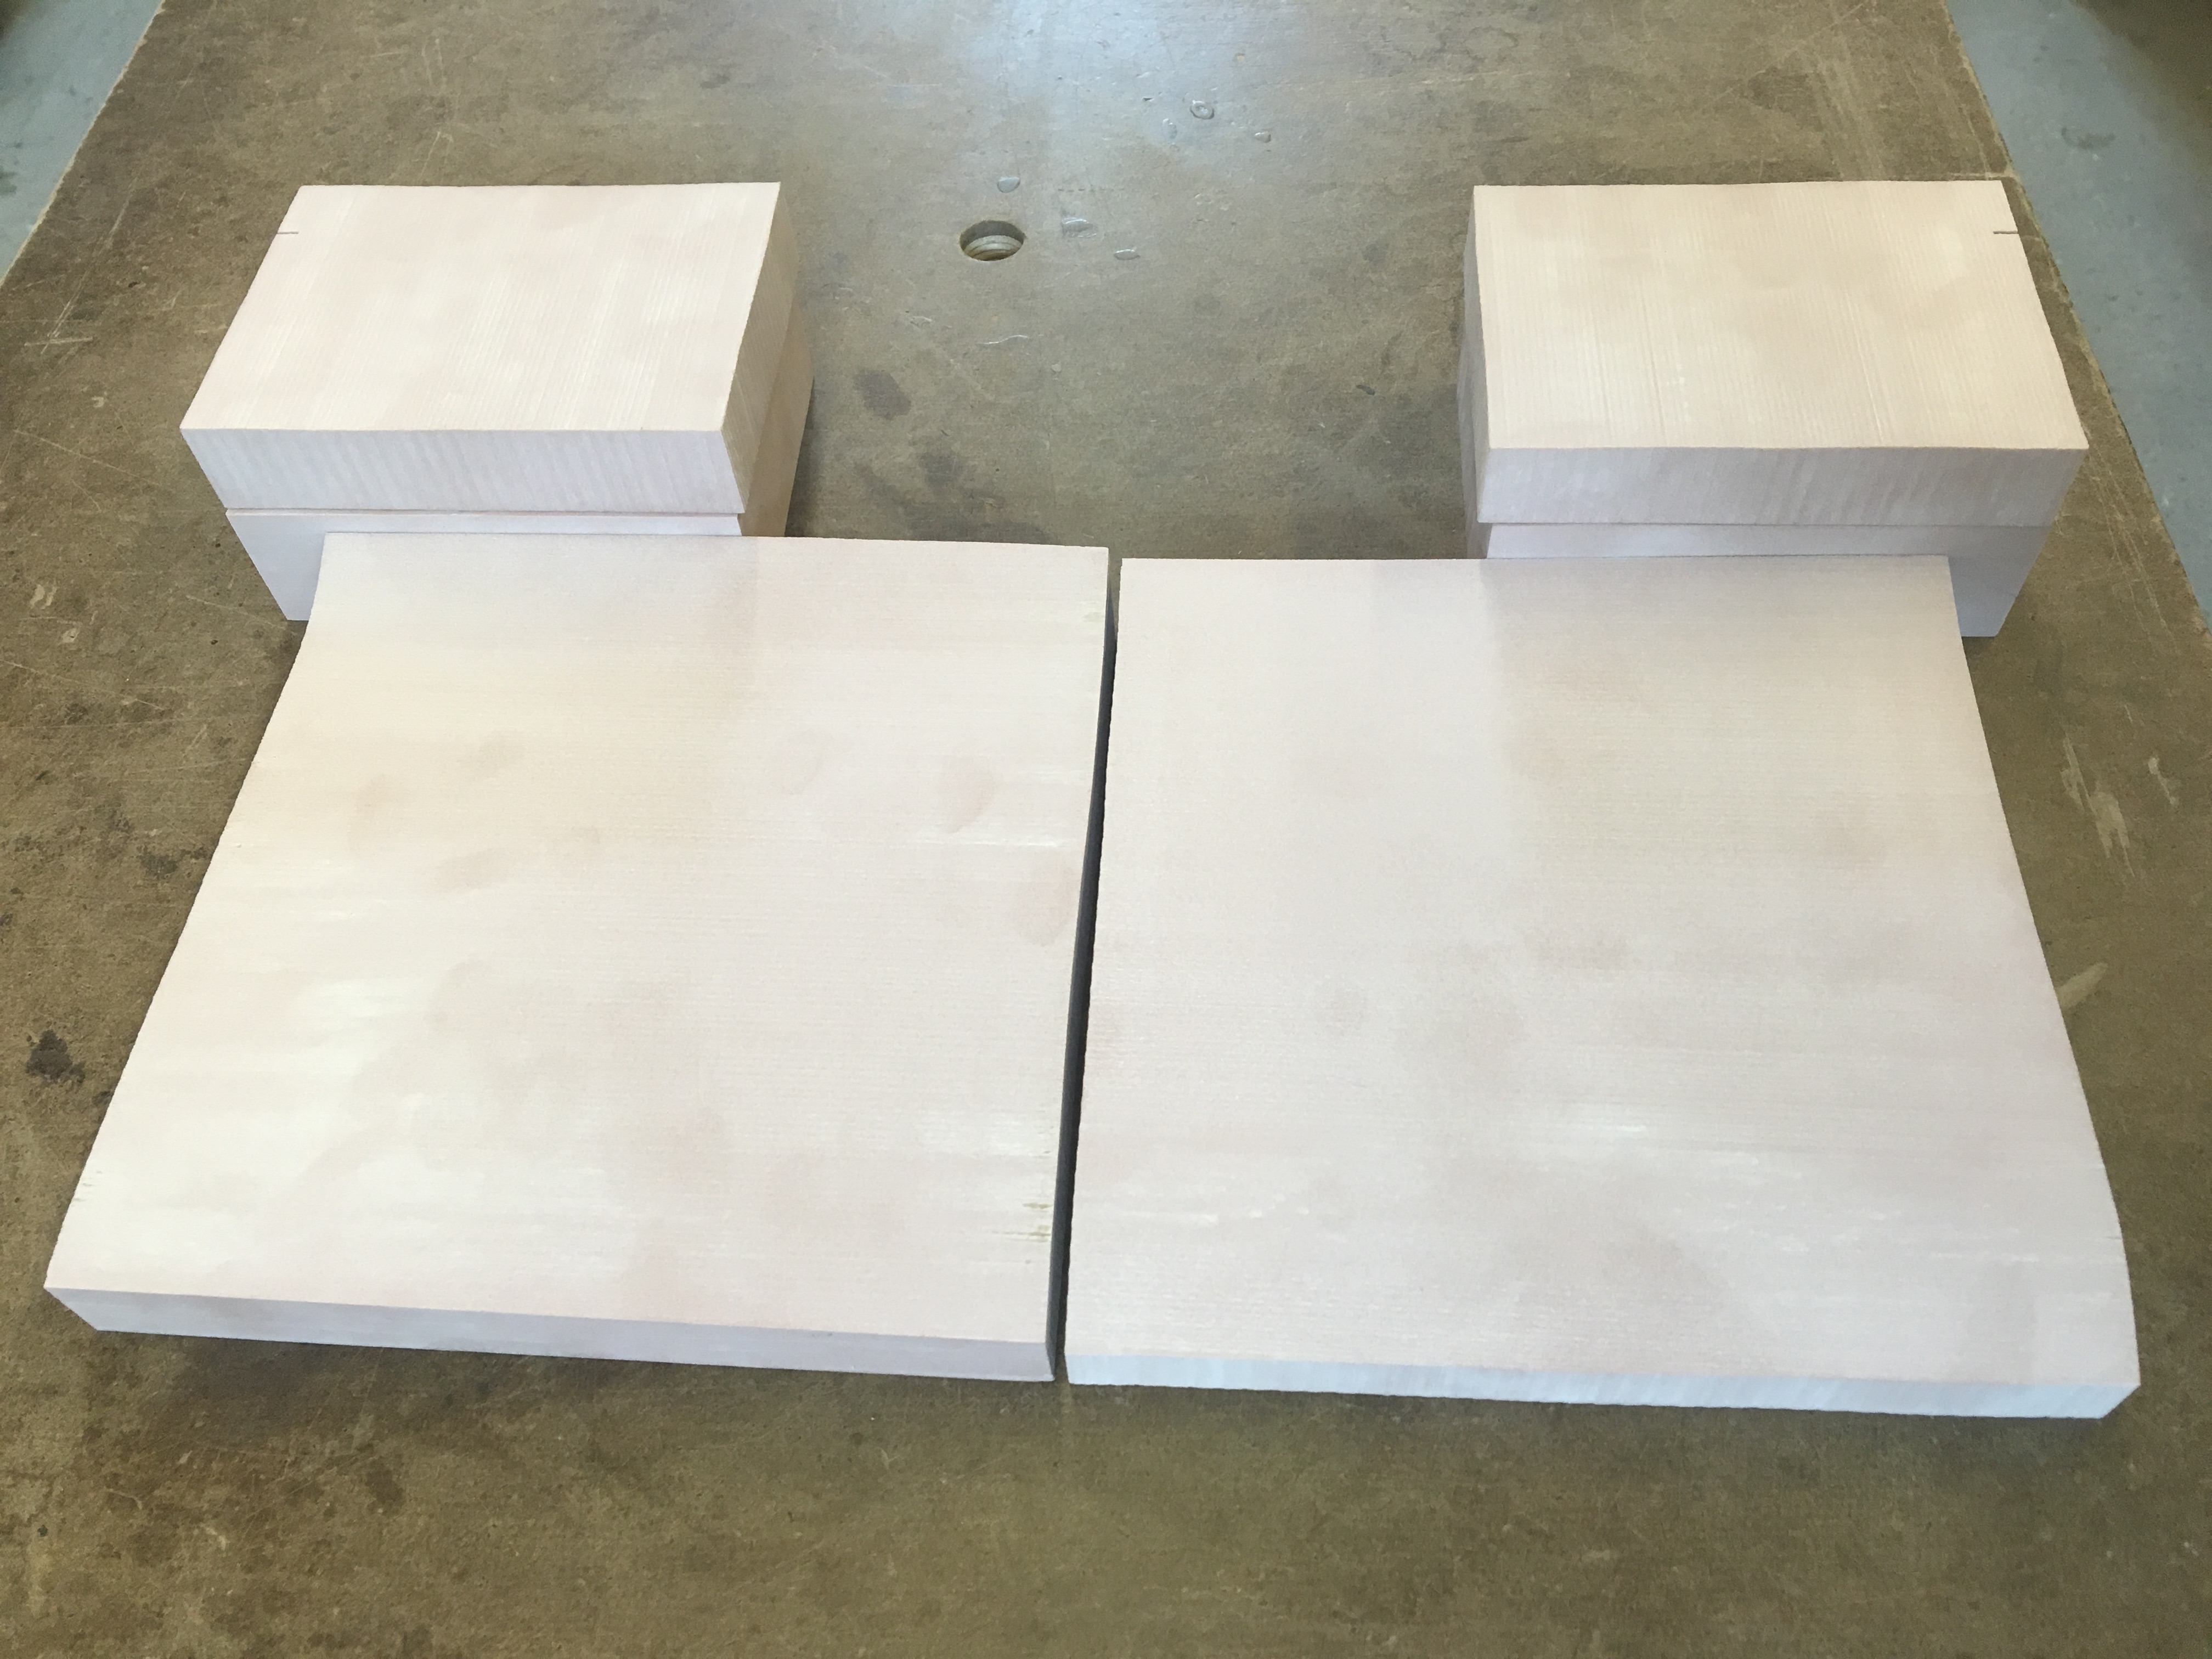
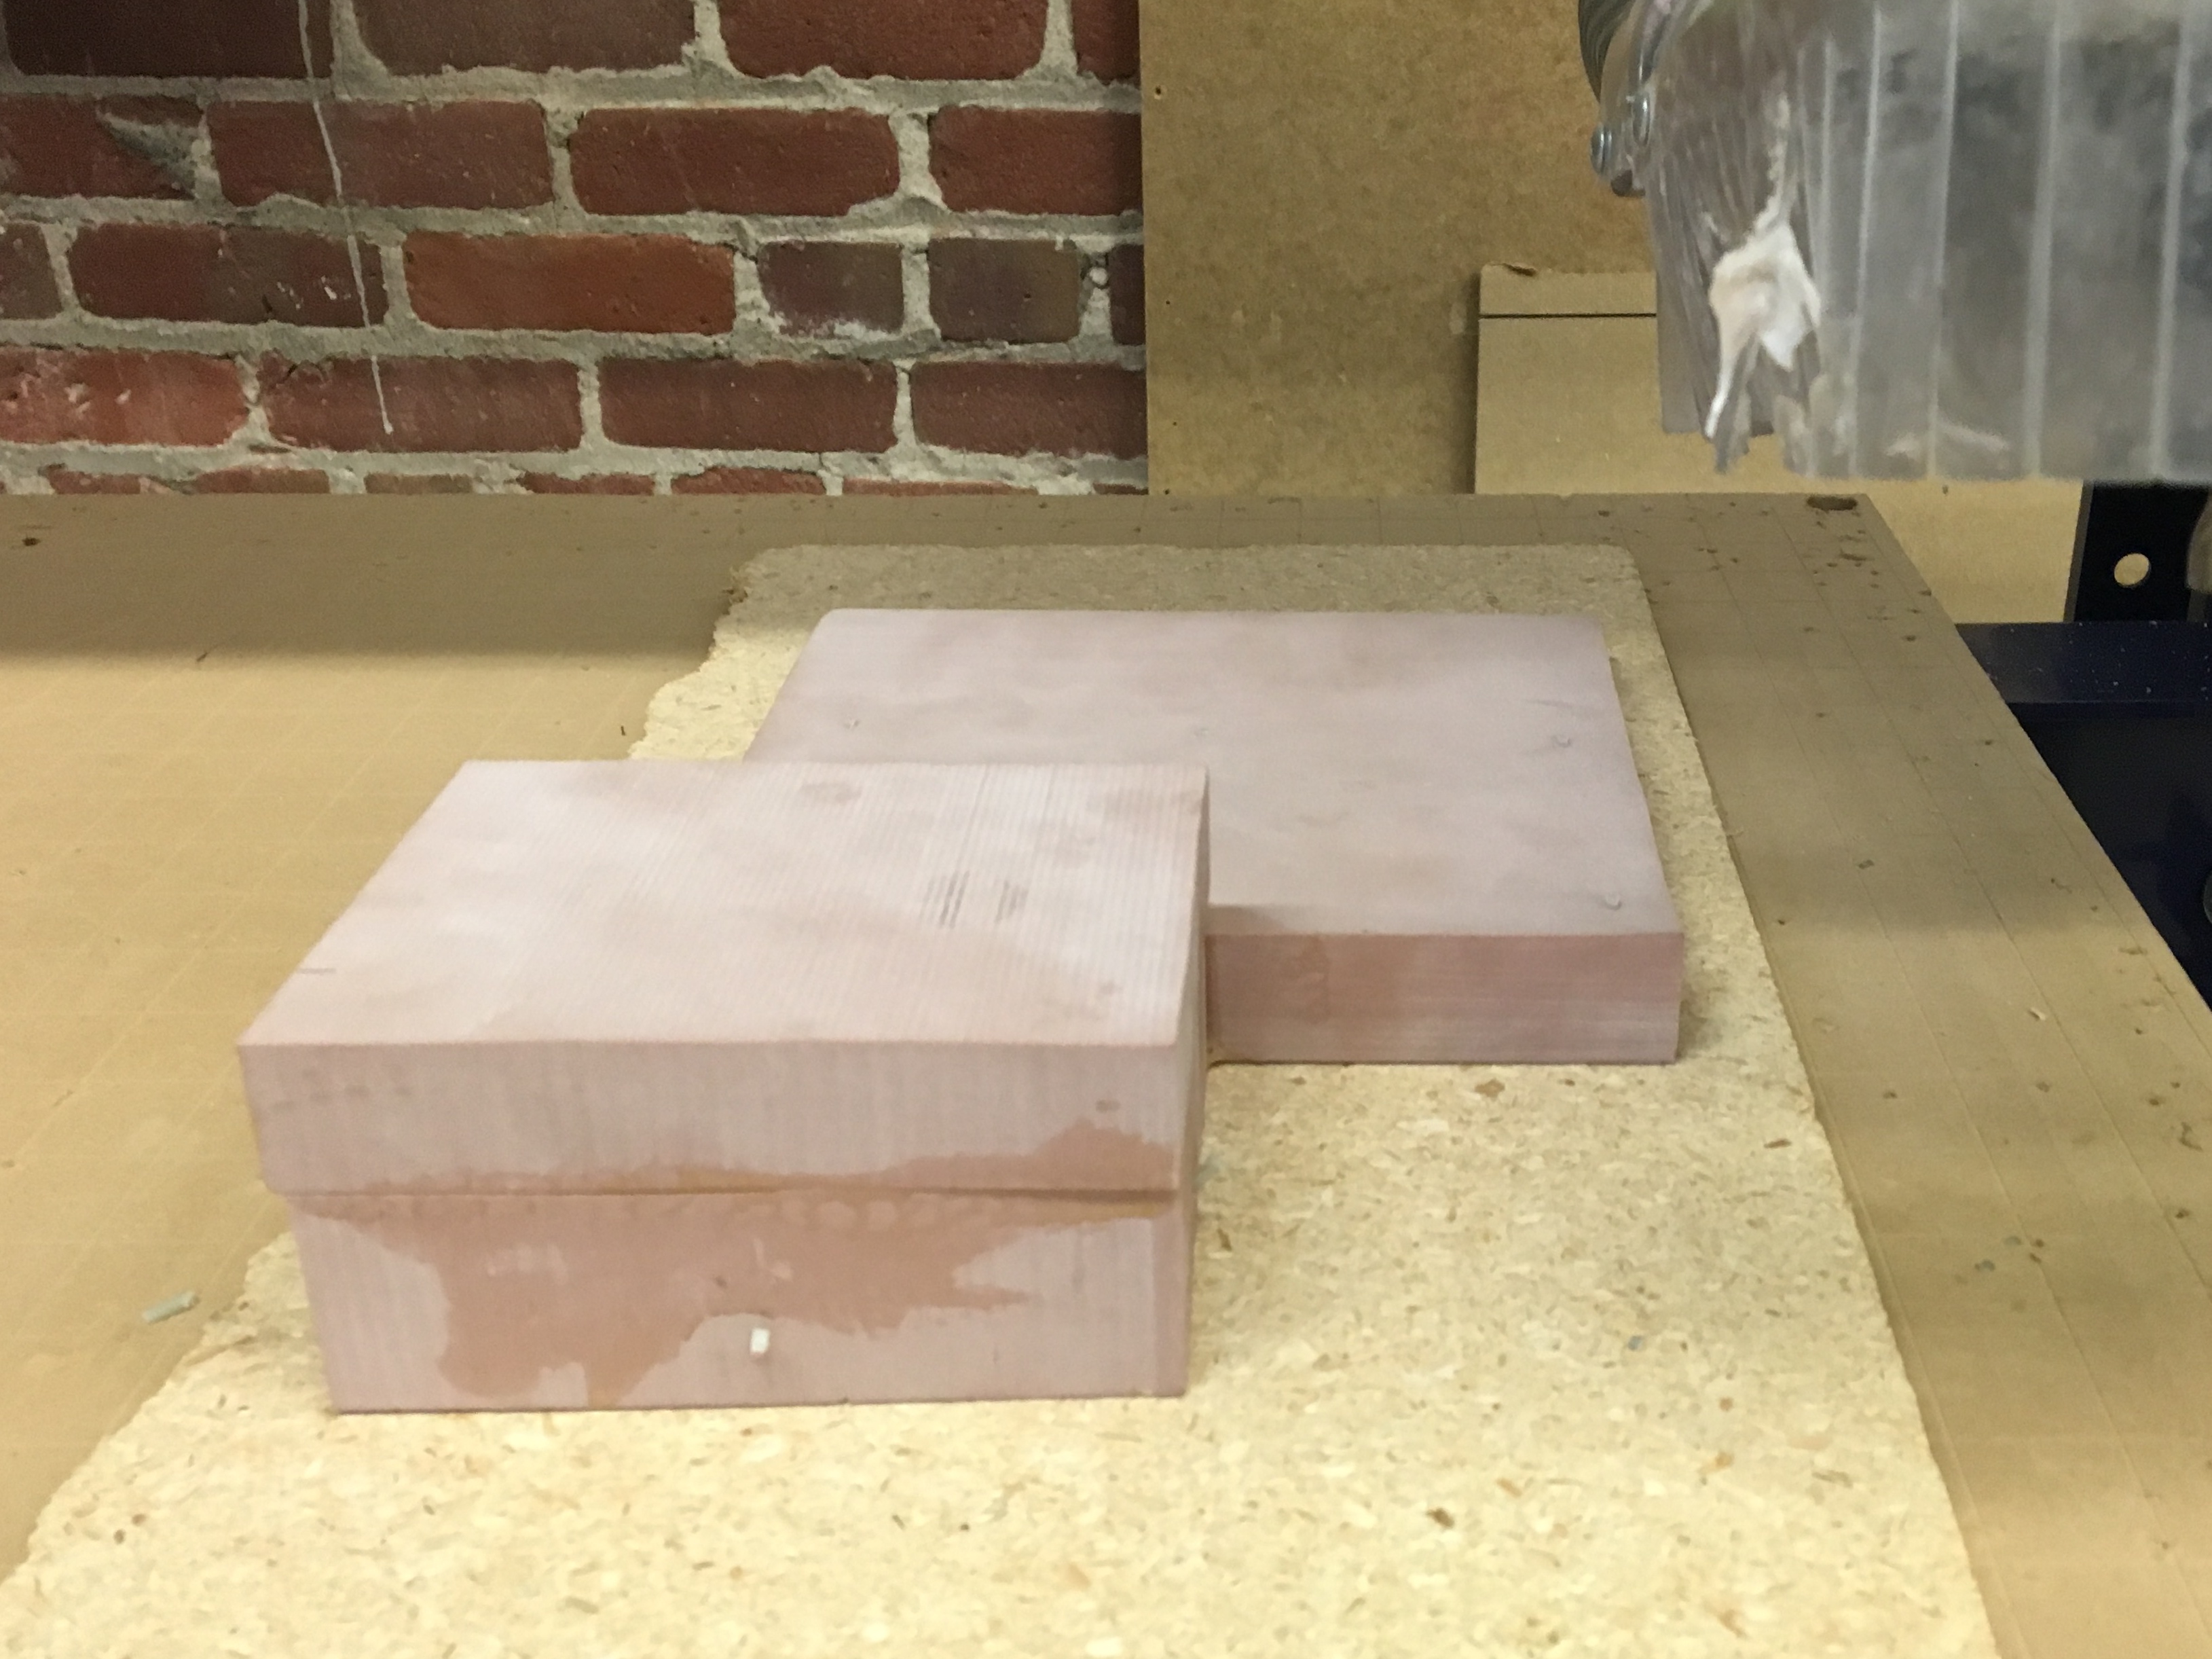
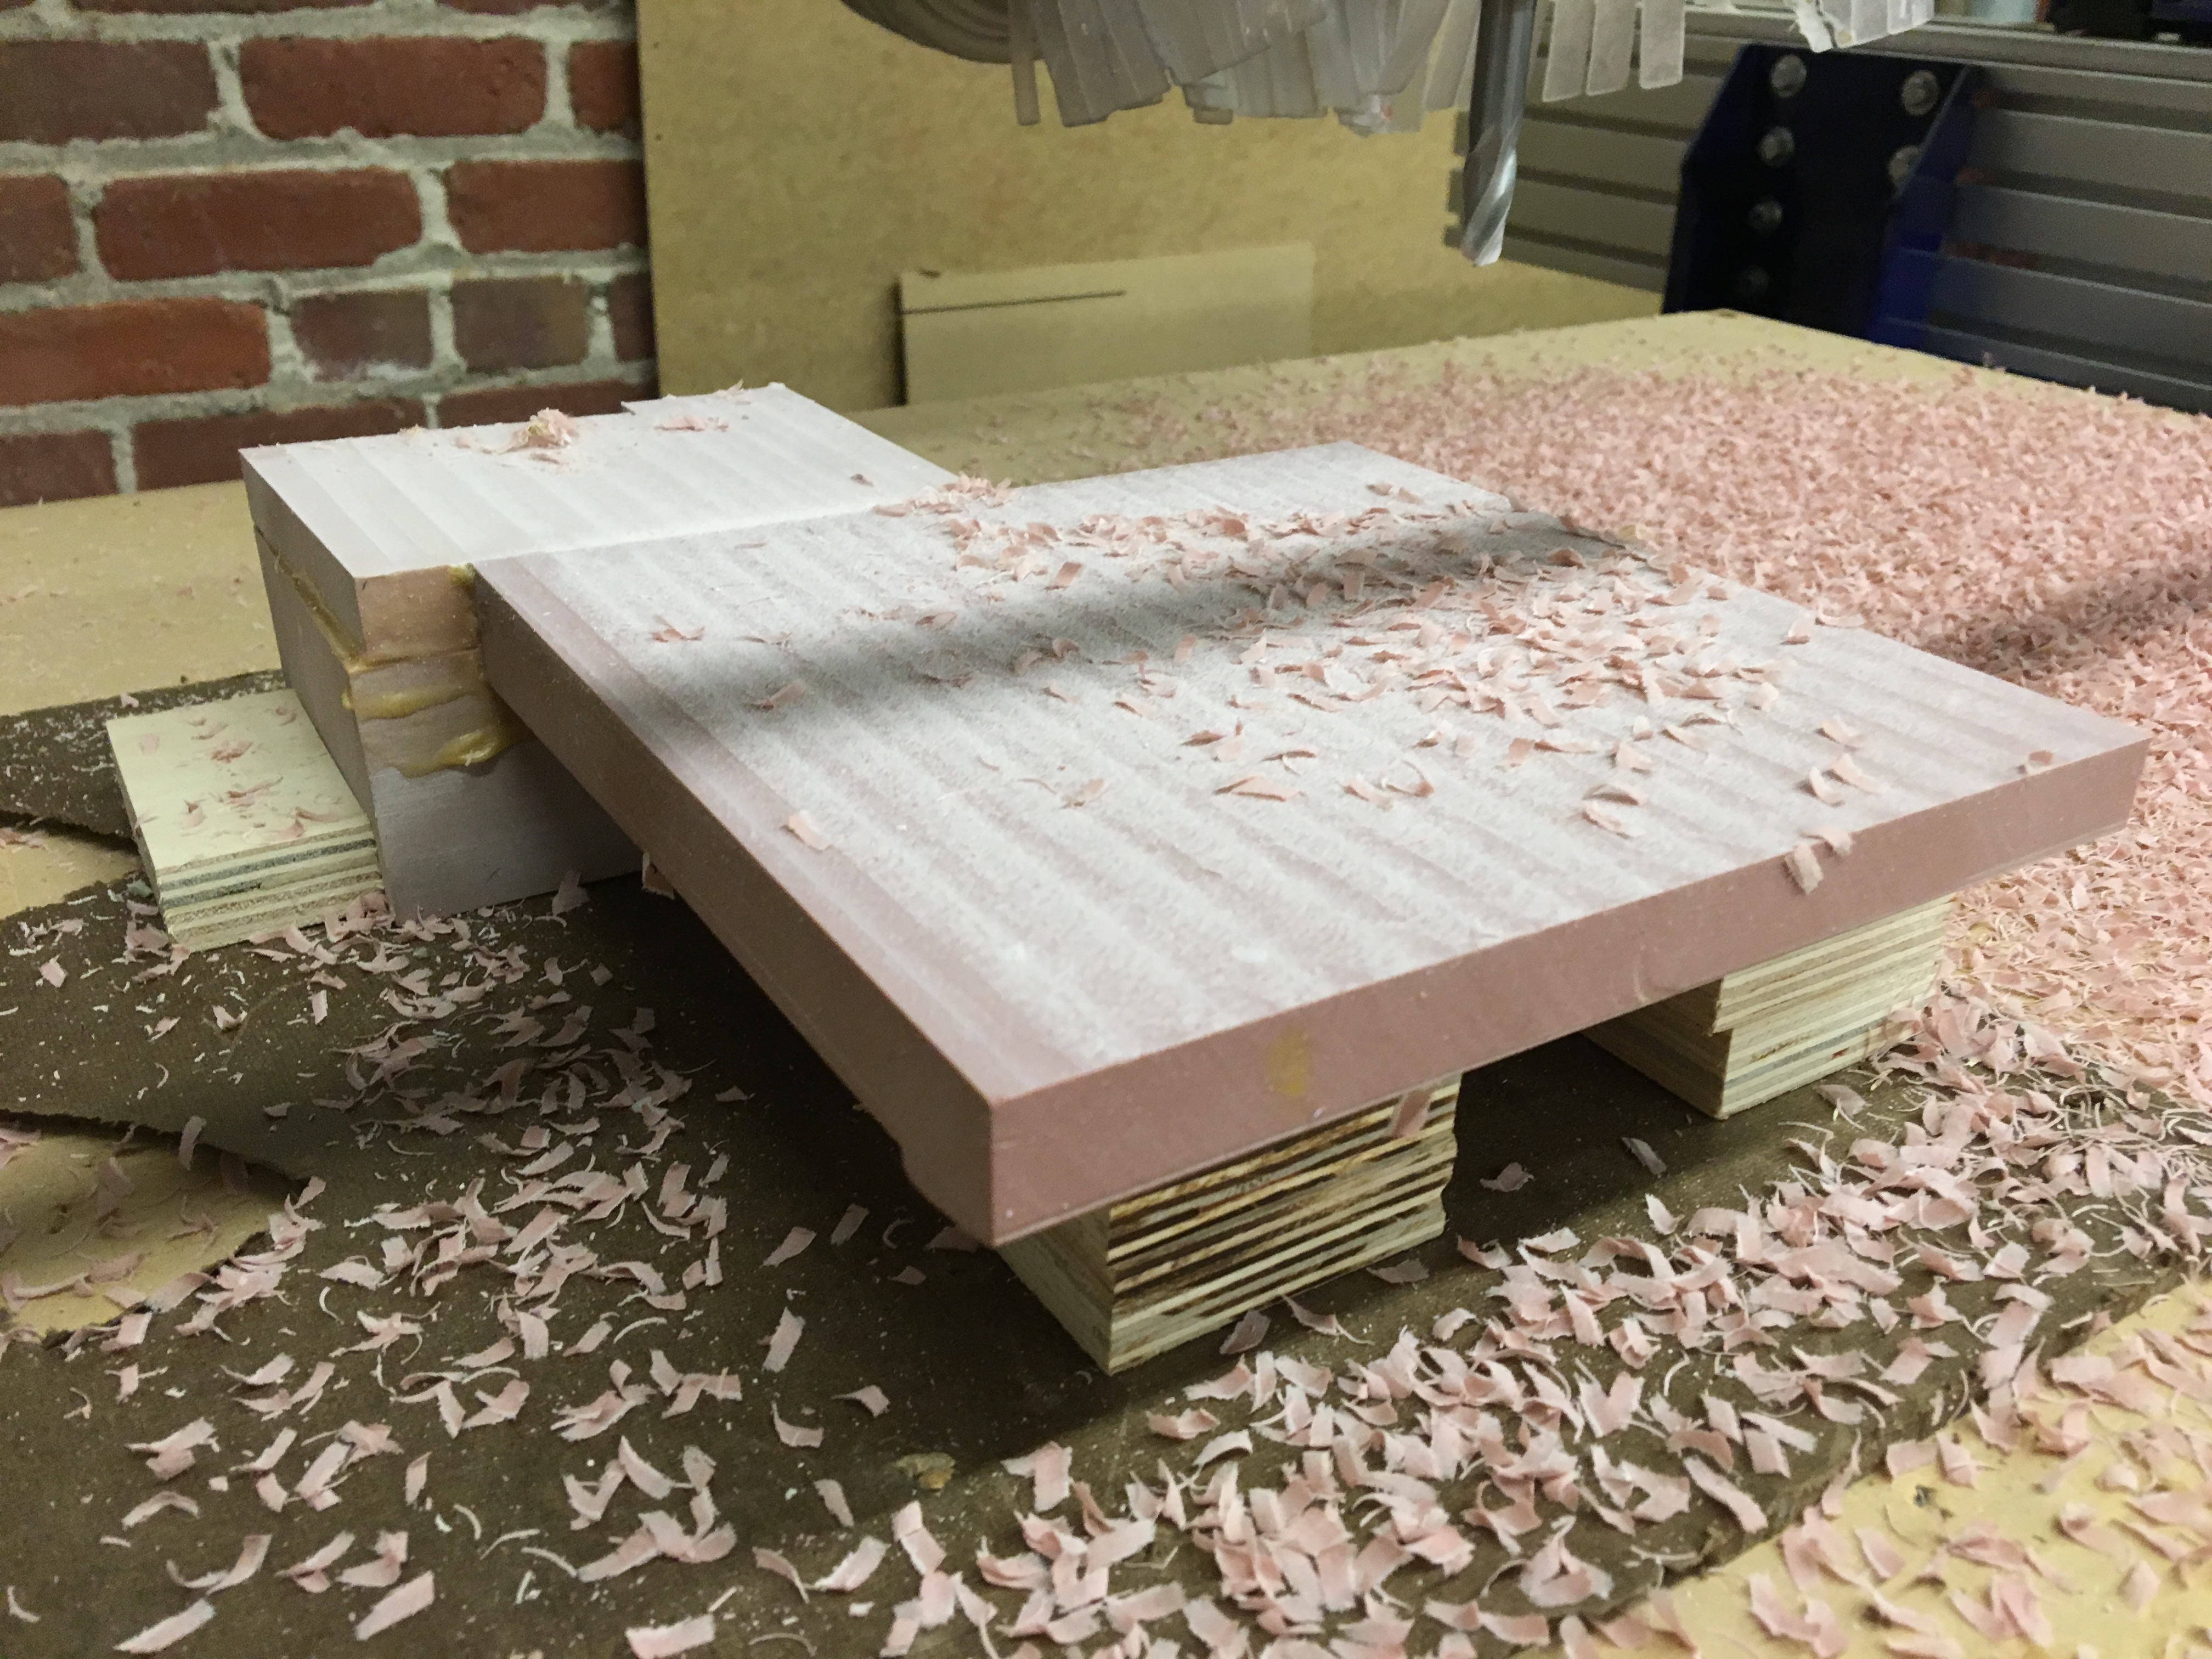
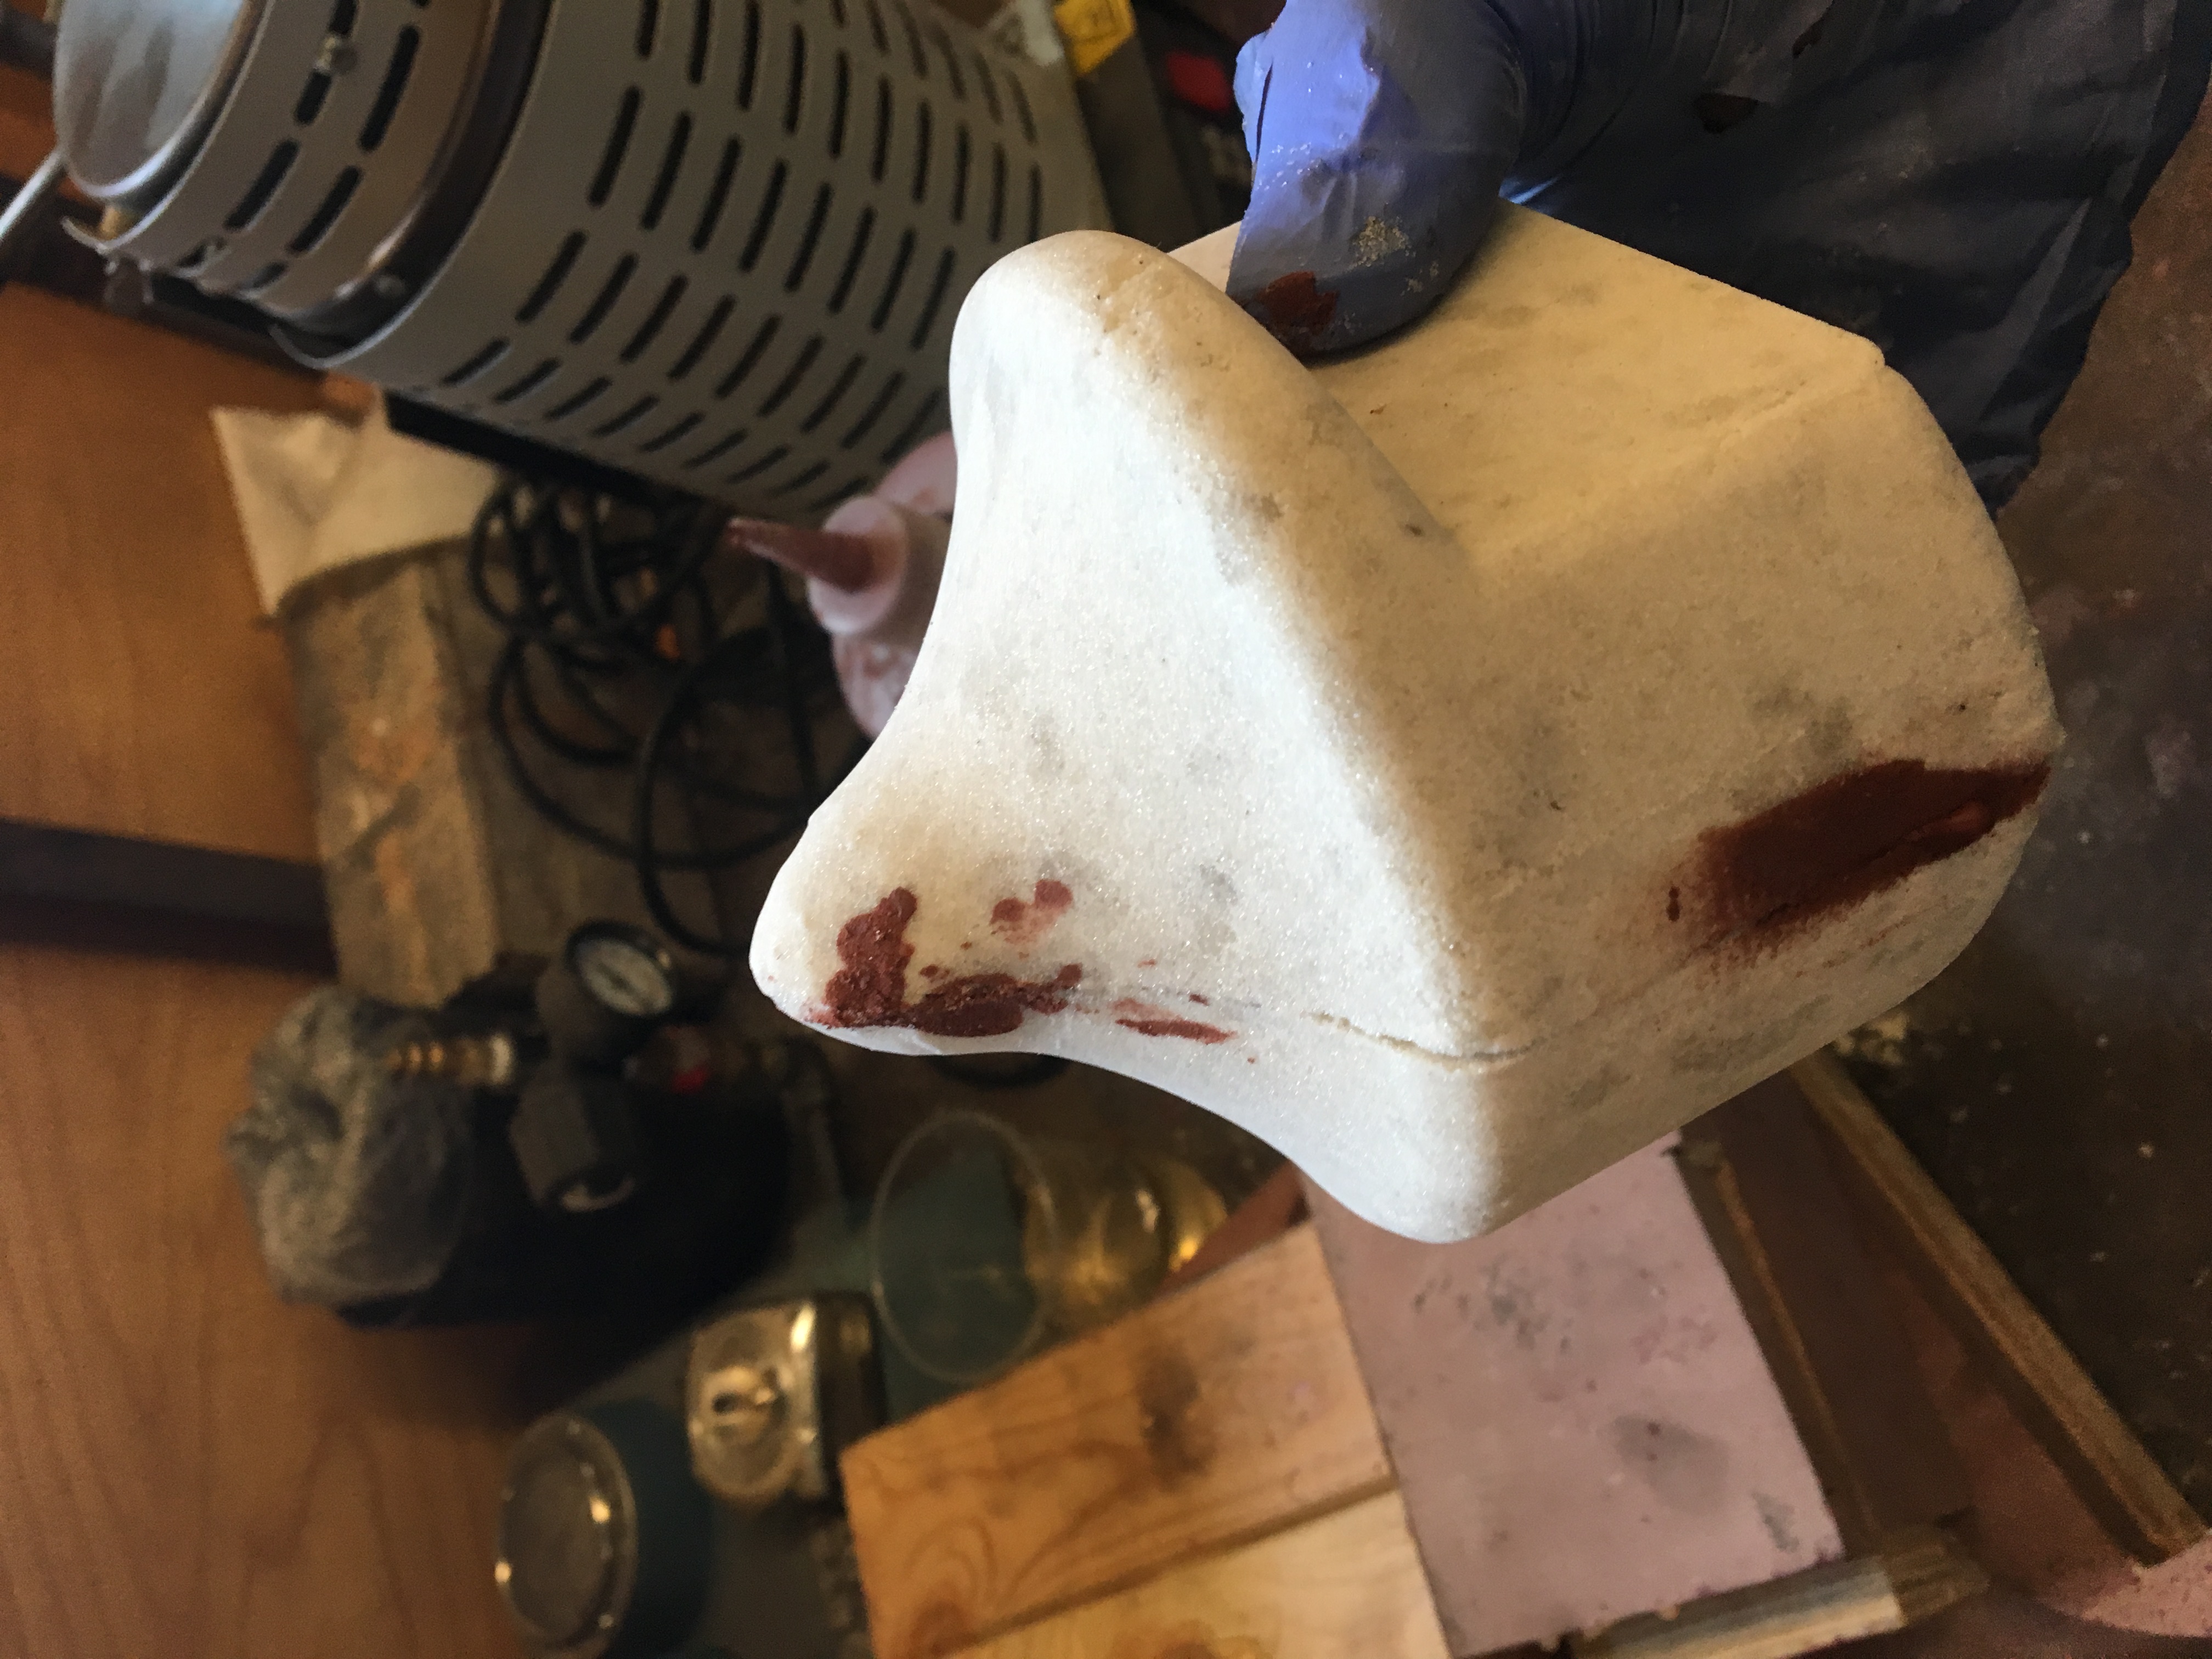
I created the pattern out of polyurethane tooling foam, a hard homogenous material that's easily machinable. The foam came in sheets two inches thick. Since the pattern didn't fit nicely into a rectangular, and portions where over two inches tall, my first order of business was cutting up the foam and gluing it back together into a stock shape for machining.
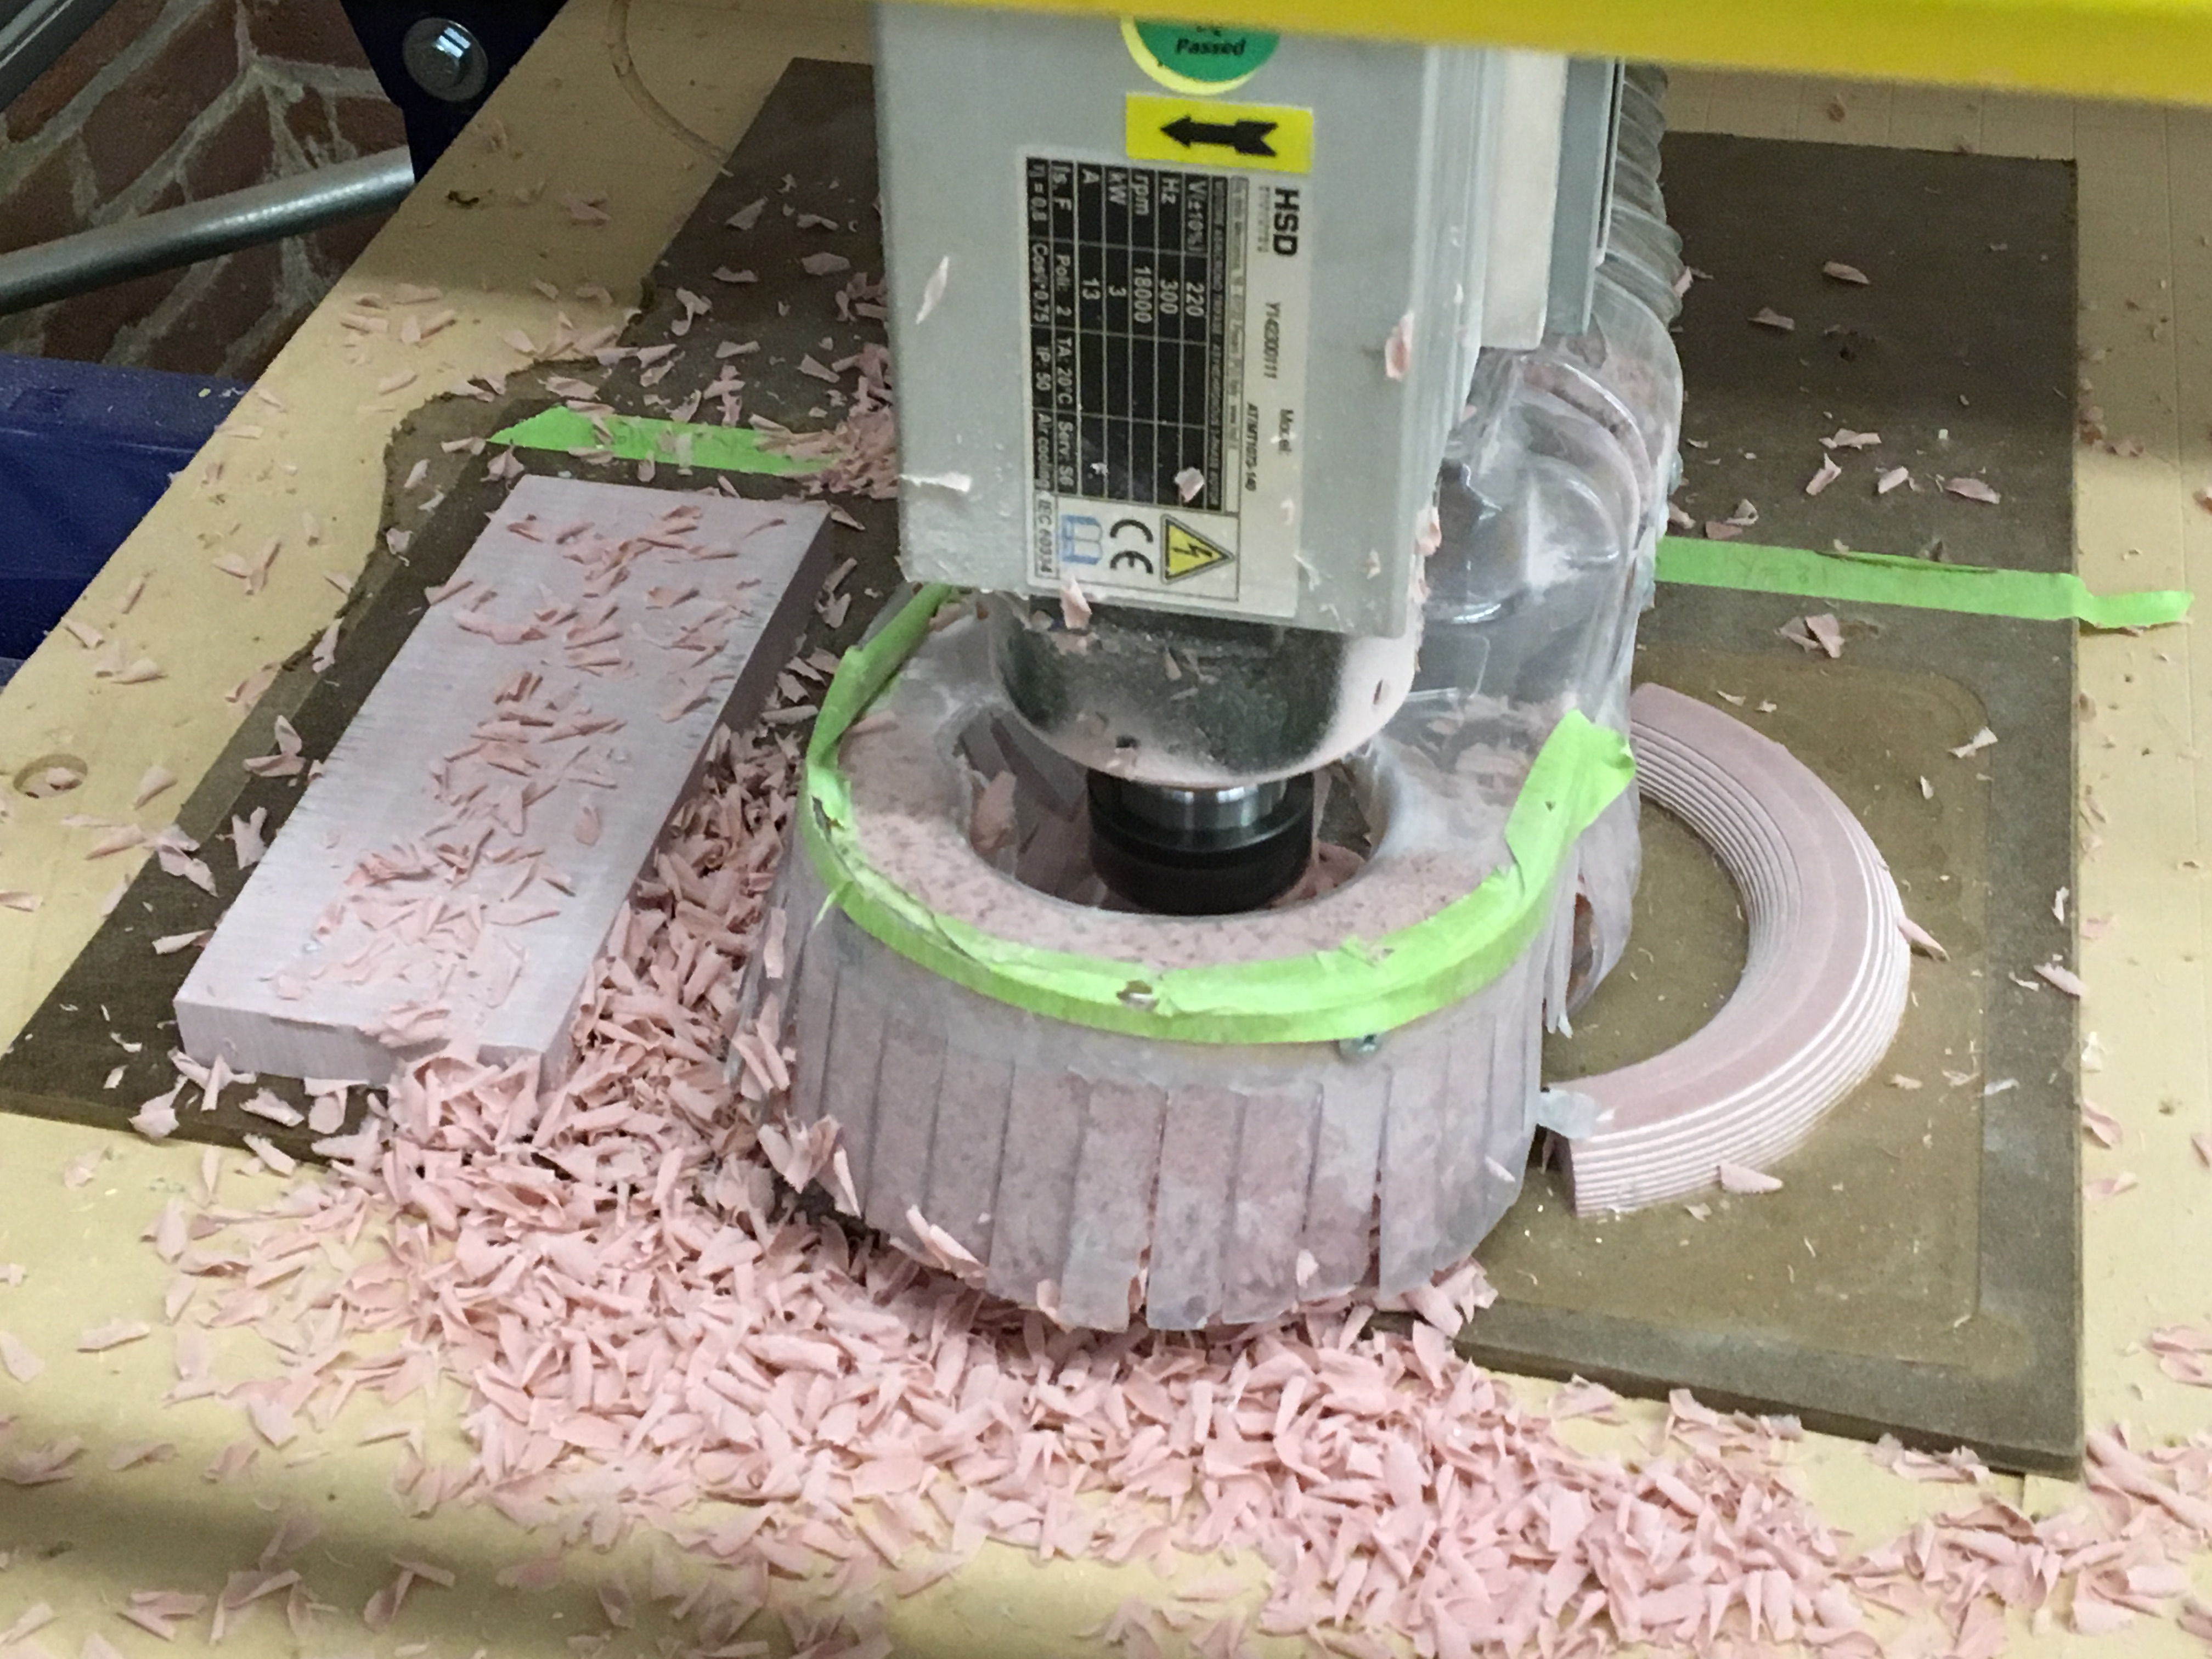
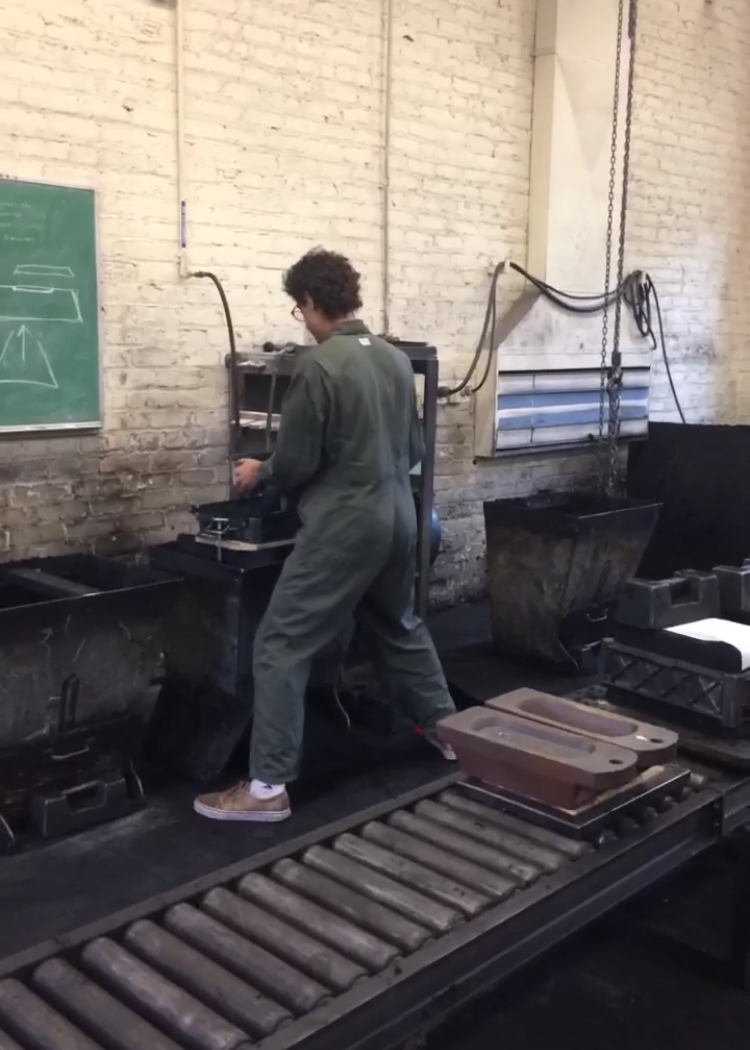
I used a ShopBot CNC to machine the patterns. I fastened the glued stock pieces atop sacrifical particle board on the machine bed with plastic nails, then let the machine do the work.
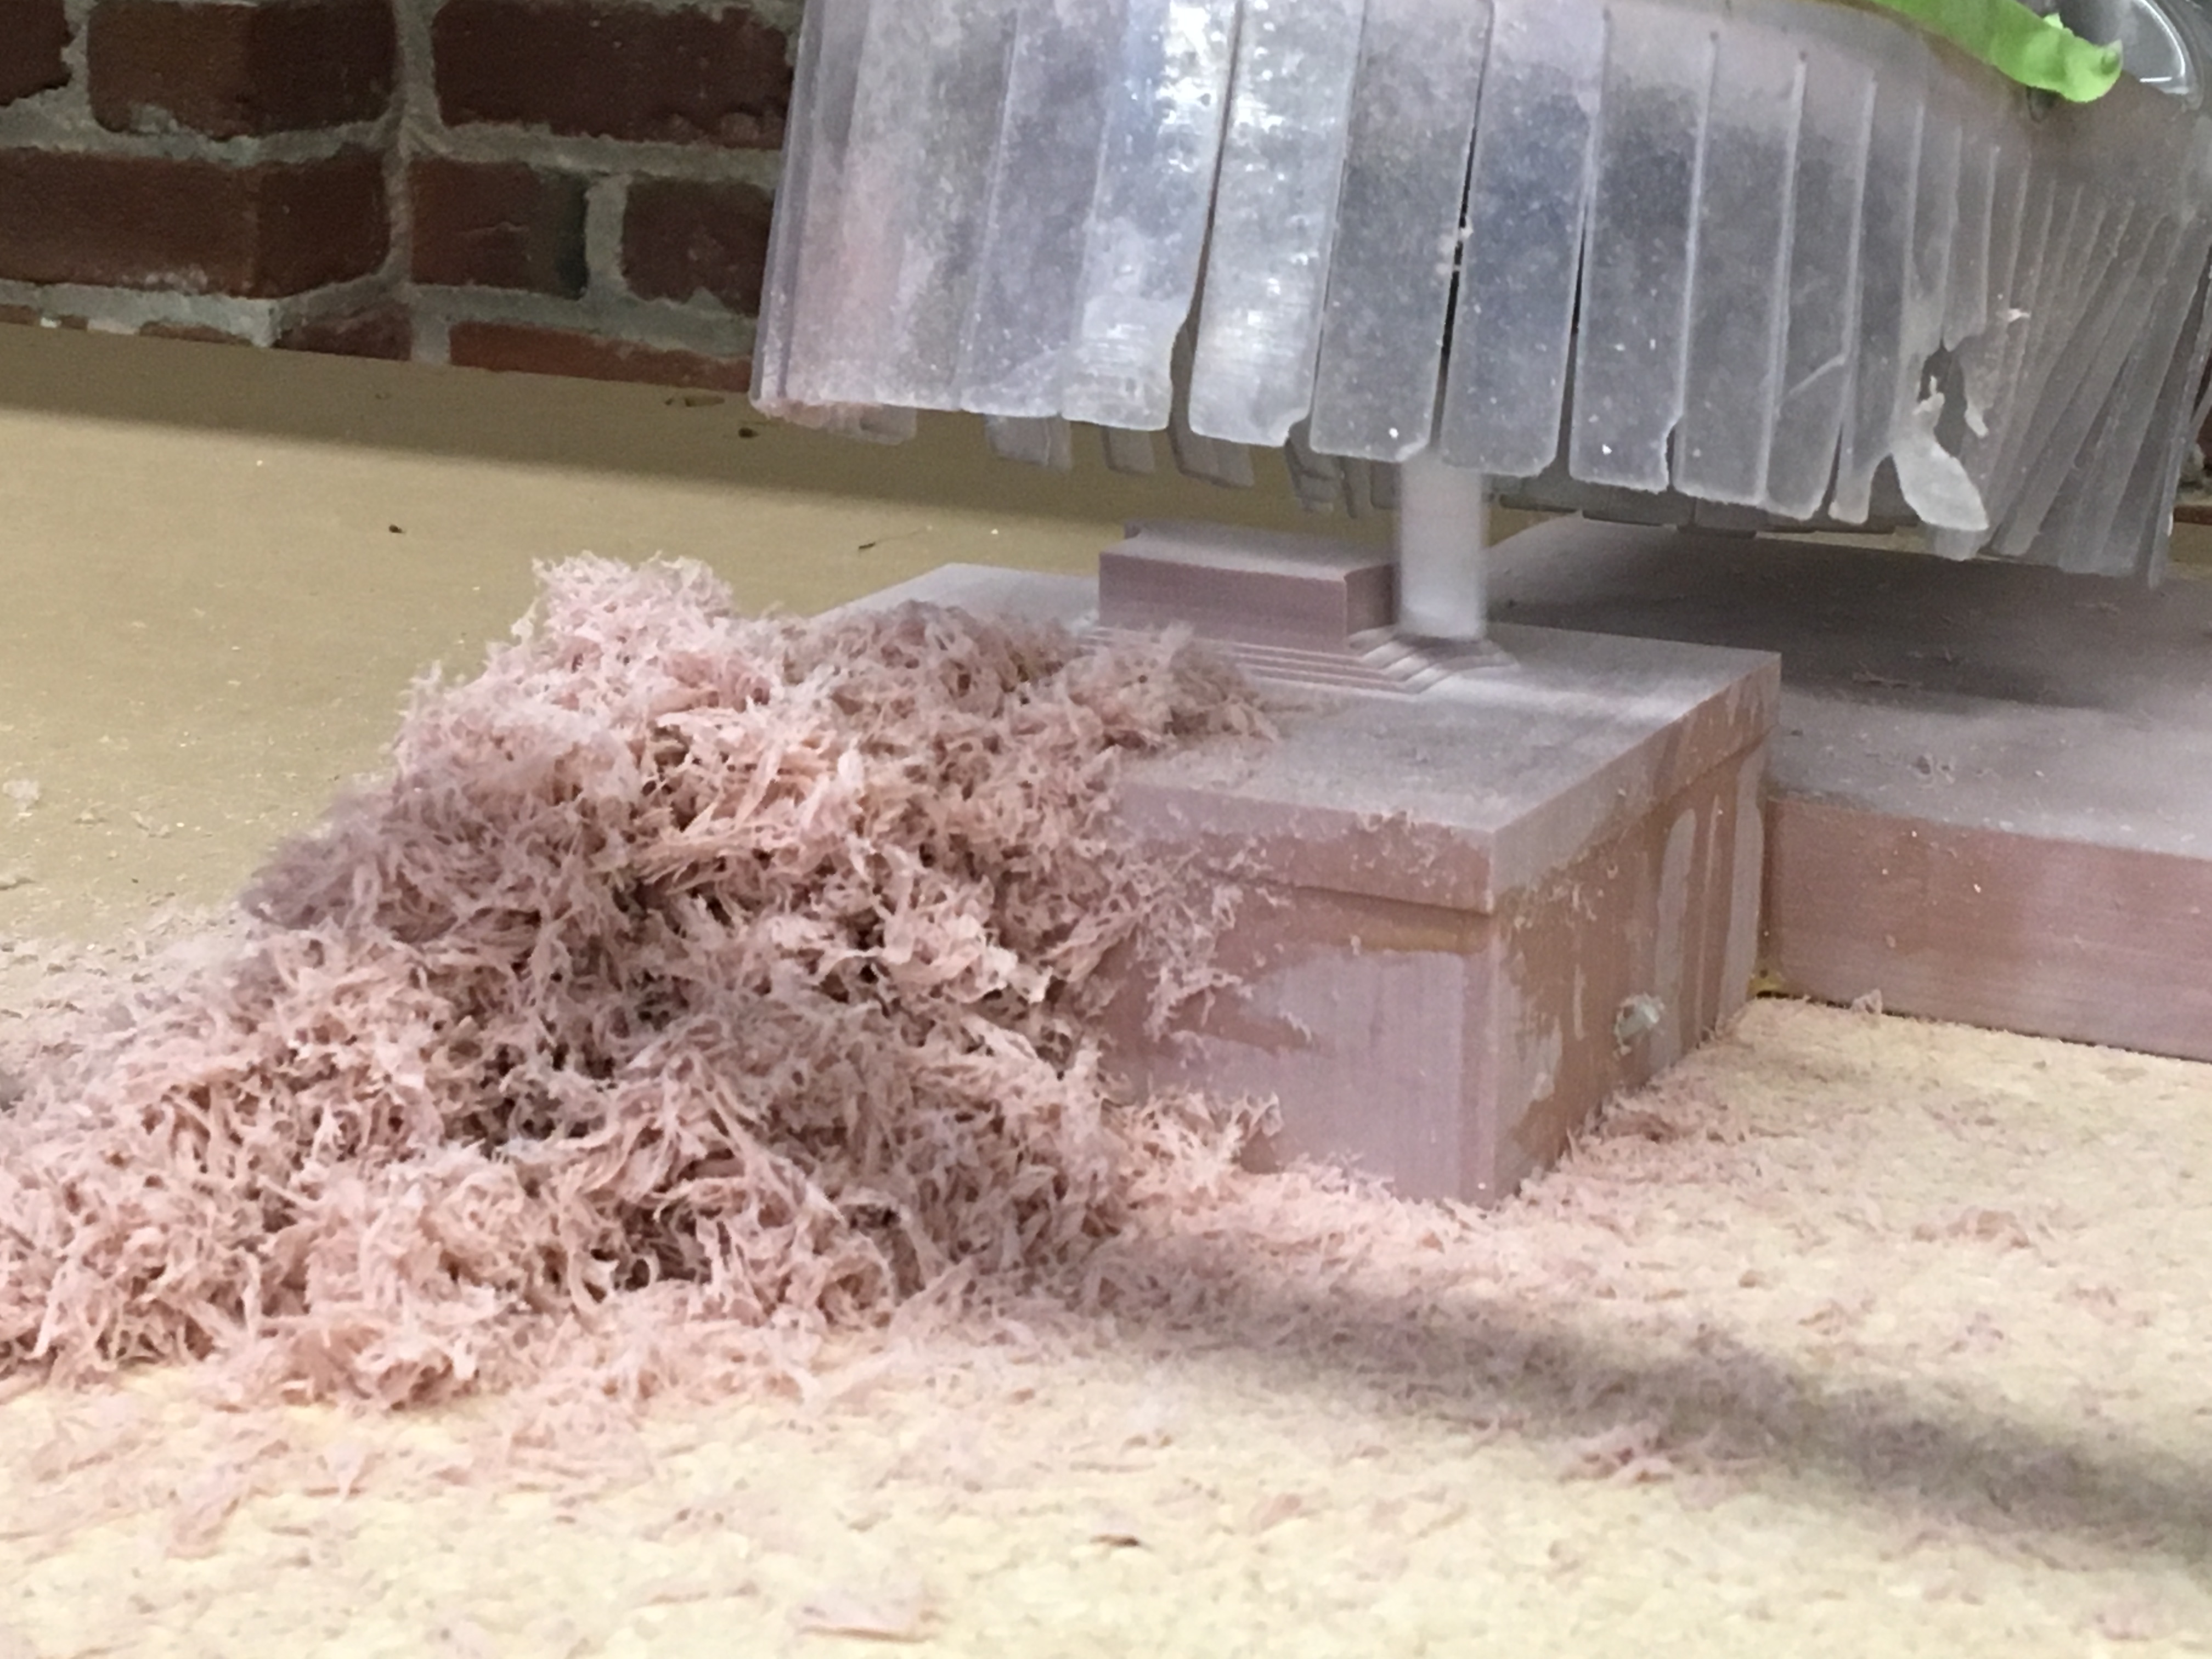
Machining the first piece went smoothly, but I experienced a setback when machining the second. The large end of the pattern, which would become the core print, broke away from the rest of stock along the glue line during the roughing phase. The piece was unsalvageable.

I spent the rest of the shop session creating and gluing a new stock piece and clamping it to dry. The second time went must smoother.
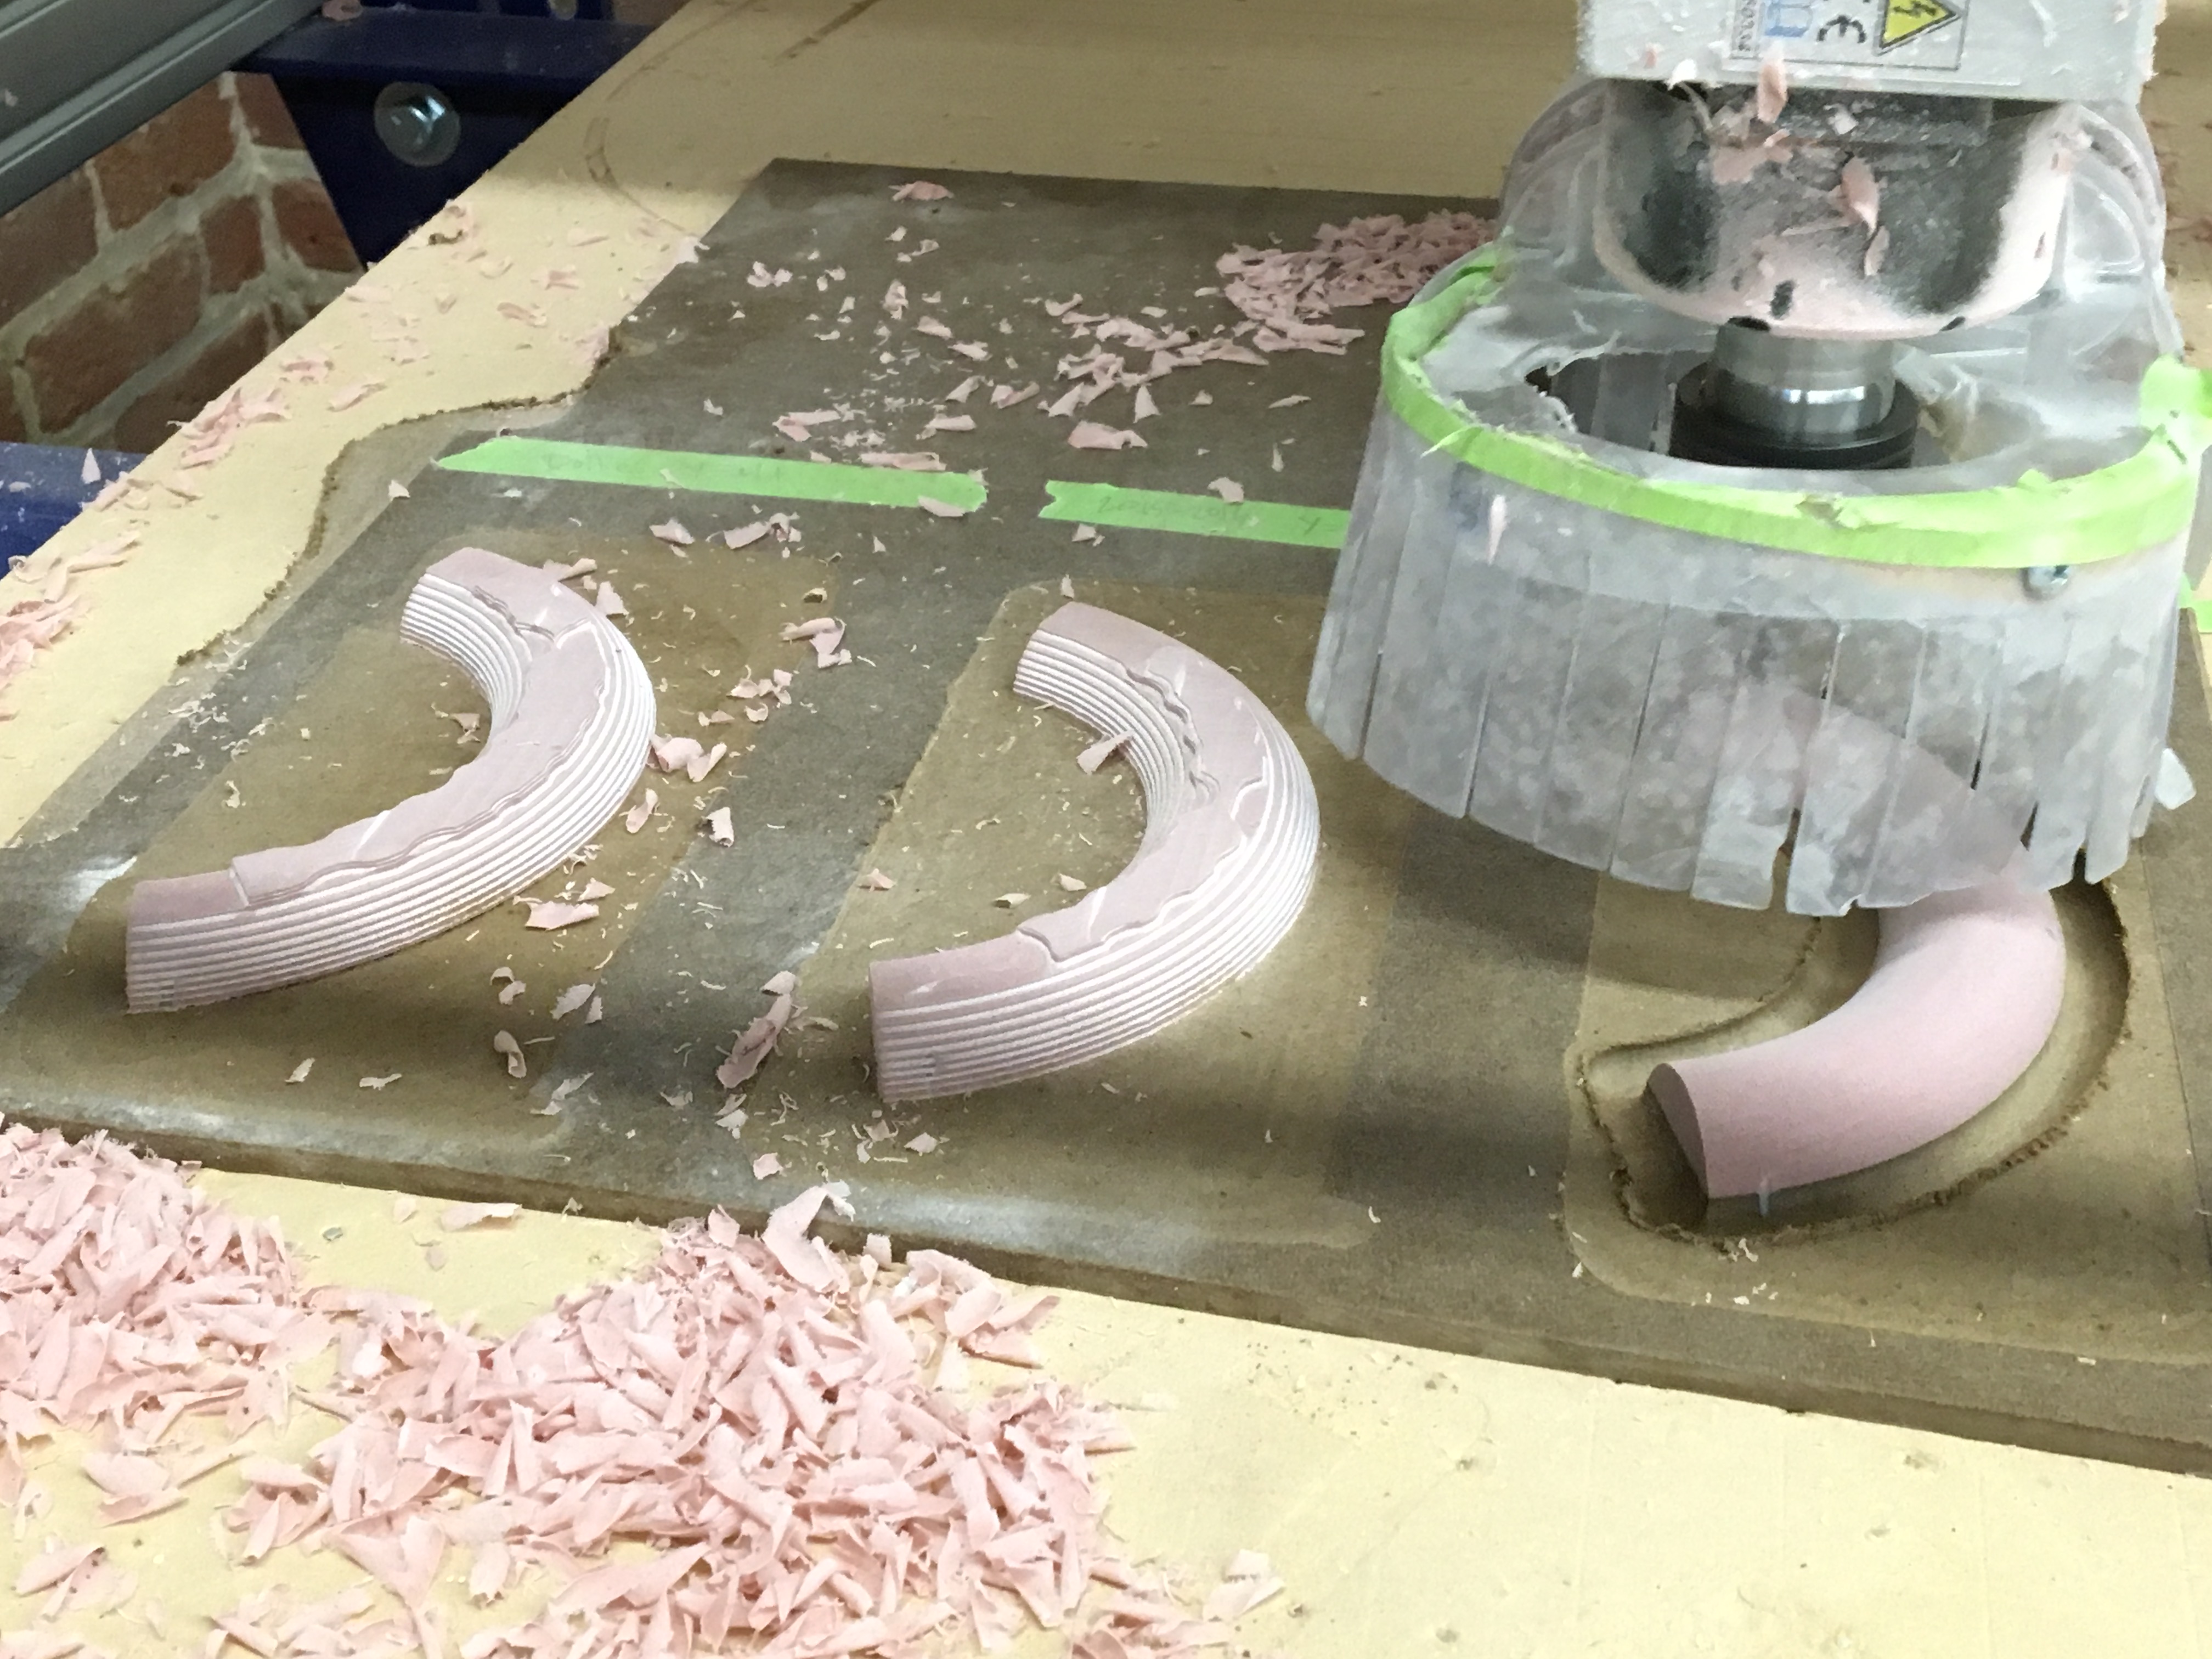
Every piece was machined in two phases. First a roughing pass with a square end mill would remove the vast majority of the material, then a finishing pass with a ball end mill would machine everything down to its smooth final surface.
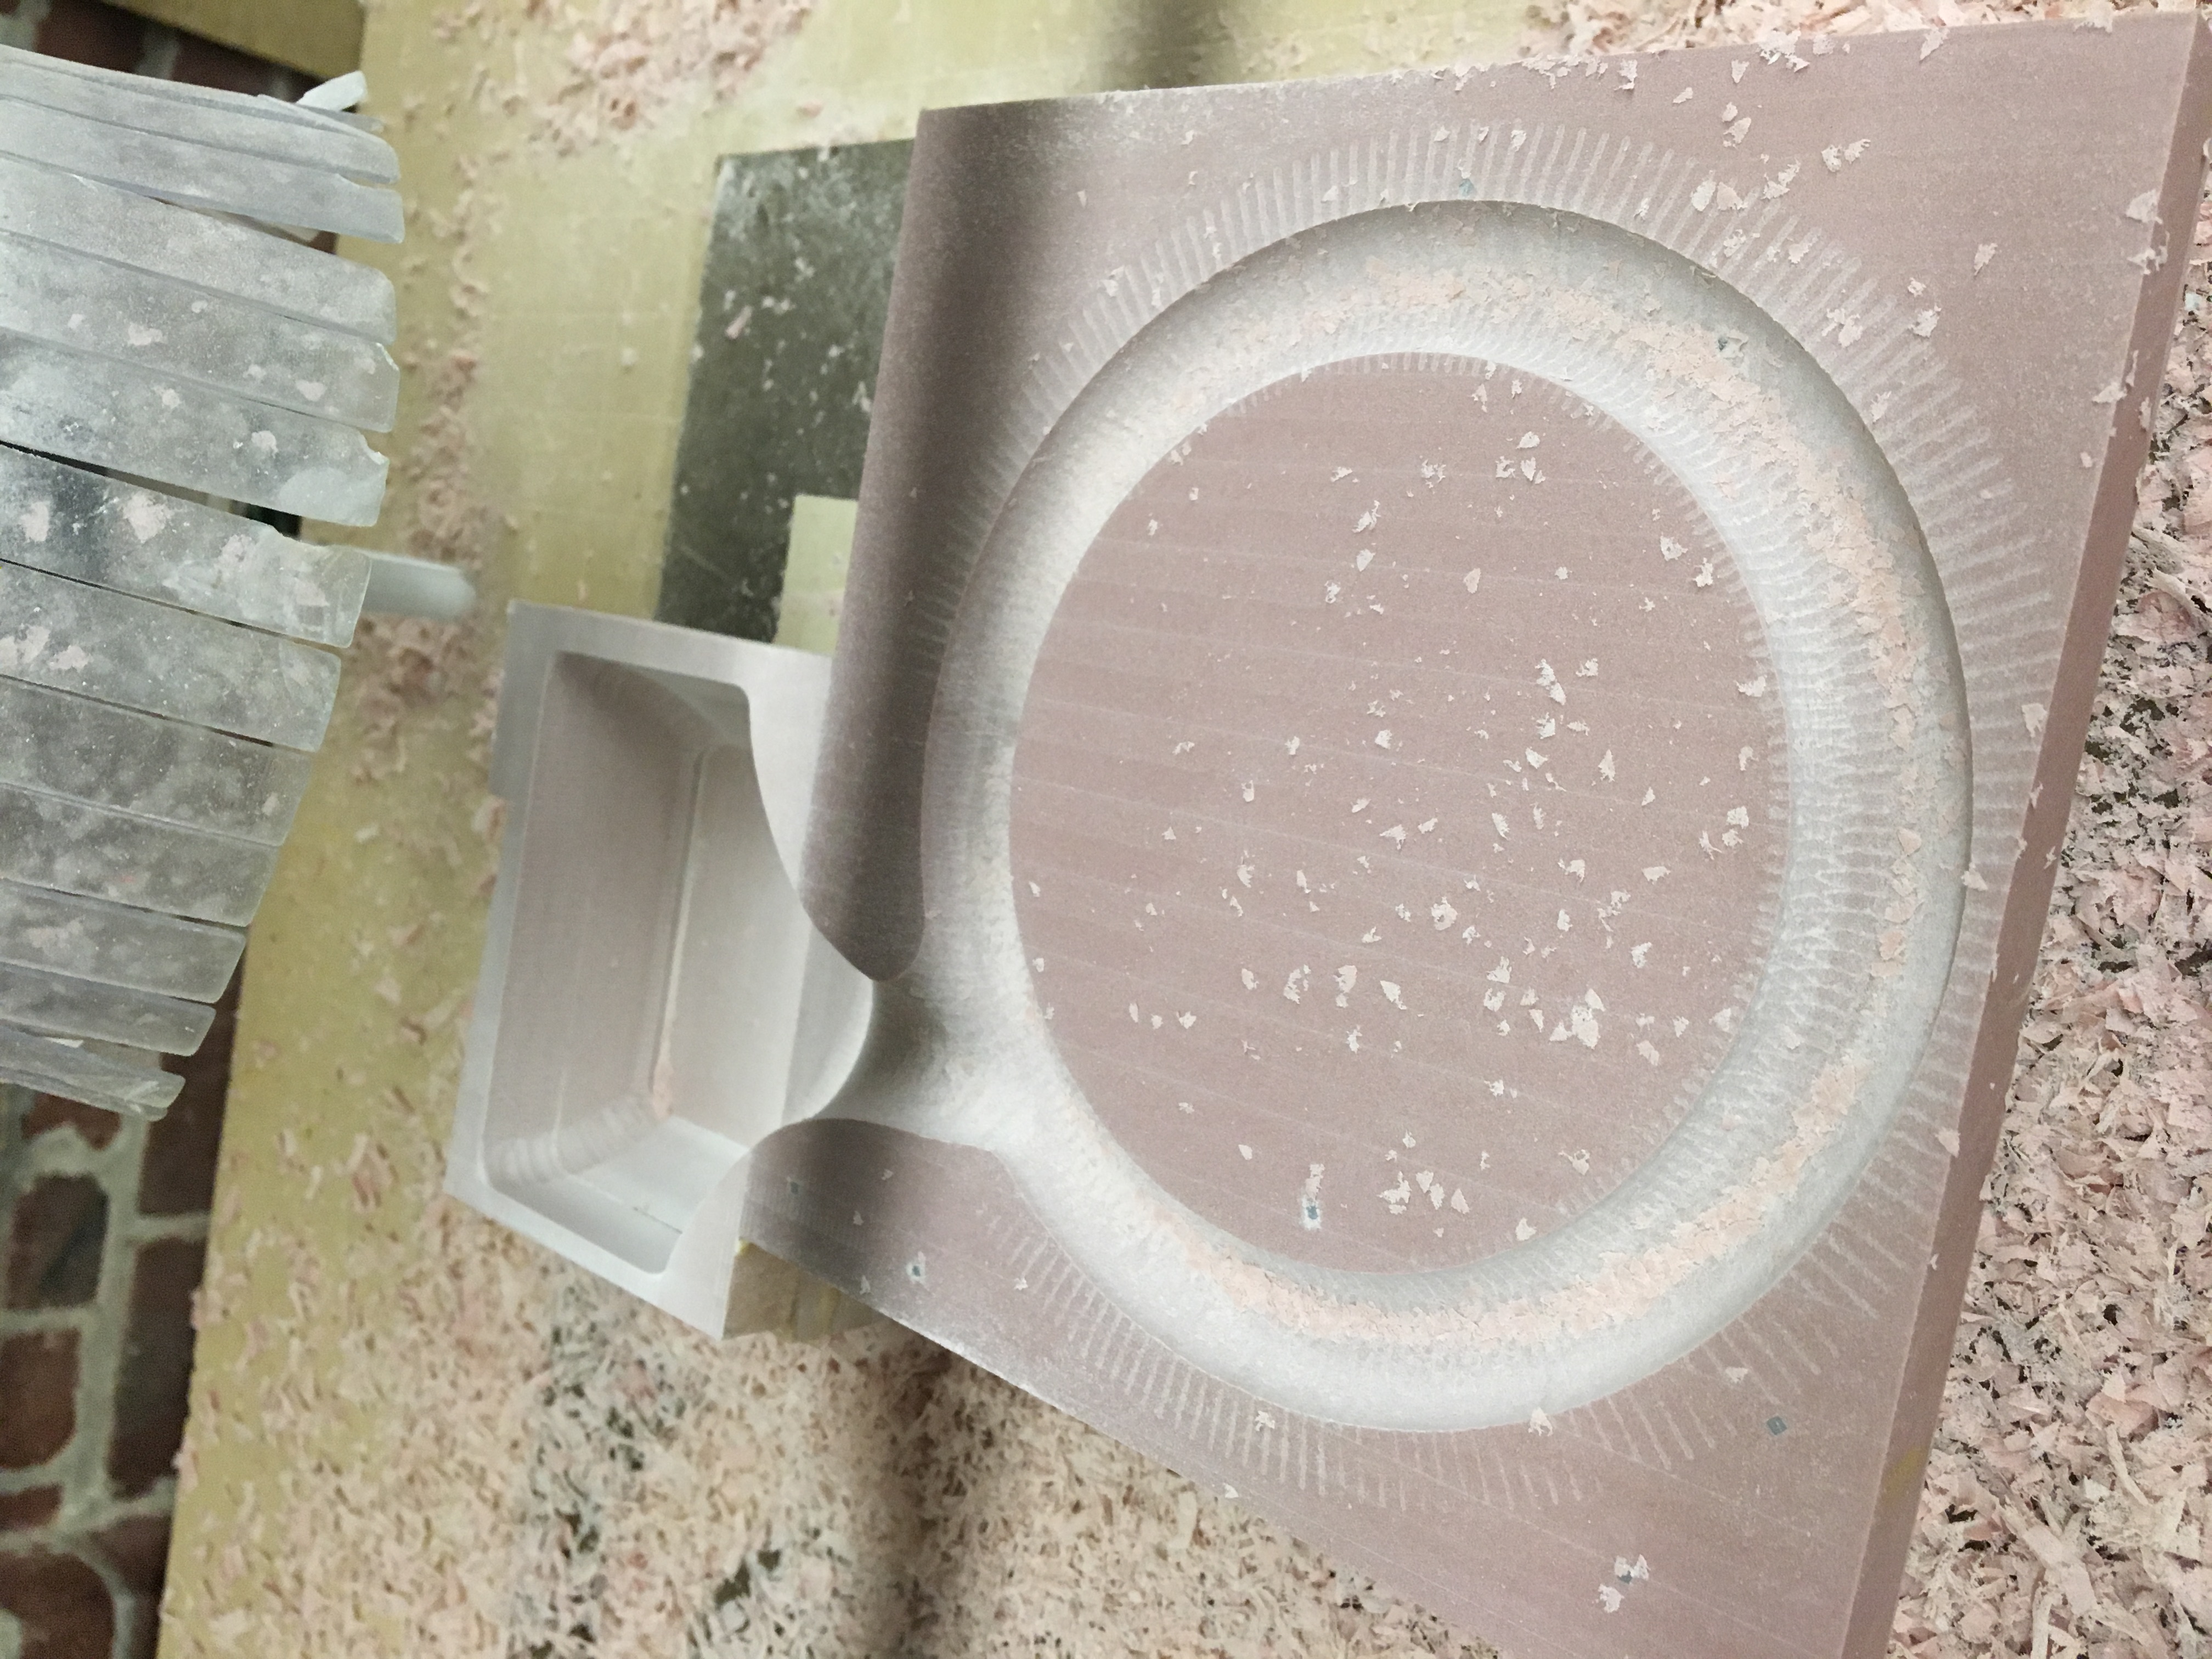
Core Boxes
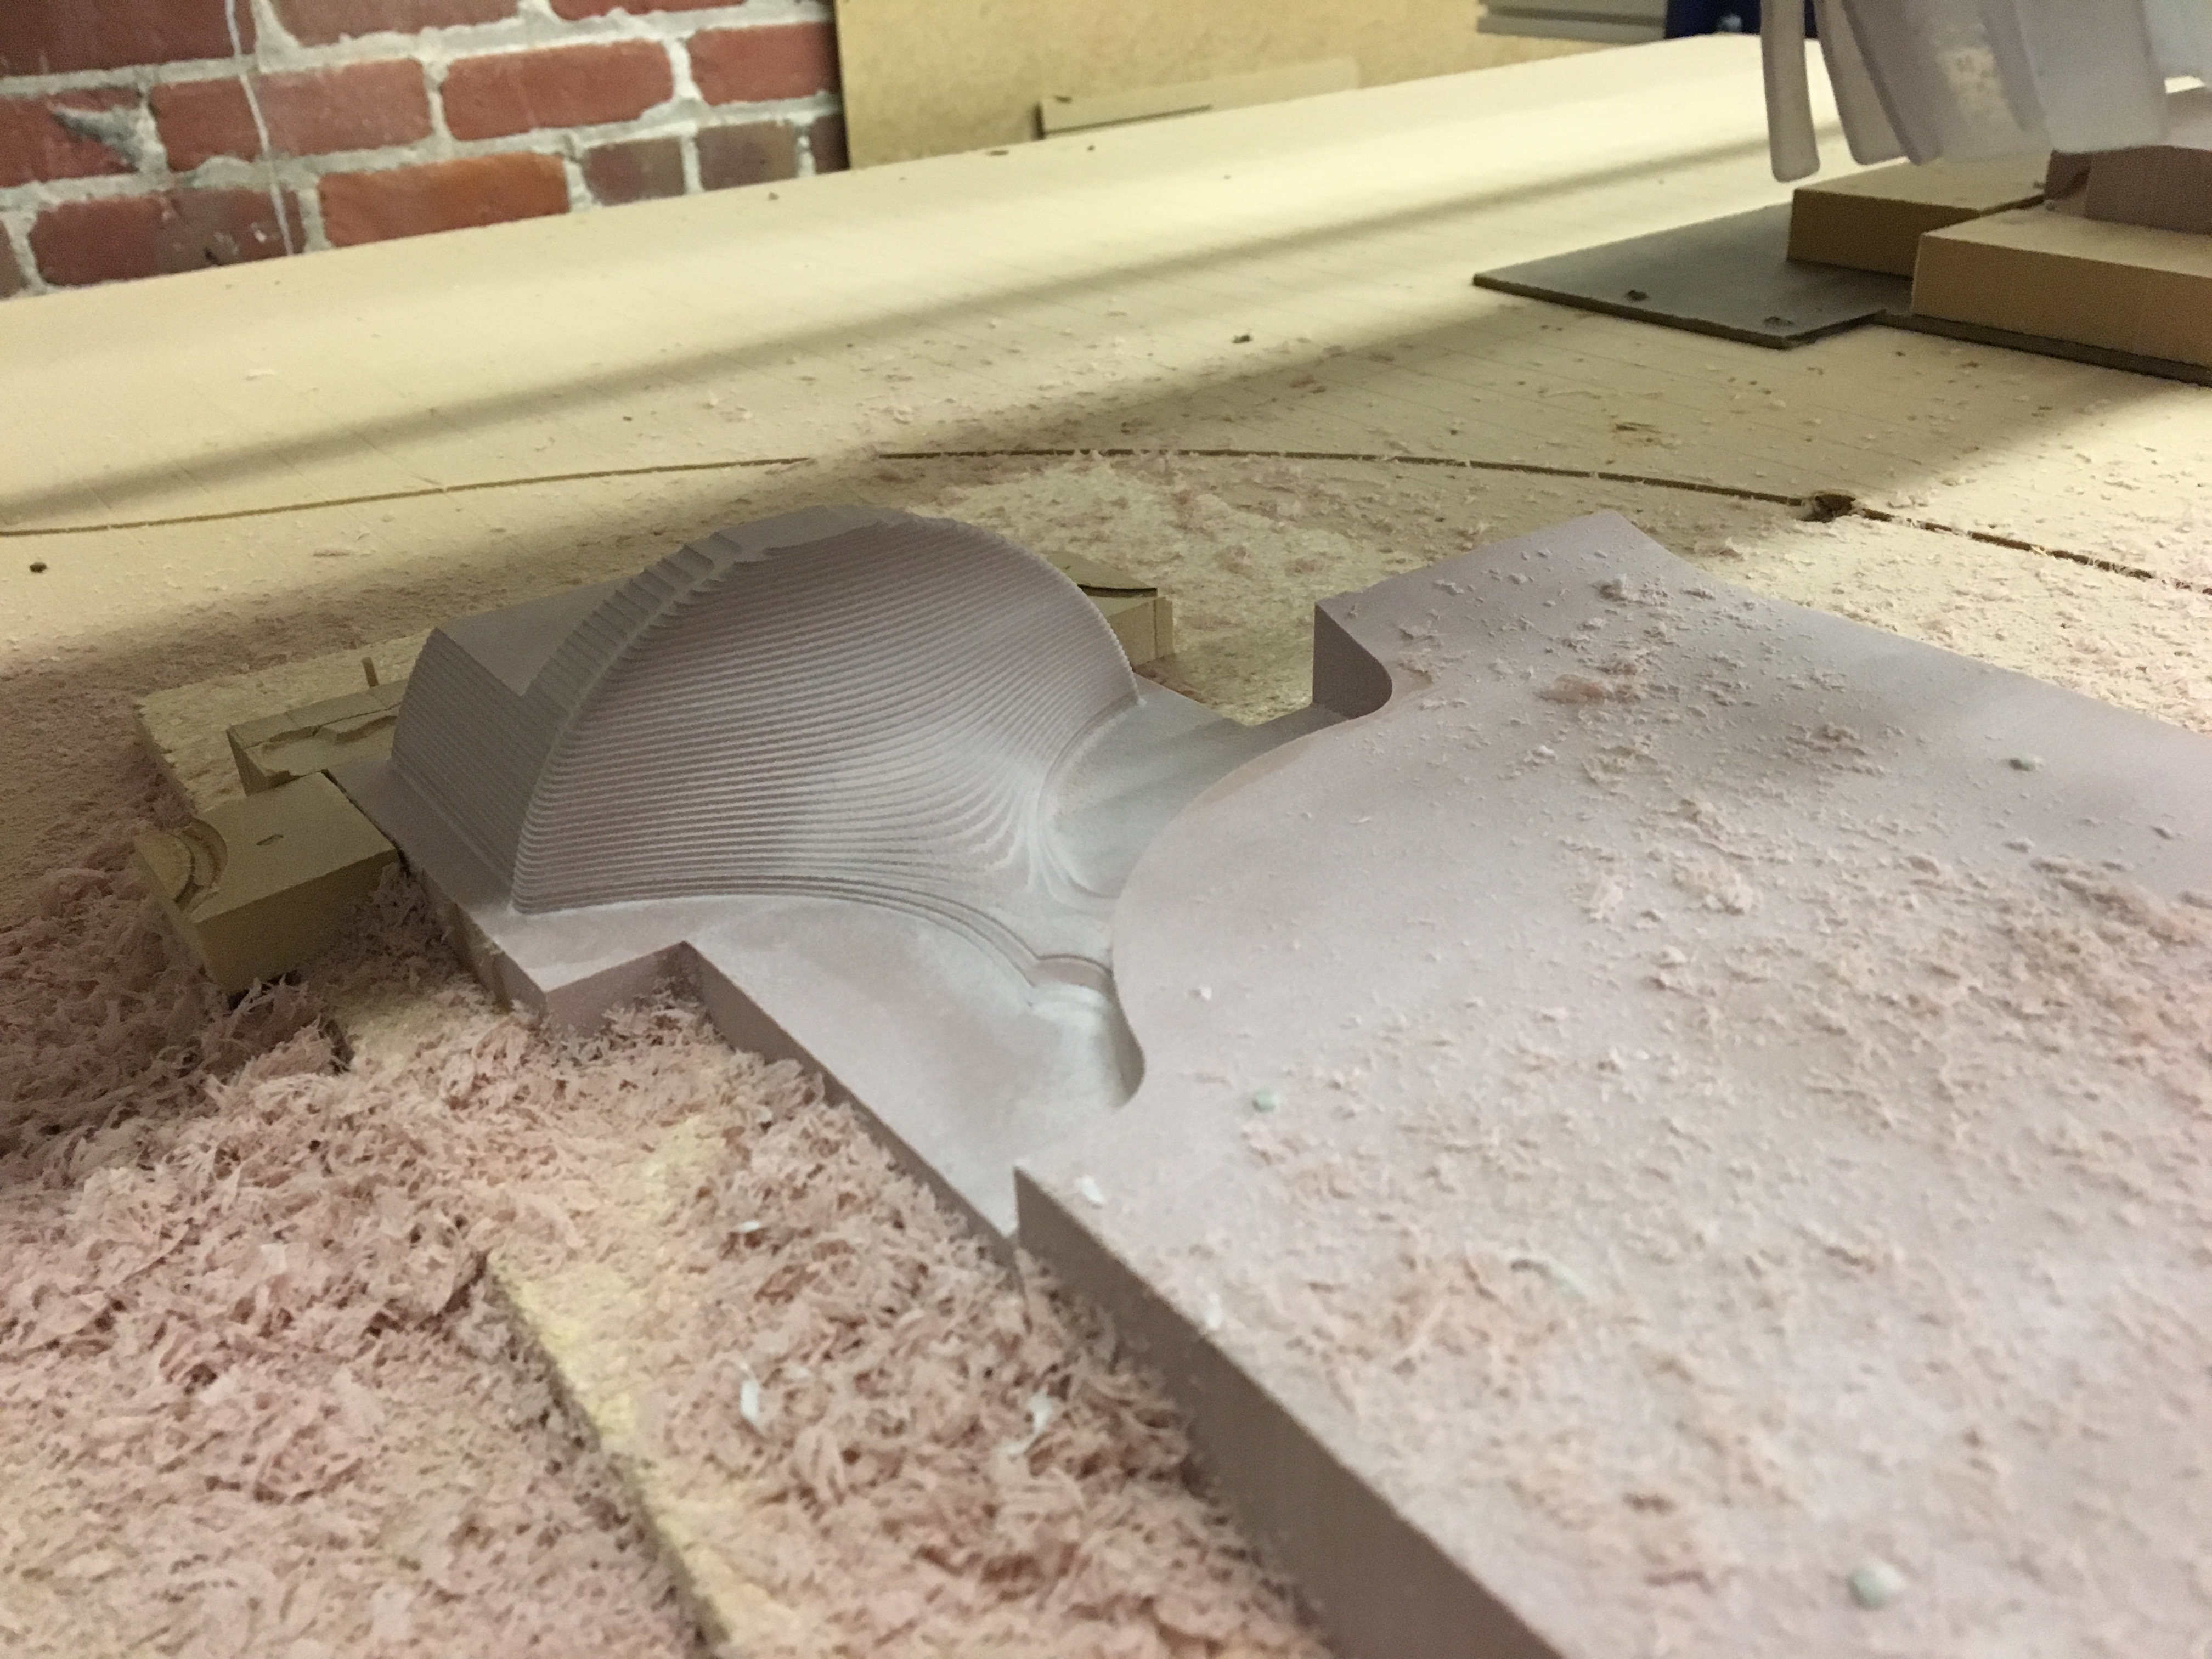
After machining the main pattern, machining the core boxes was pretty straightforward. I was nervous that the end mills wouldn't be long enough to cut the deep wells for the bell, but that didn't end up being a problem.
Pattern Board Assembly
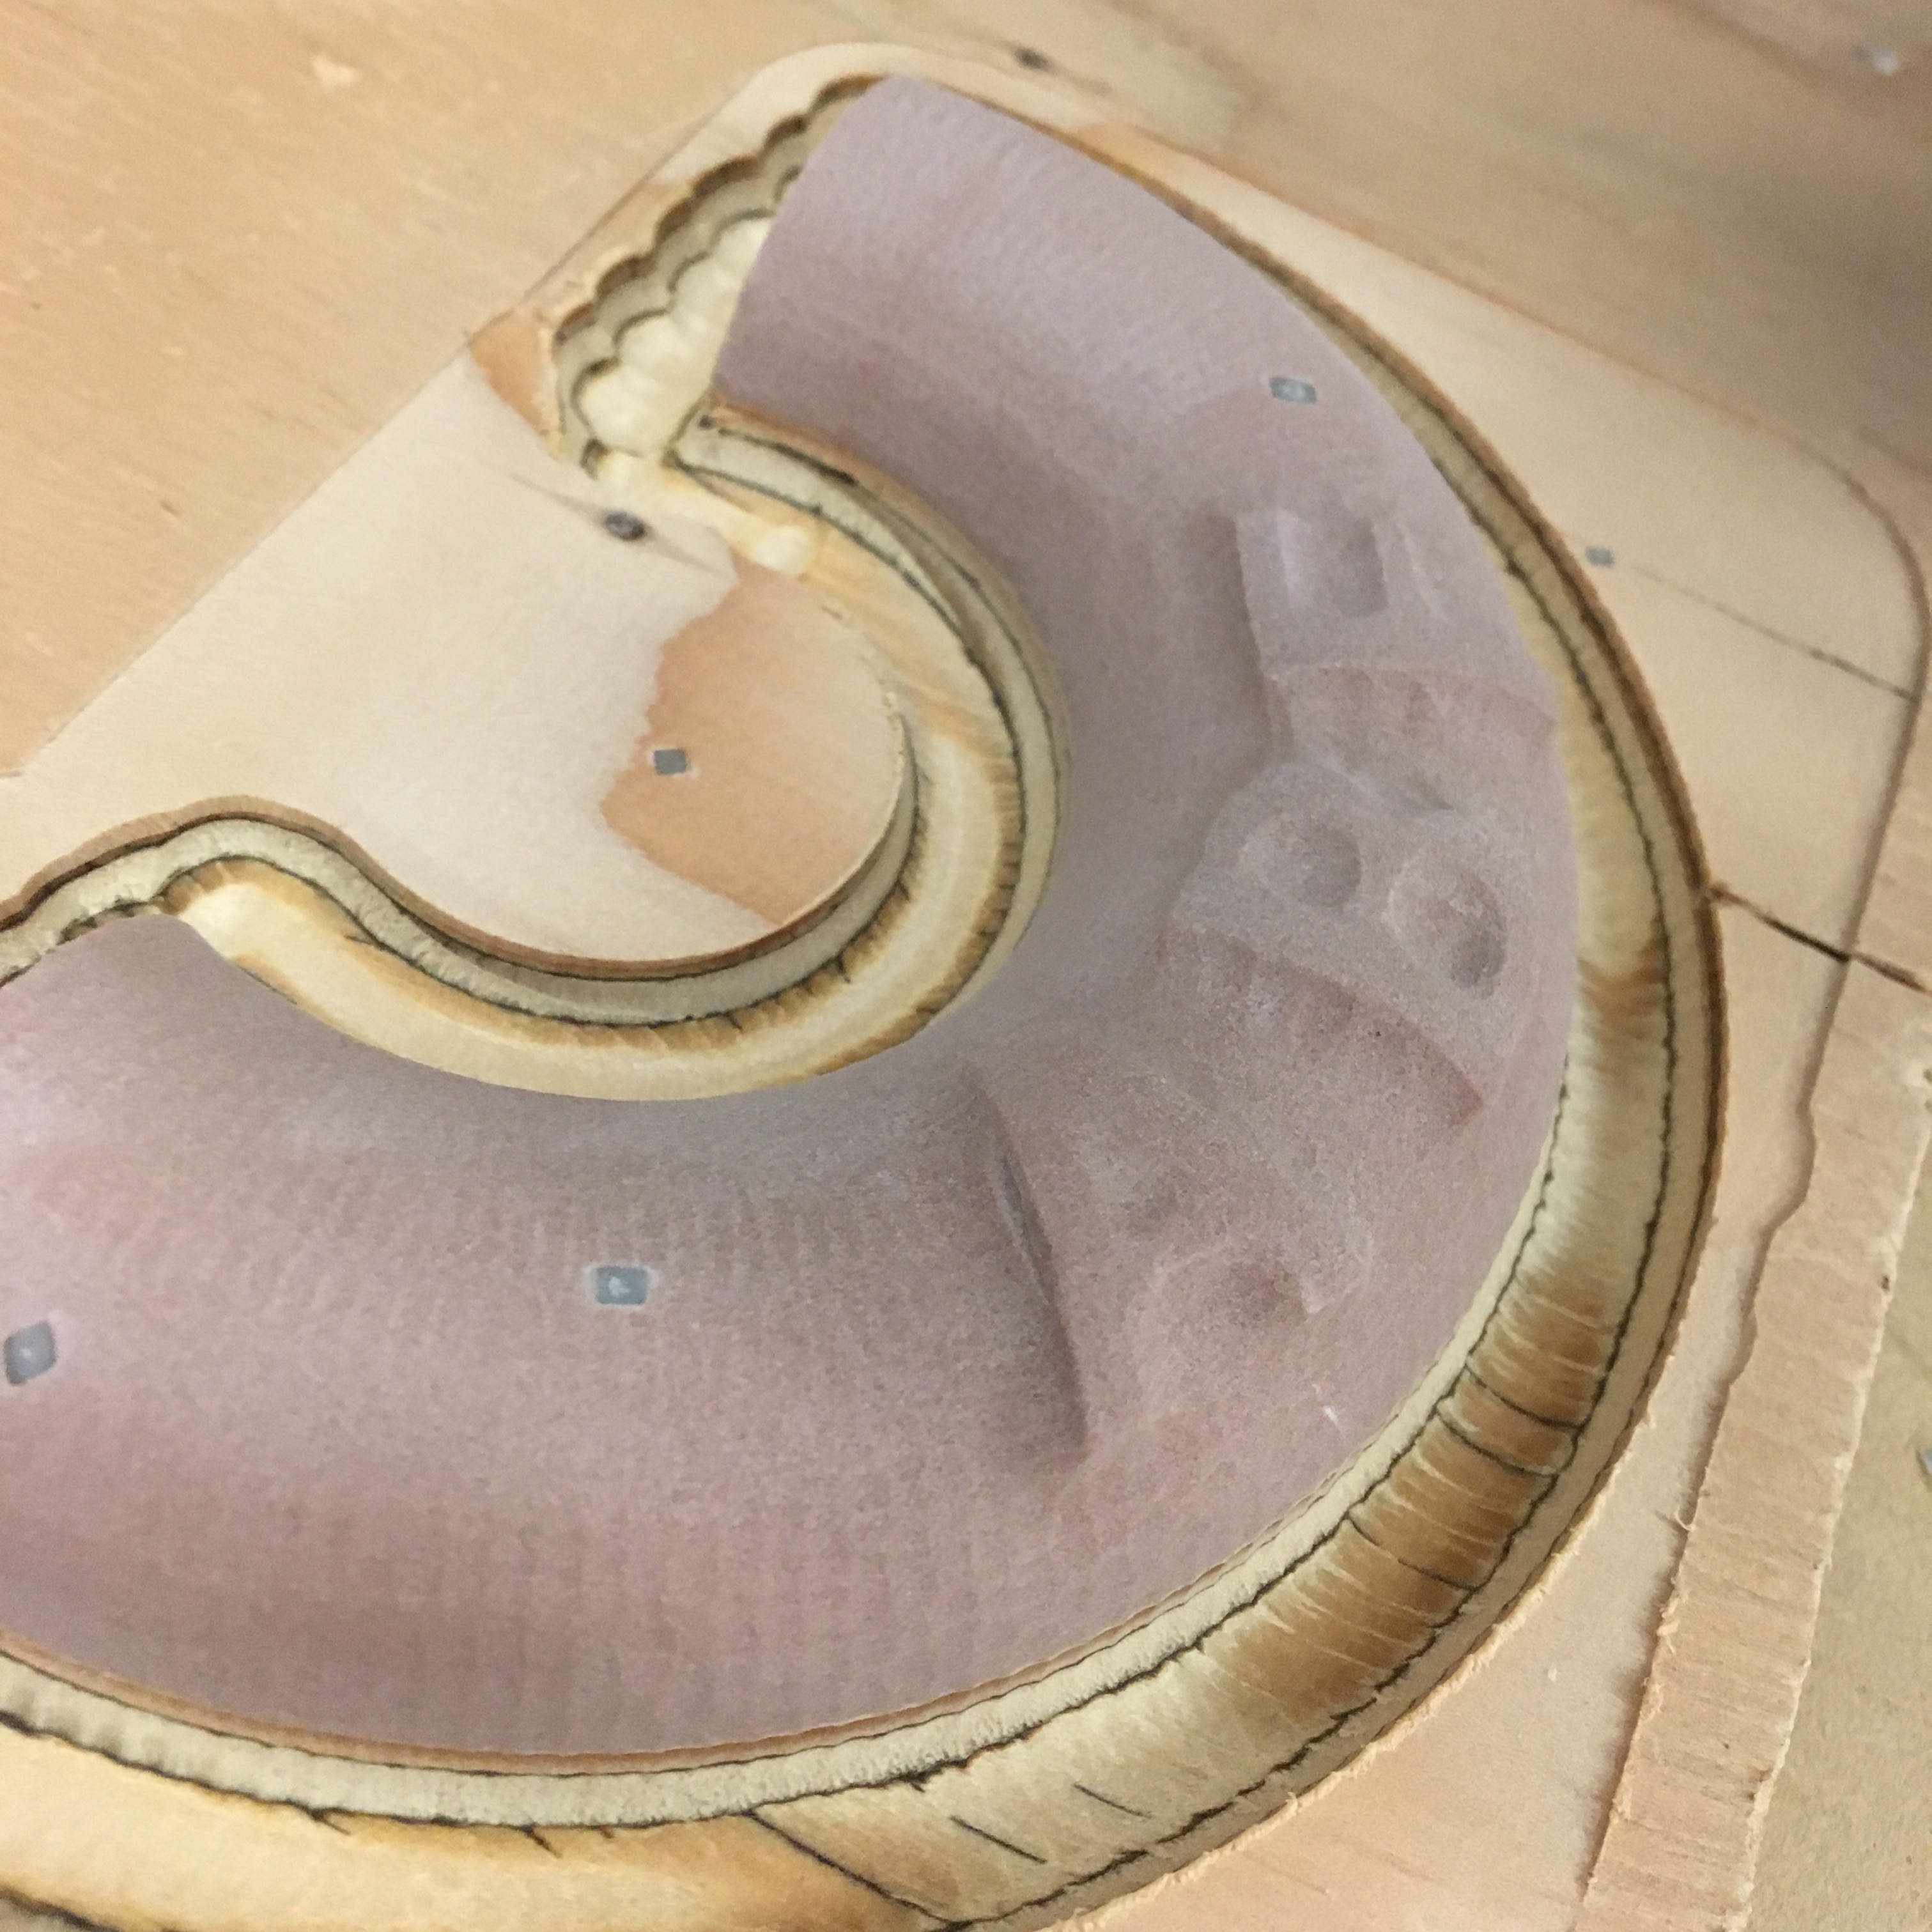
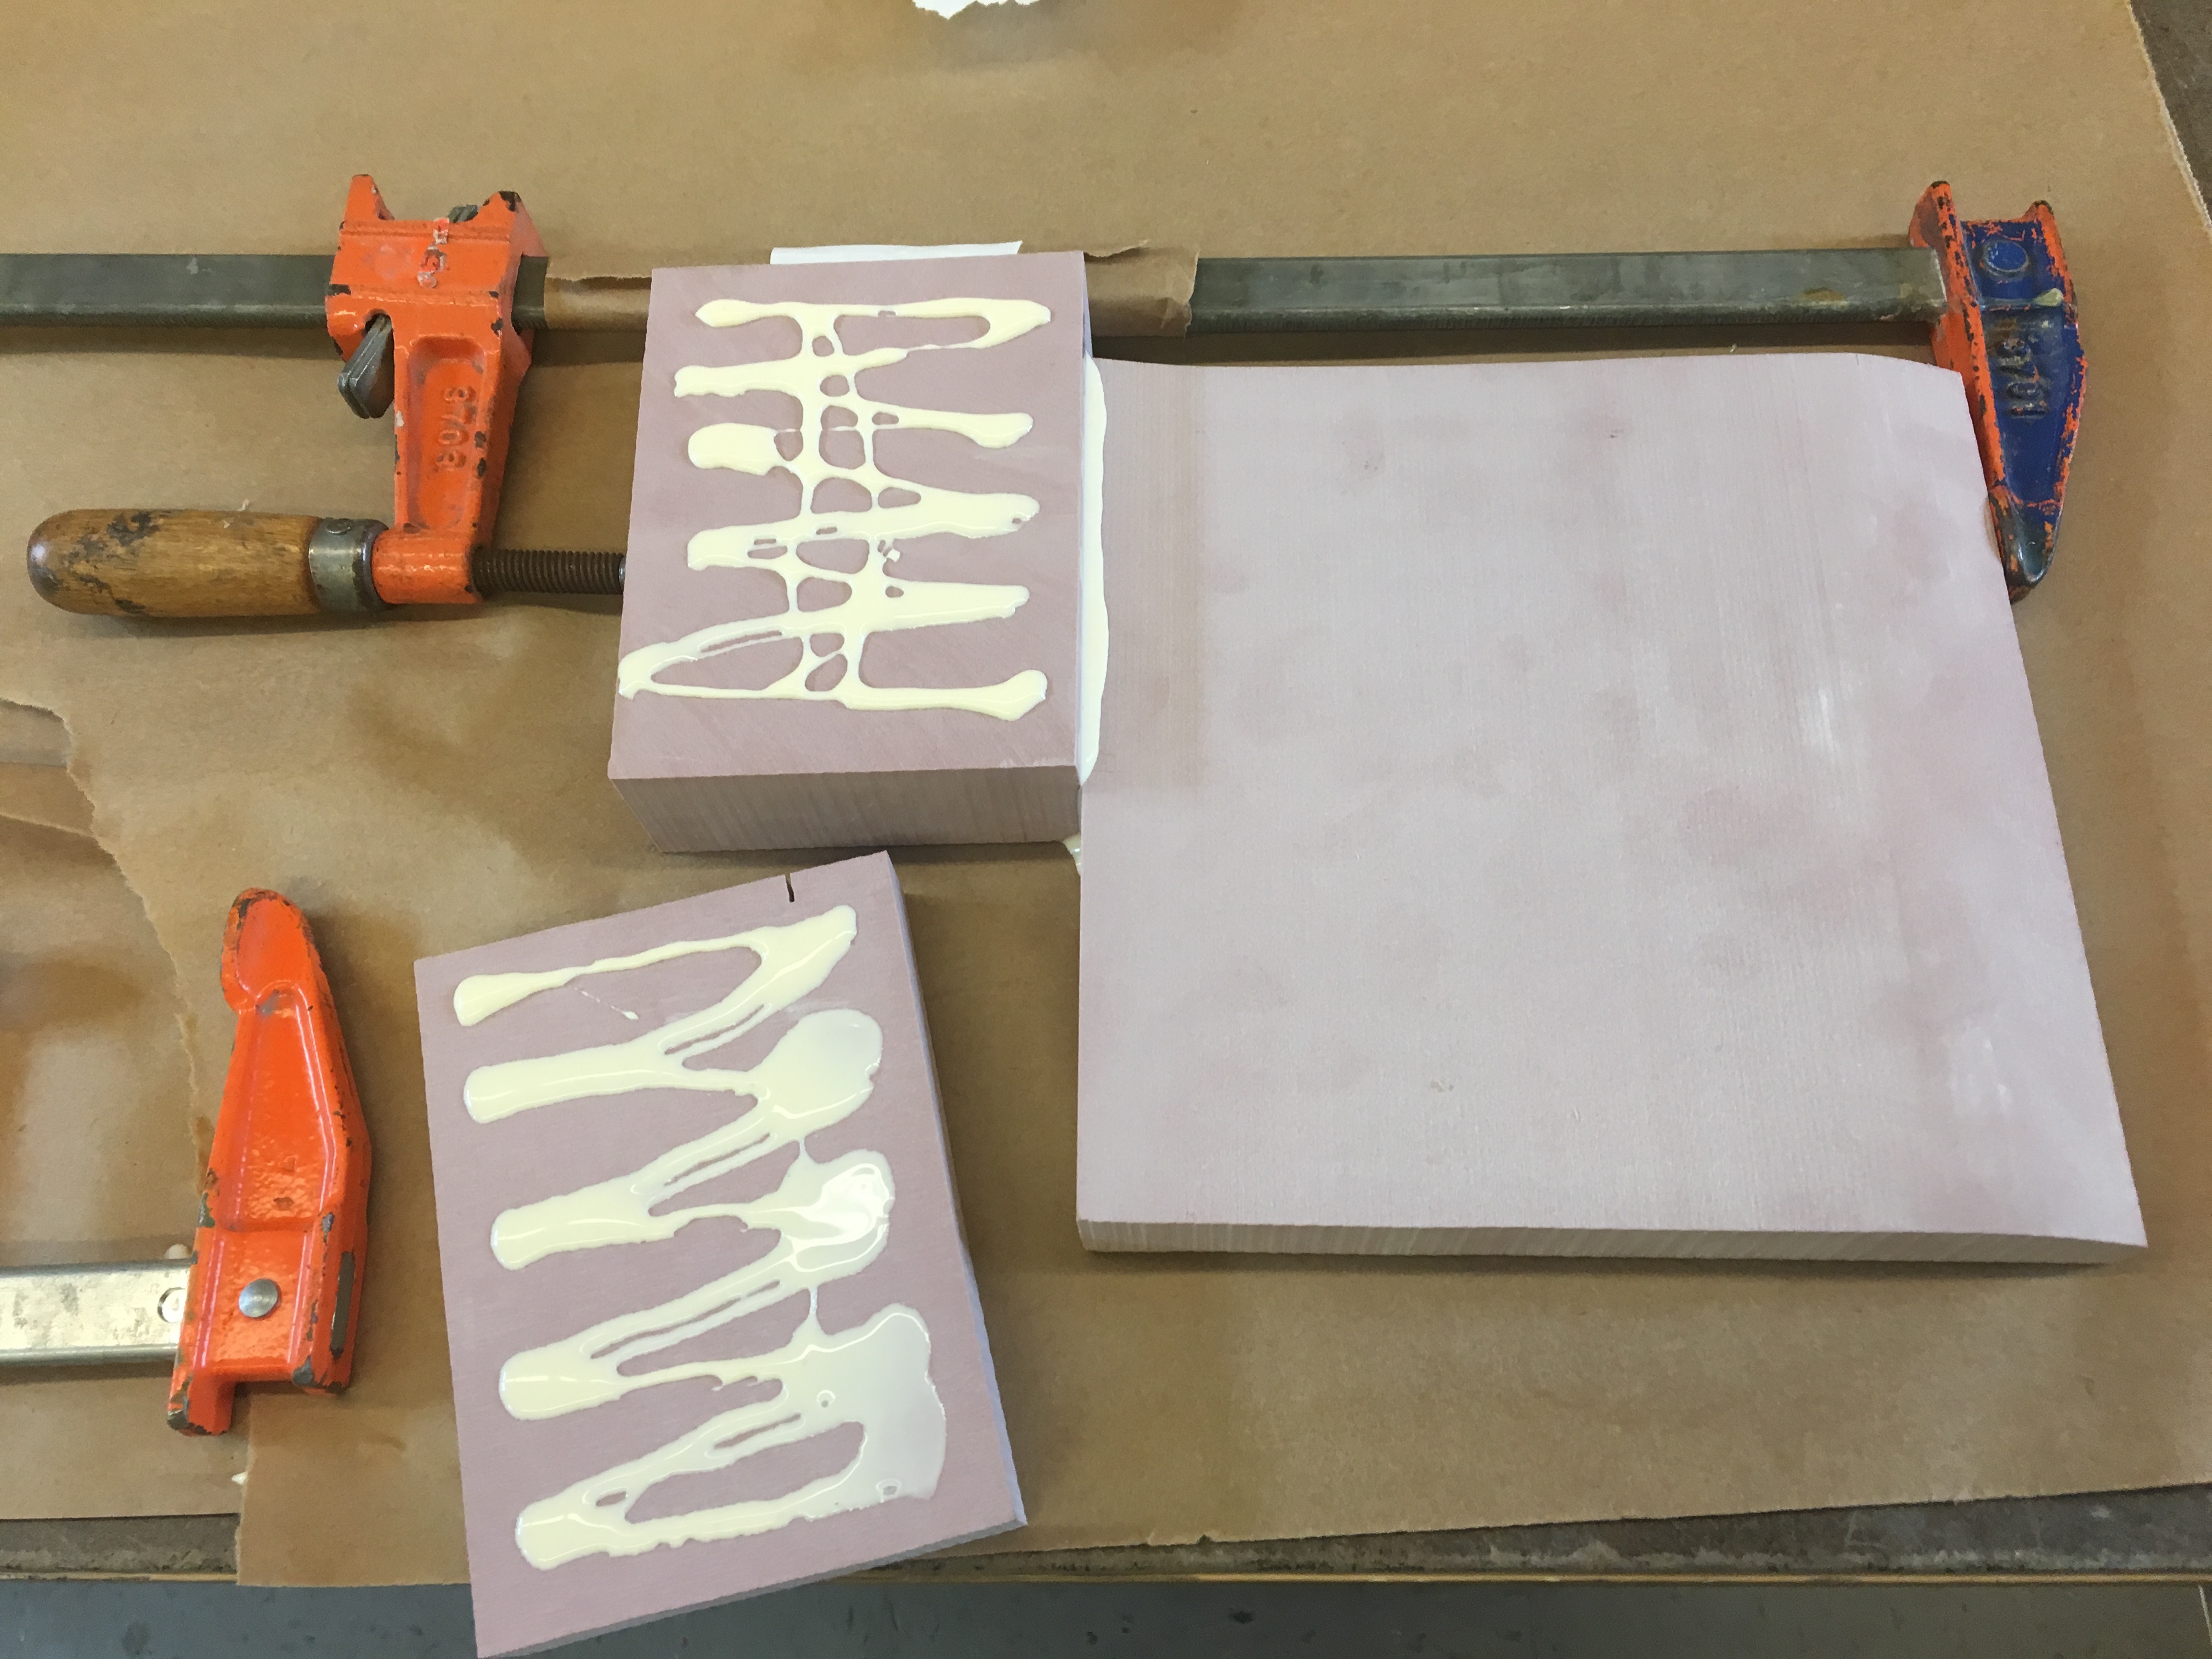
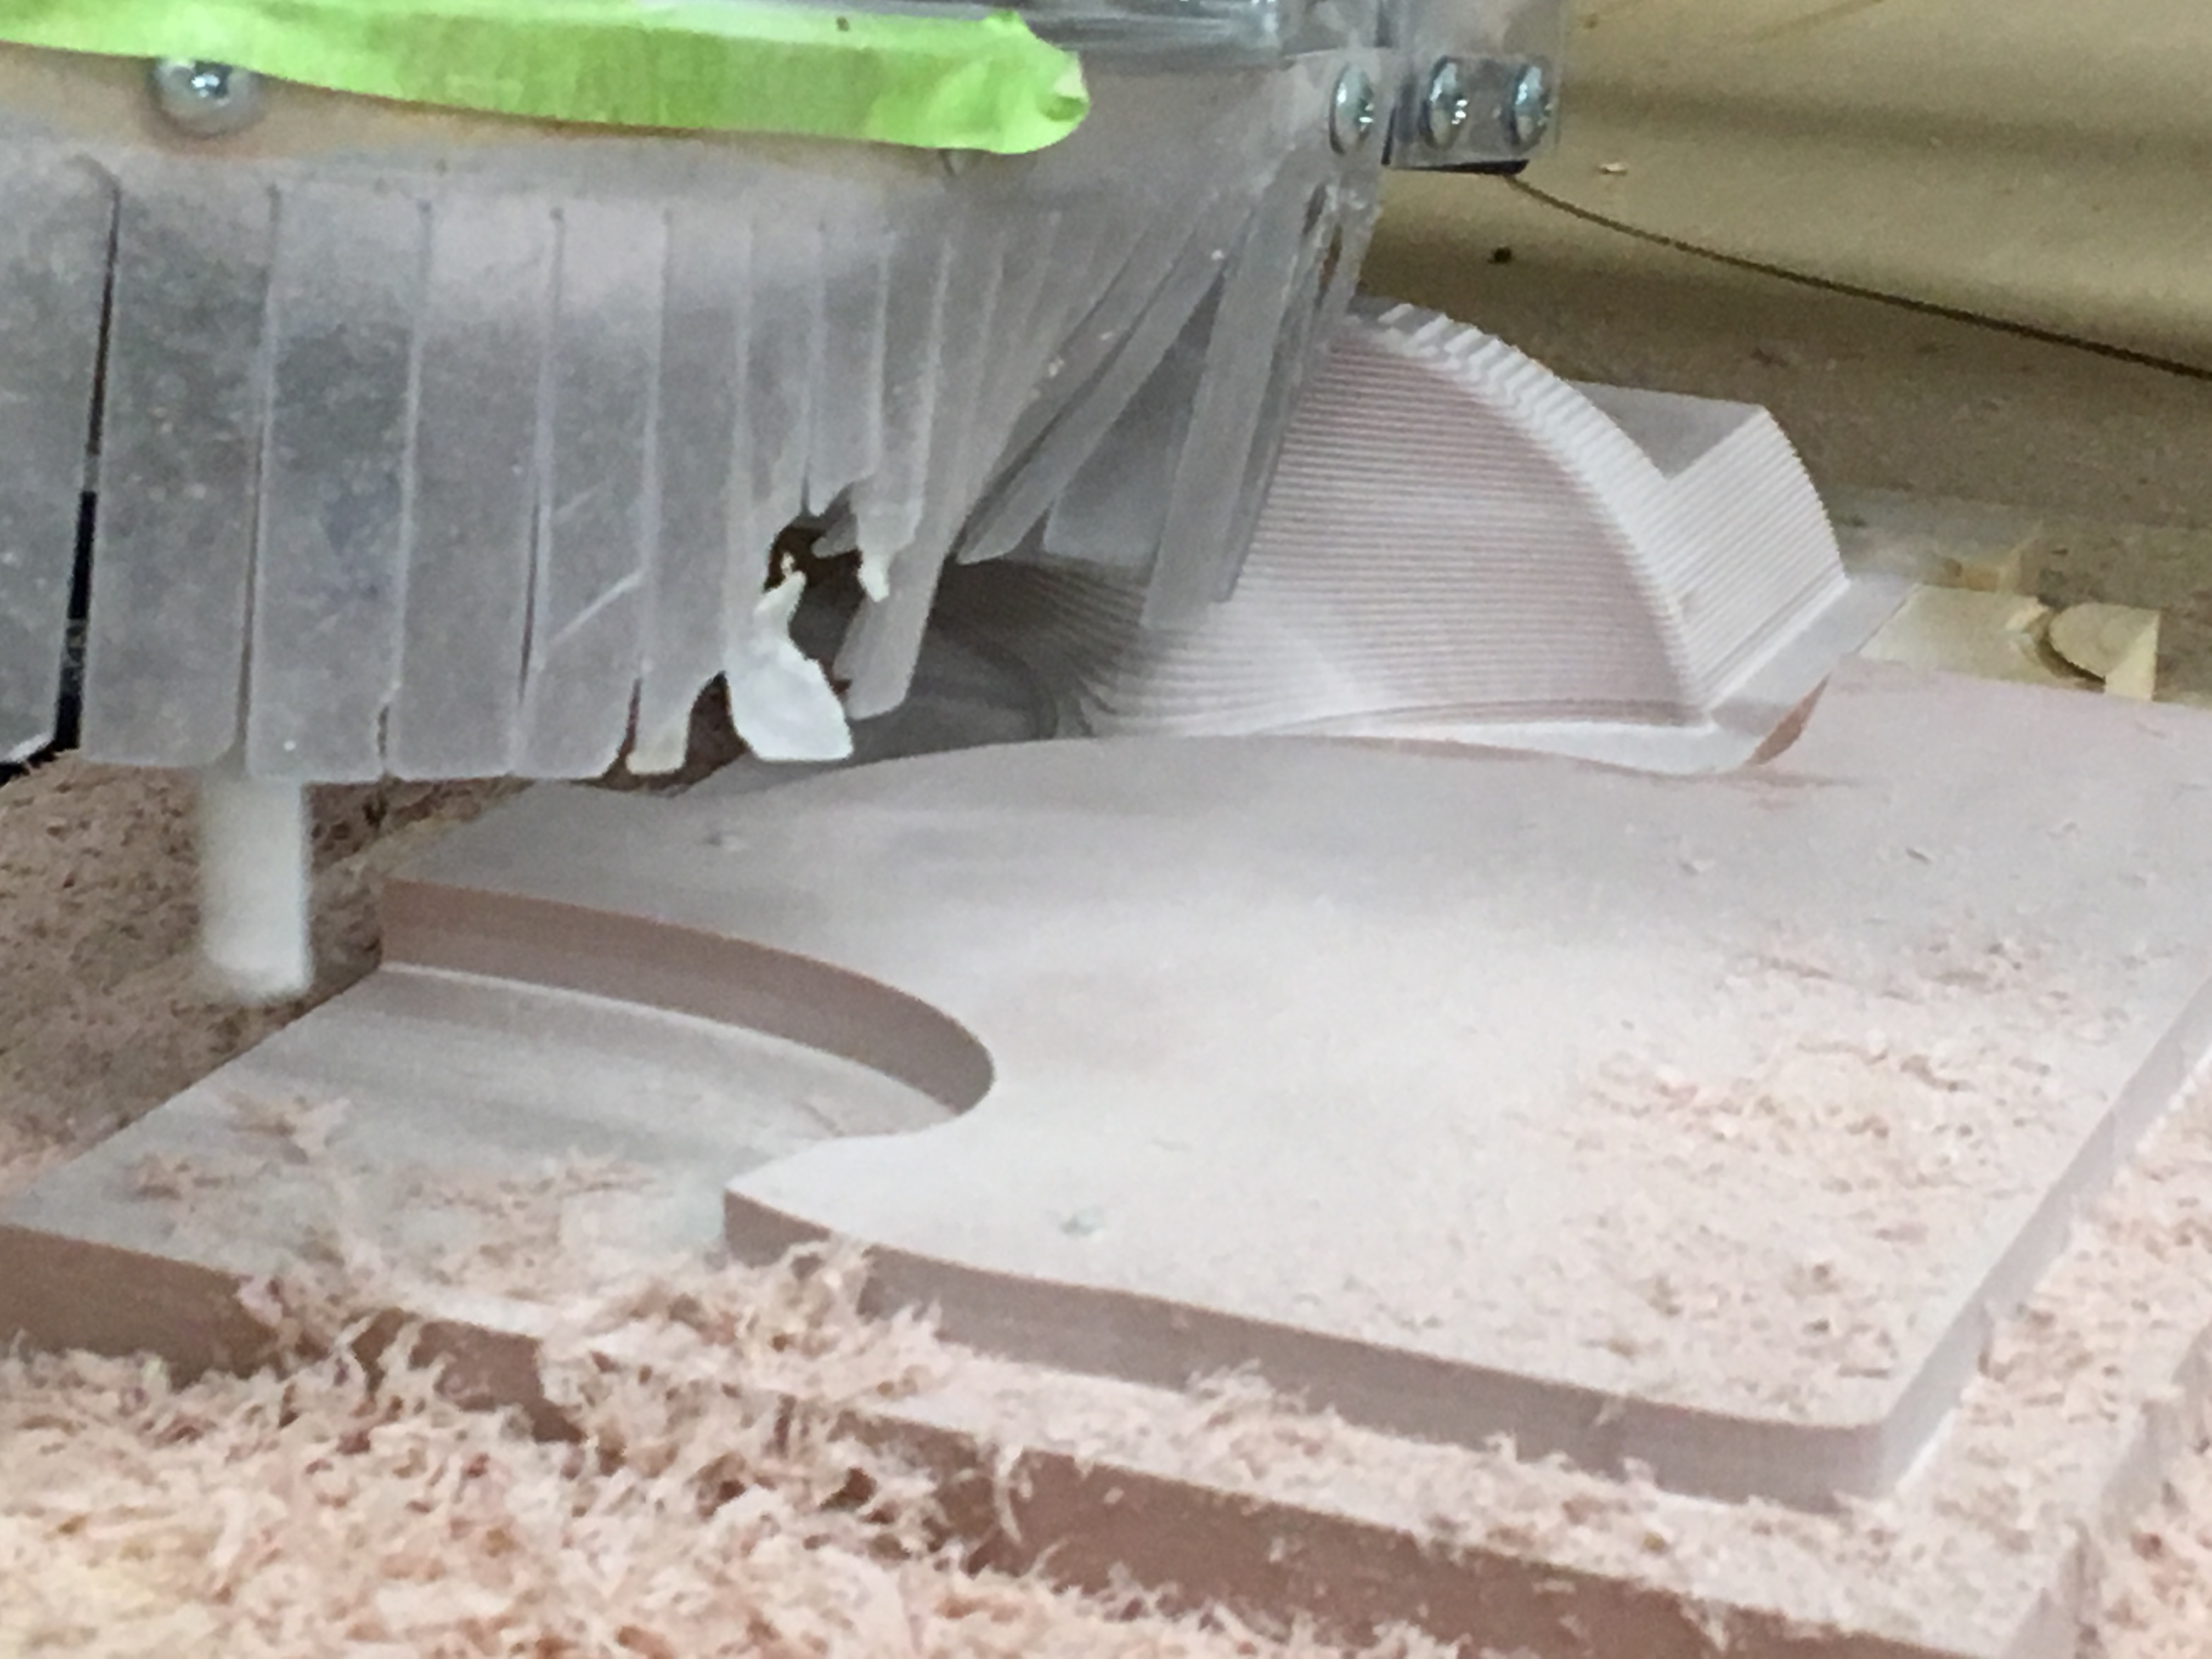
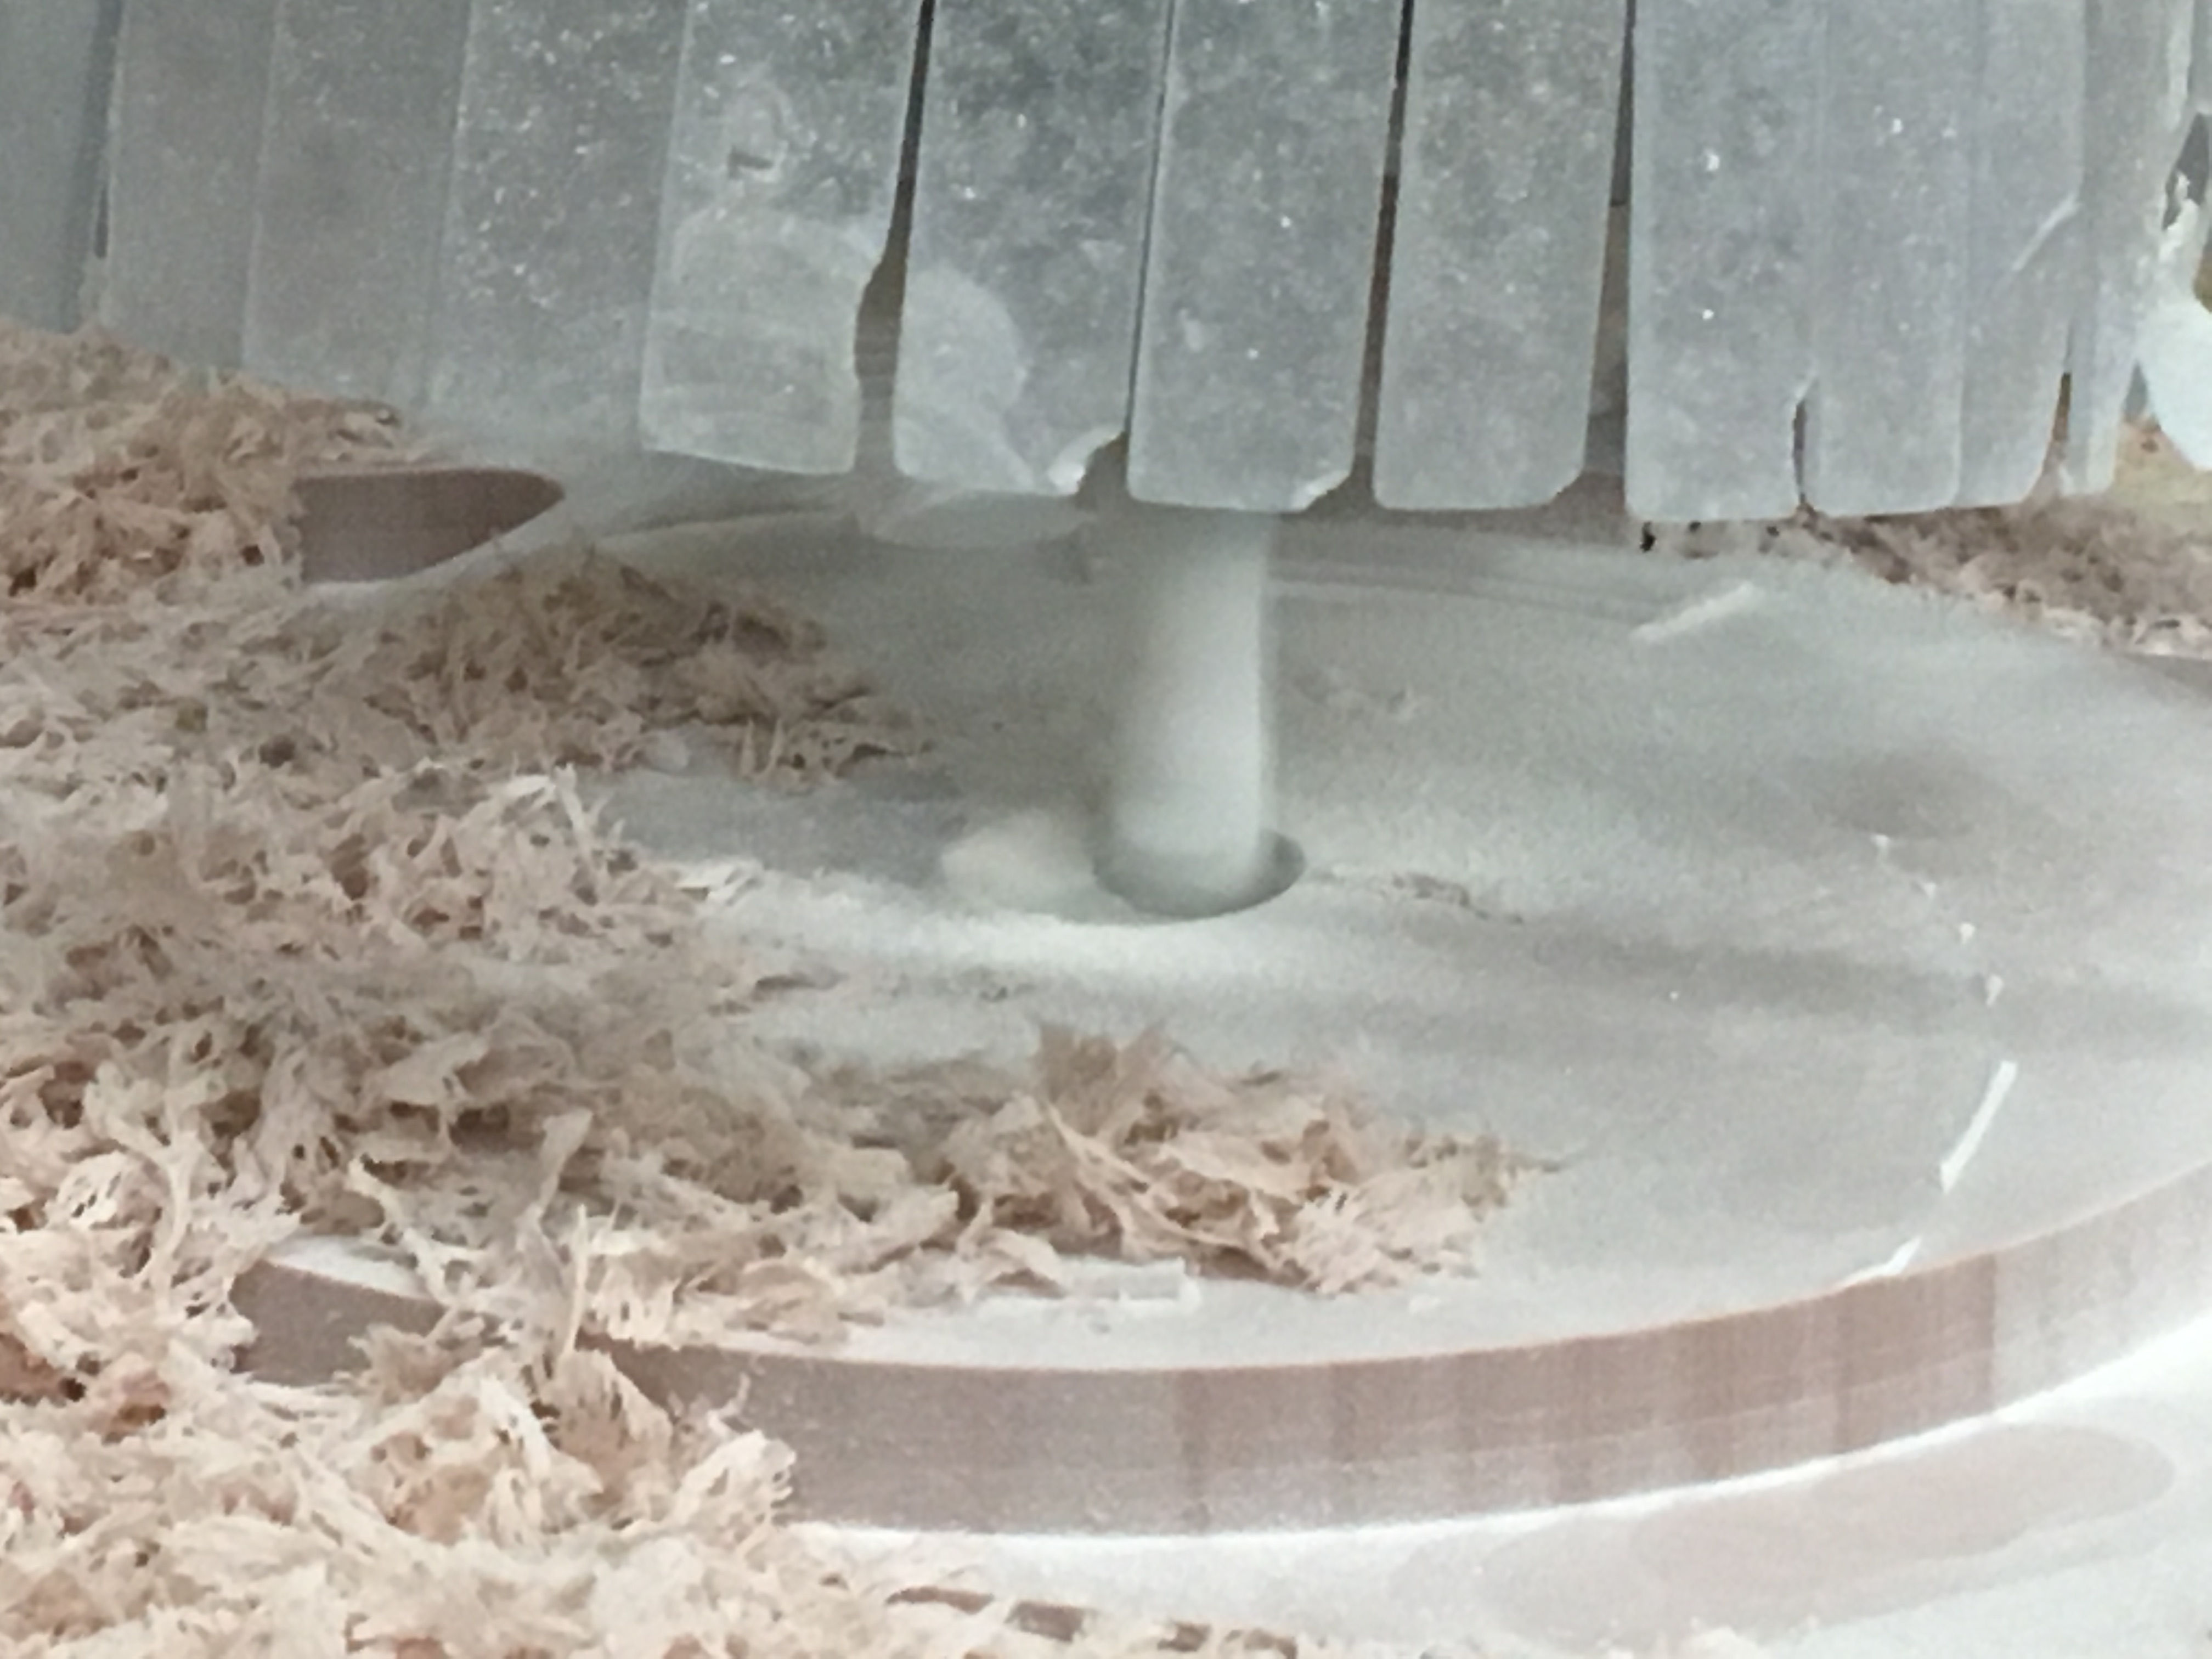
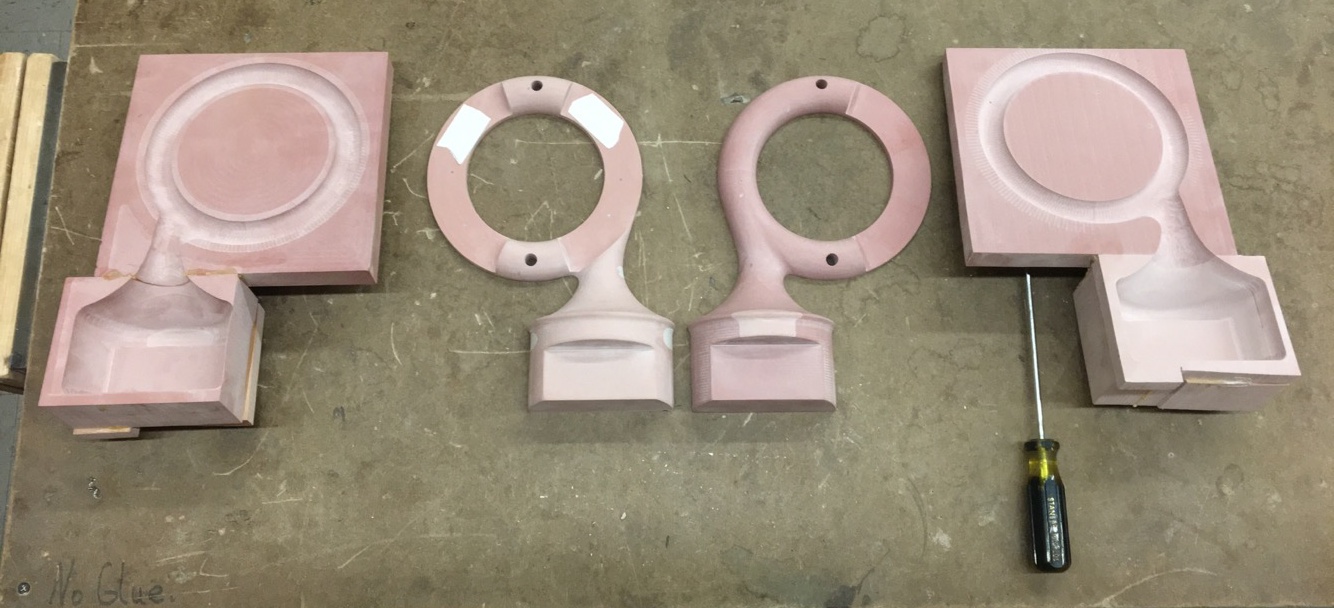
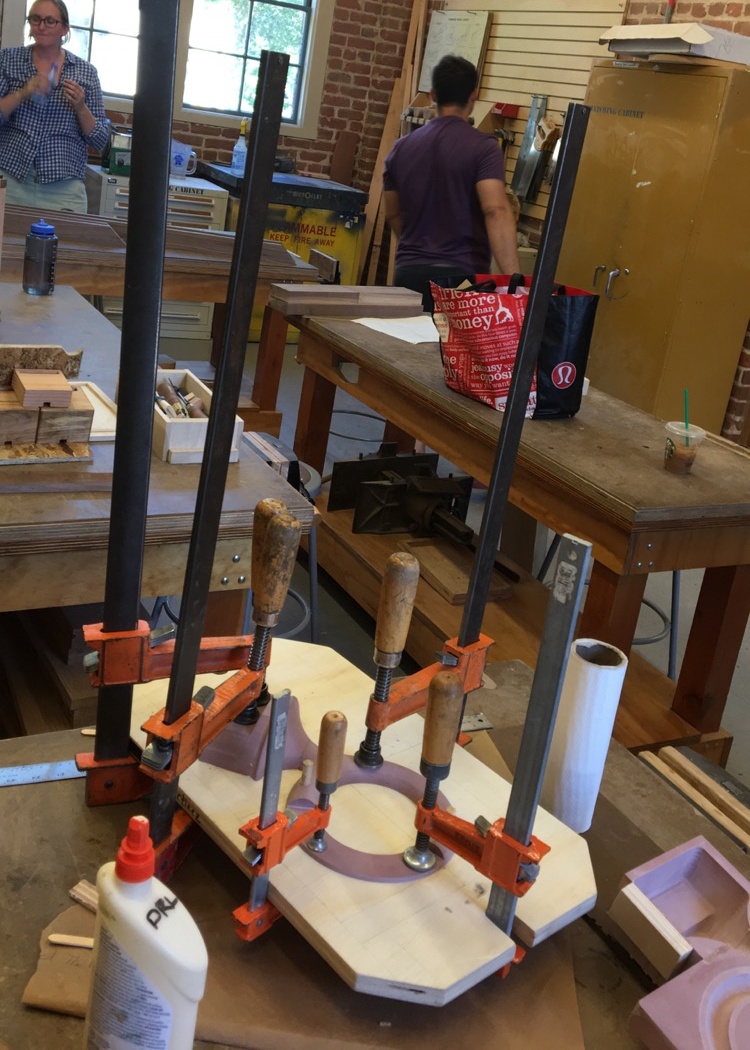
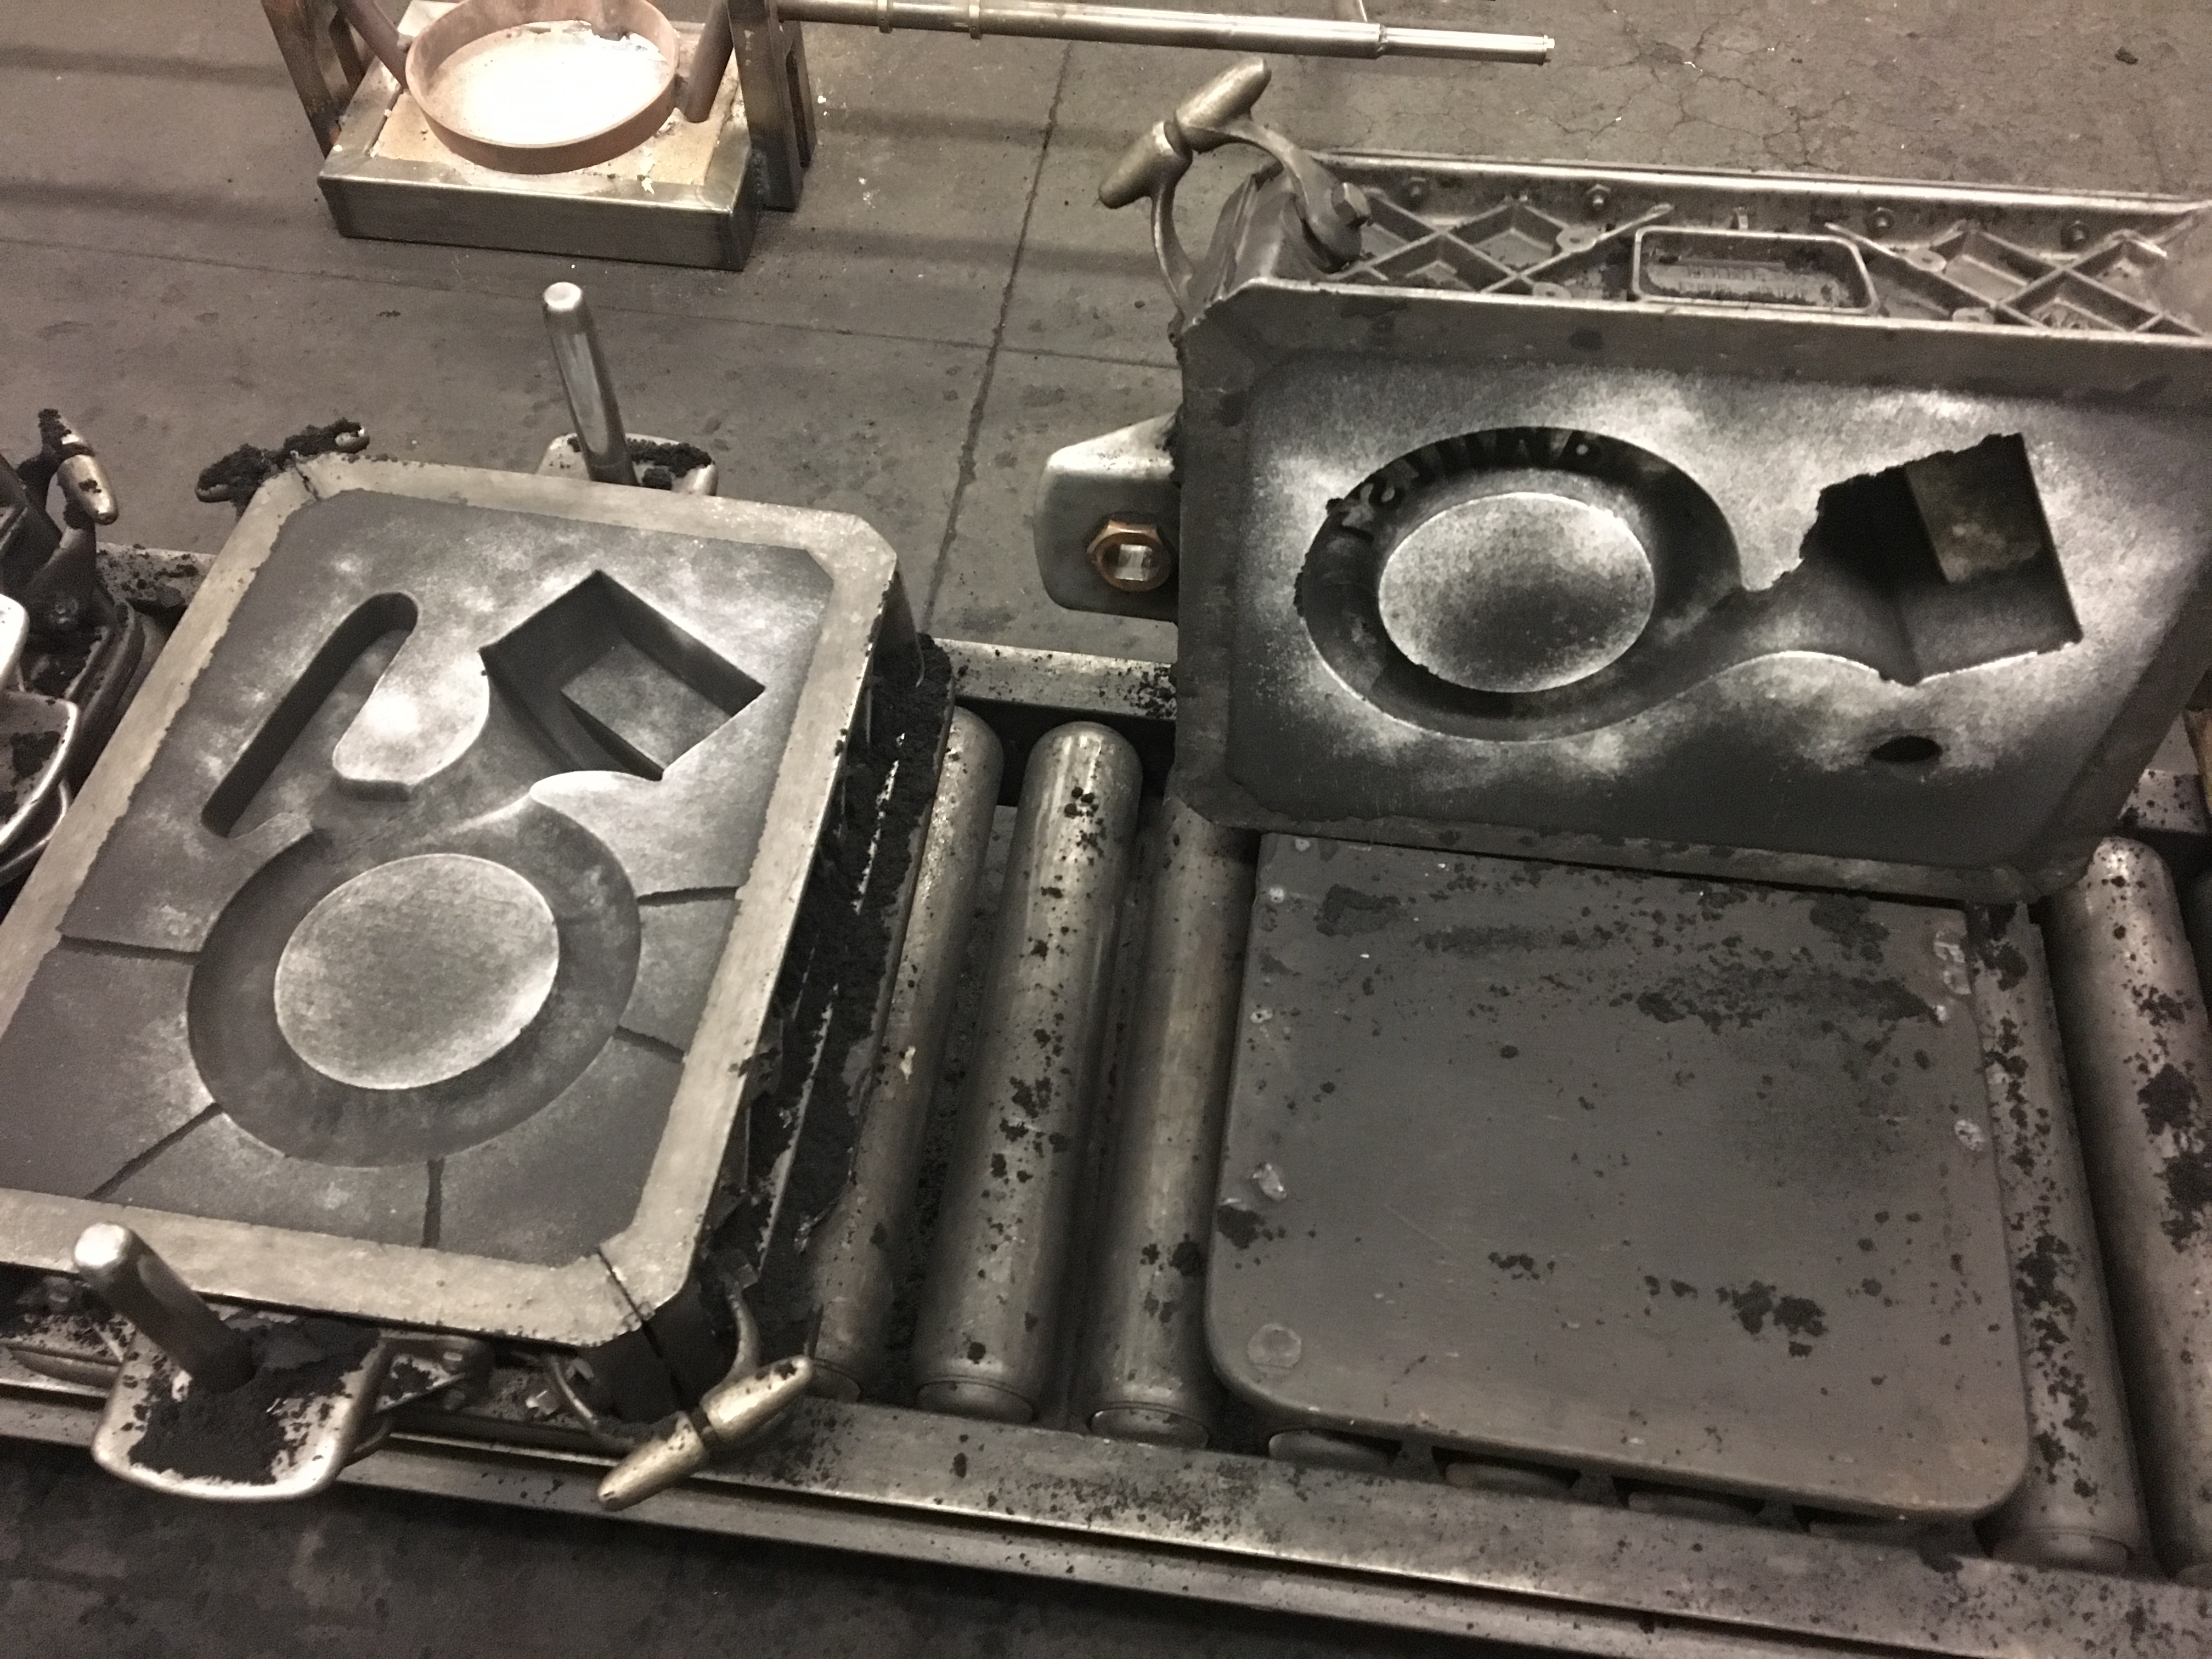
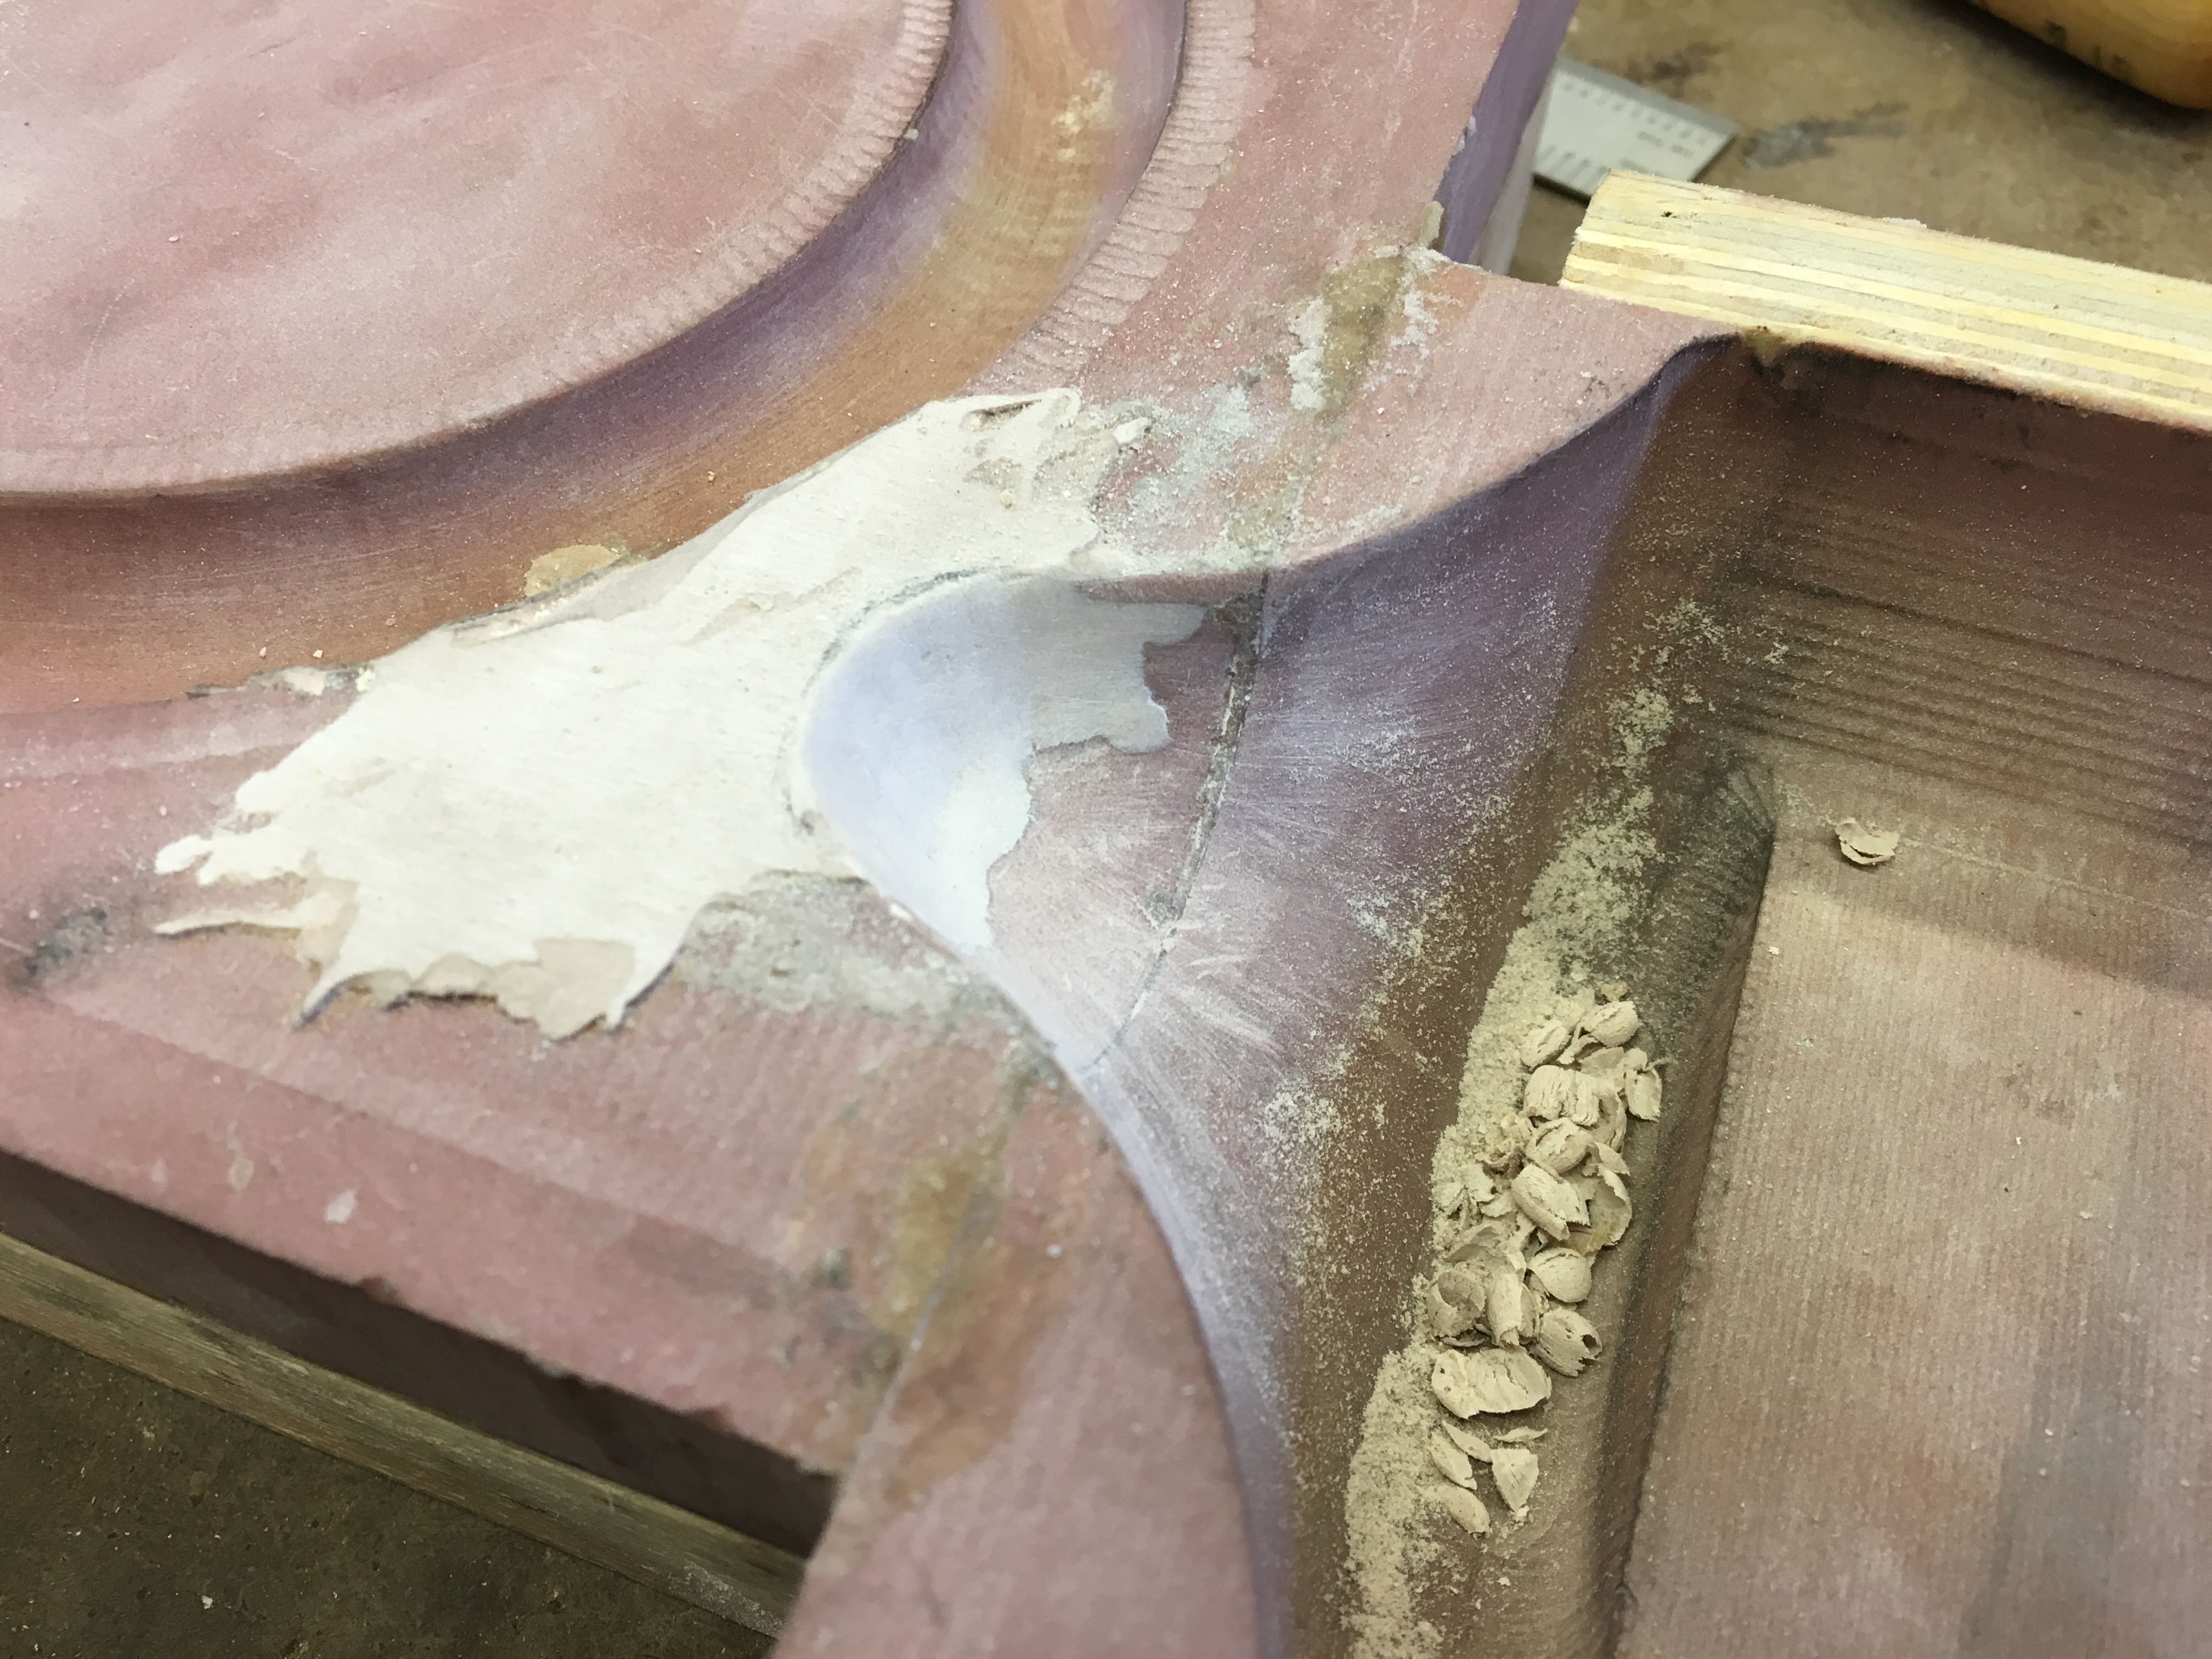
Once the main parts of the pattern machined, I had to assemble the actual pattern board. In order to ensure the two halves of the pattern were aligned on the two sides of the pattern board, I taped the two halves together and drilled two holes through the pattern. Figuring out how to fixture this very oddly shaped piece was a fun challenge! Two holes were then also drilled into the plywood pattern board (exactly the same distance apart!) and a dowel was fed through the machined parts and the plywood to align everything.
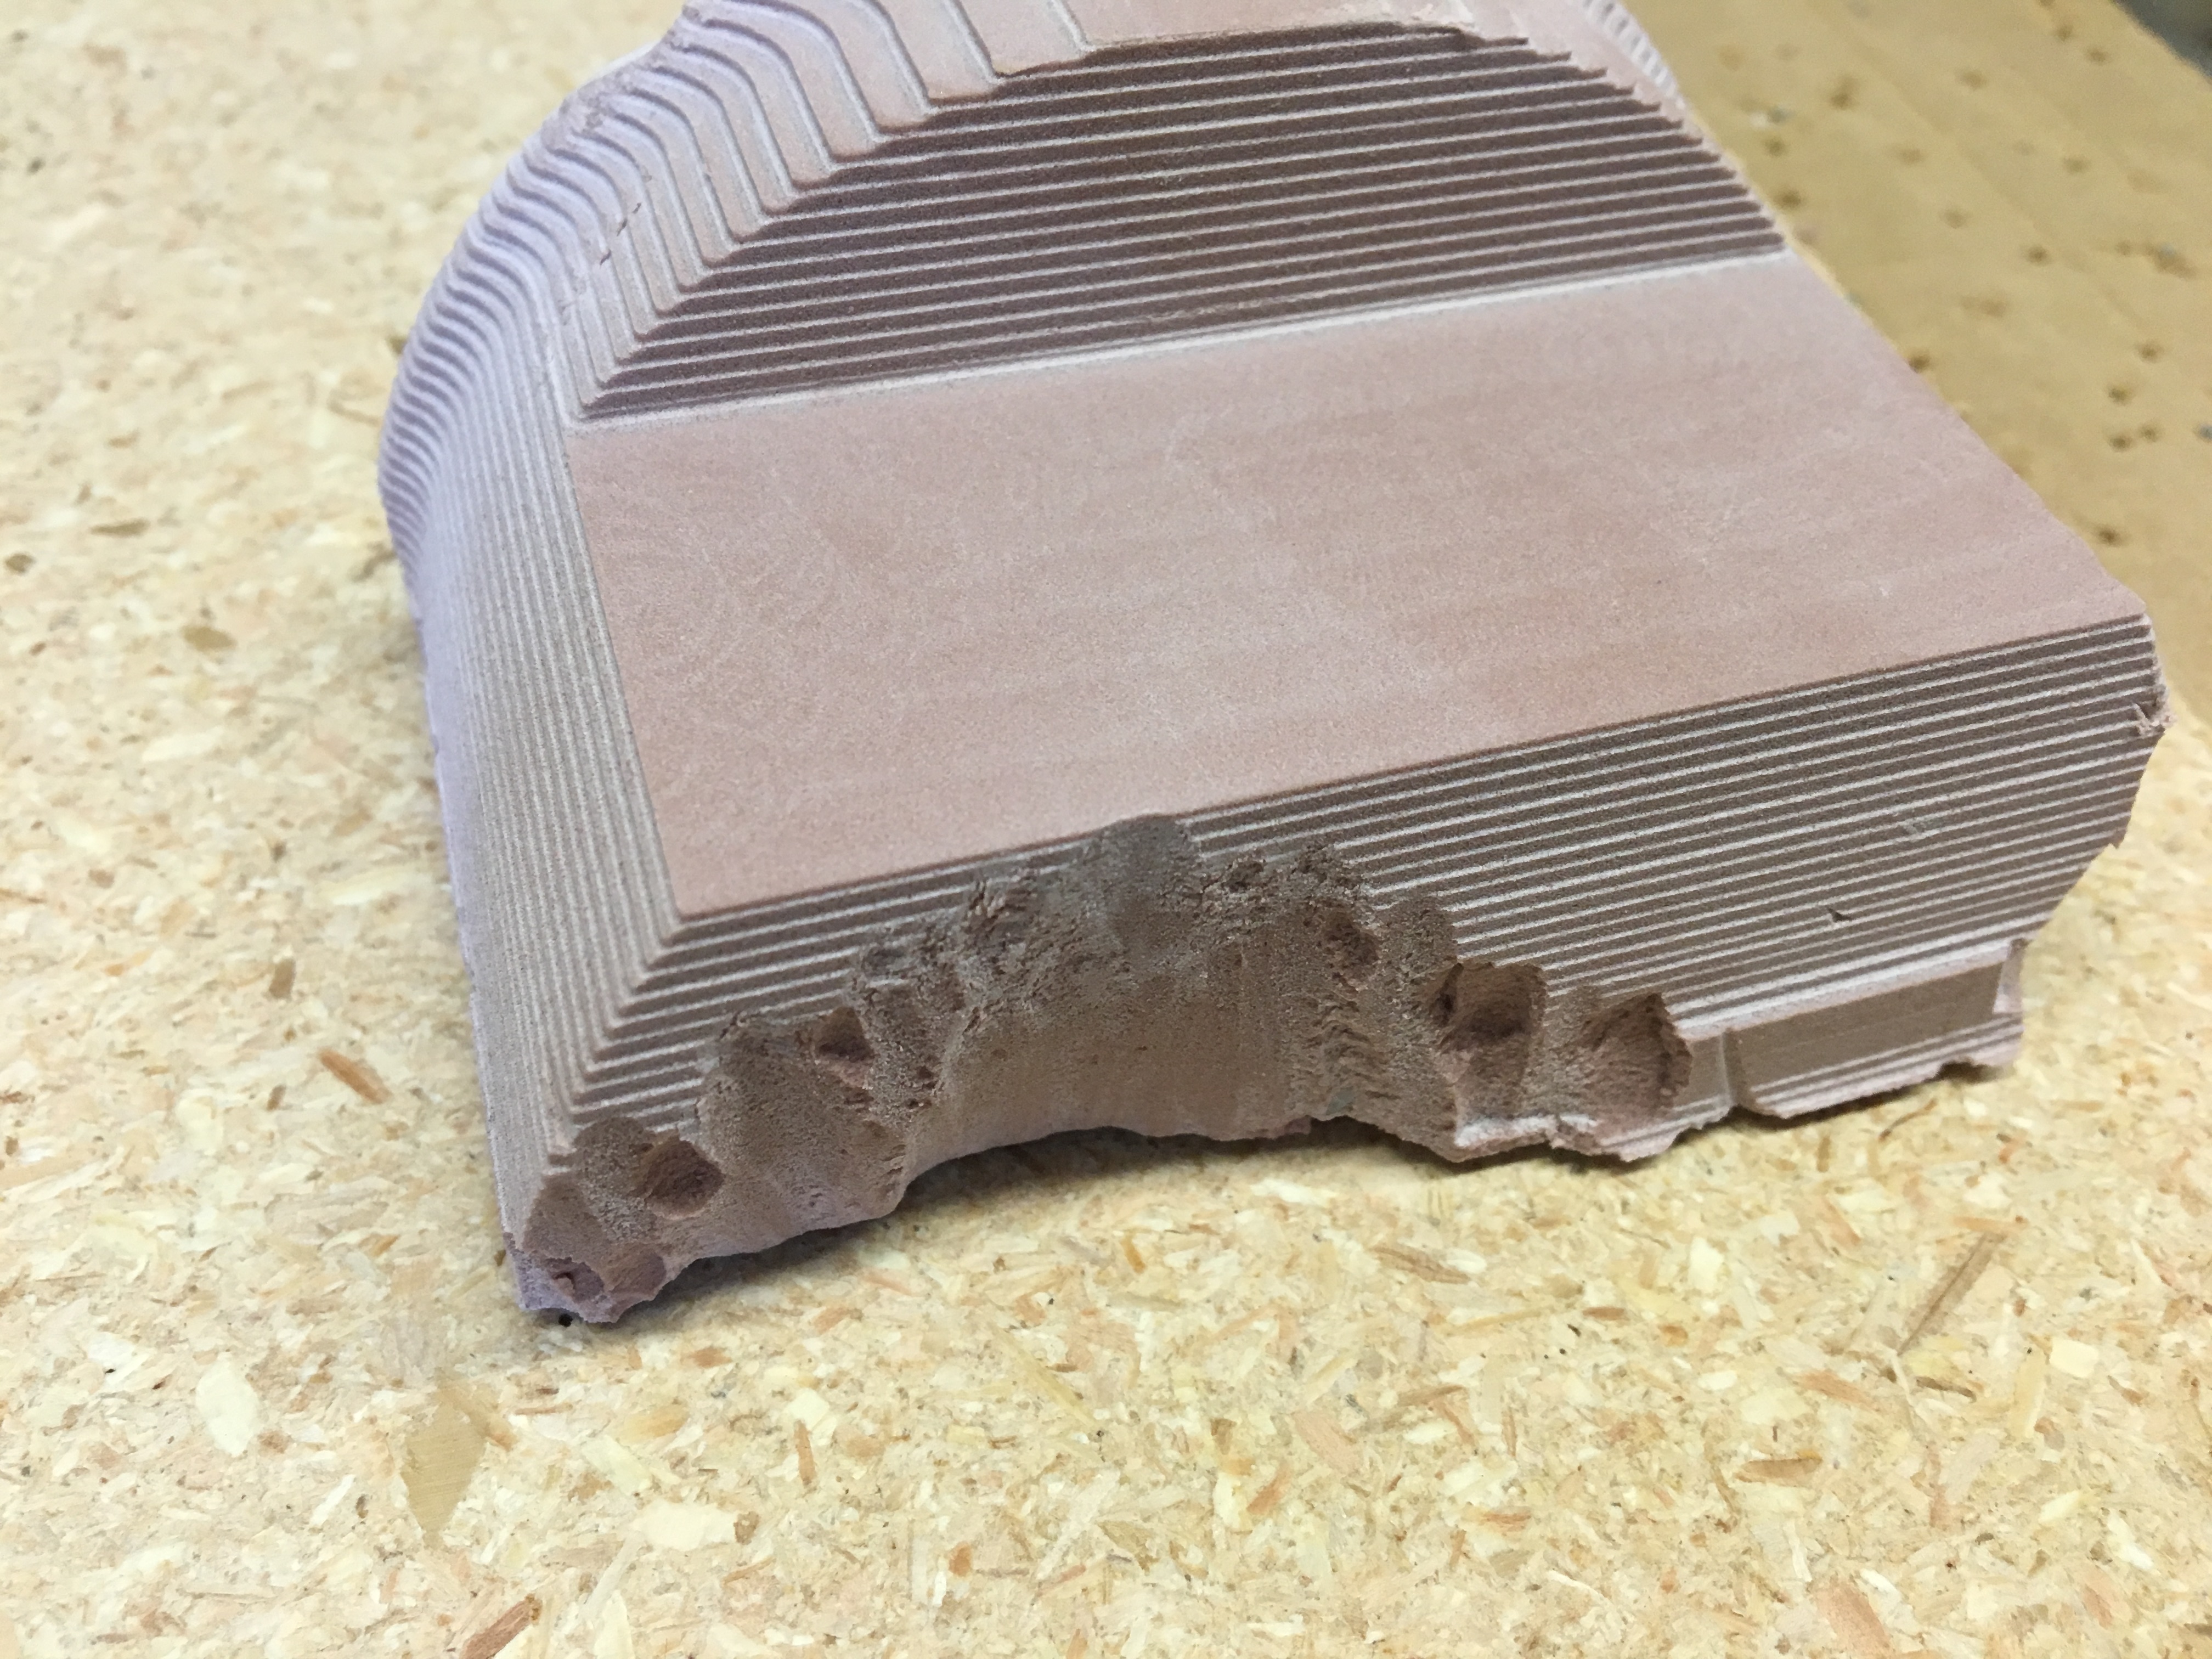
Notice that in the above picture there's a big chunk missing from the core print! This was due to a improperly configured toolpath during machining. Luckily this wasn't a huge problem. I filled in the holes (they were on both sides) and some other small dinks with Bondo and, other than the color, you could hardly notice the difference.
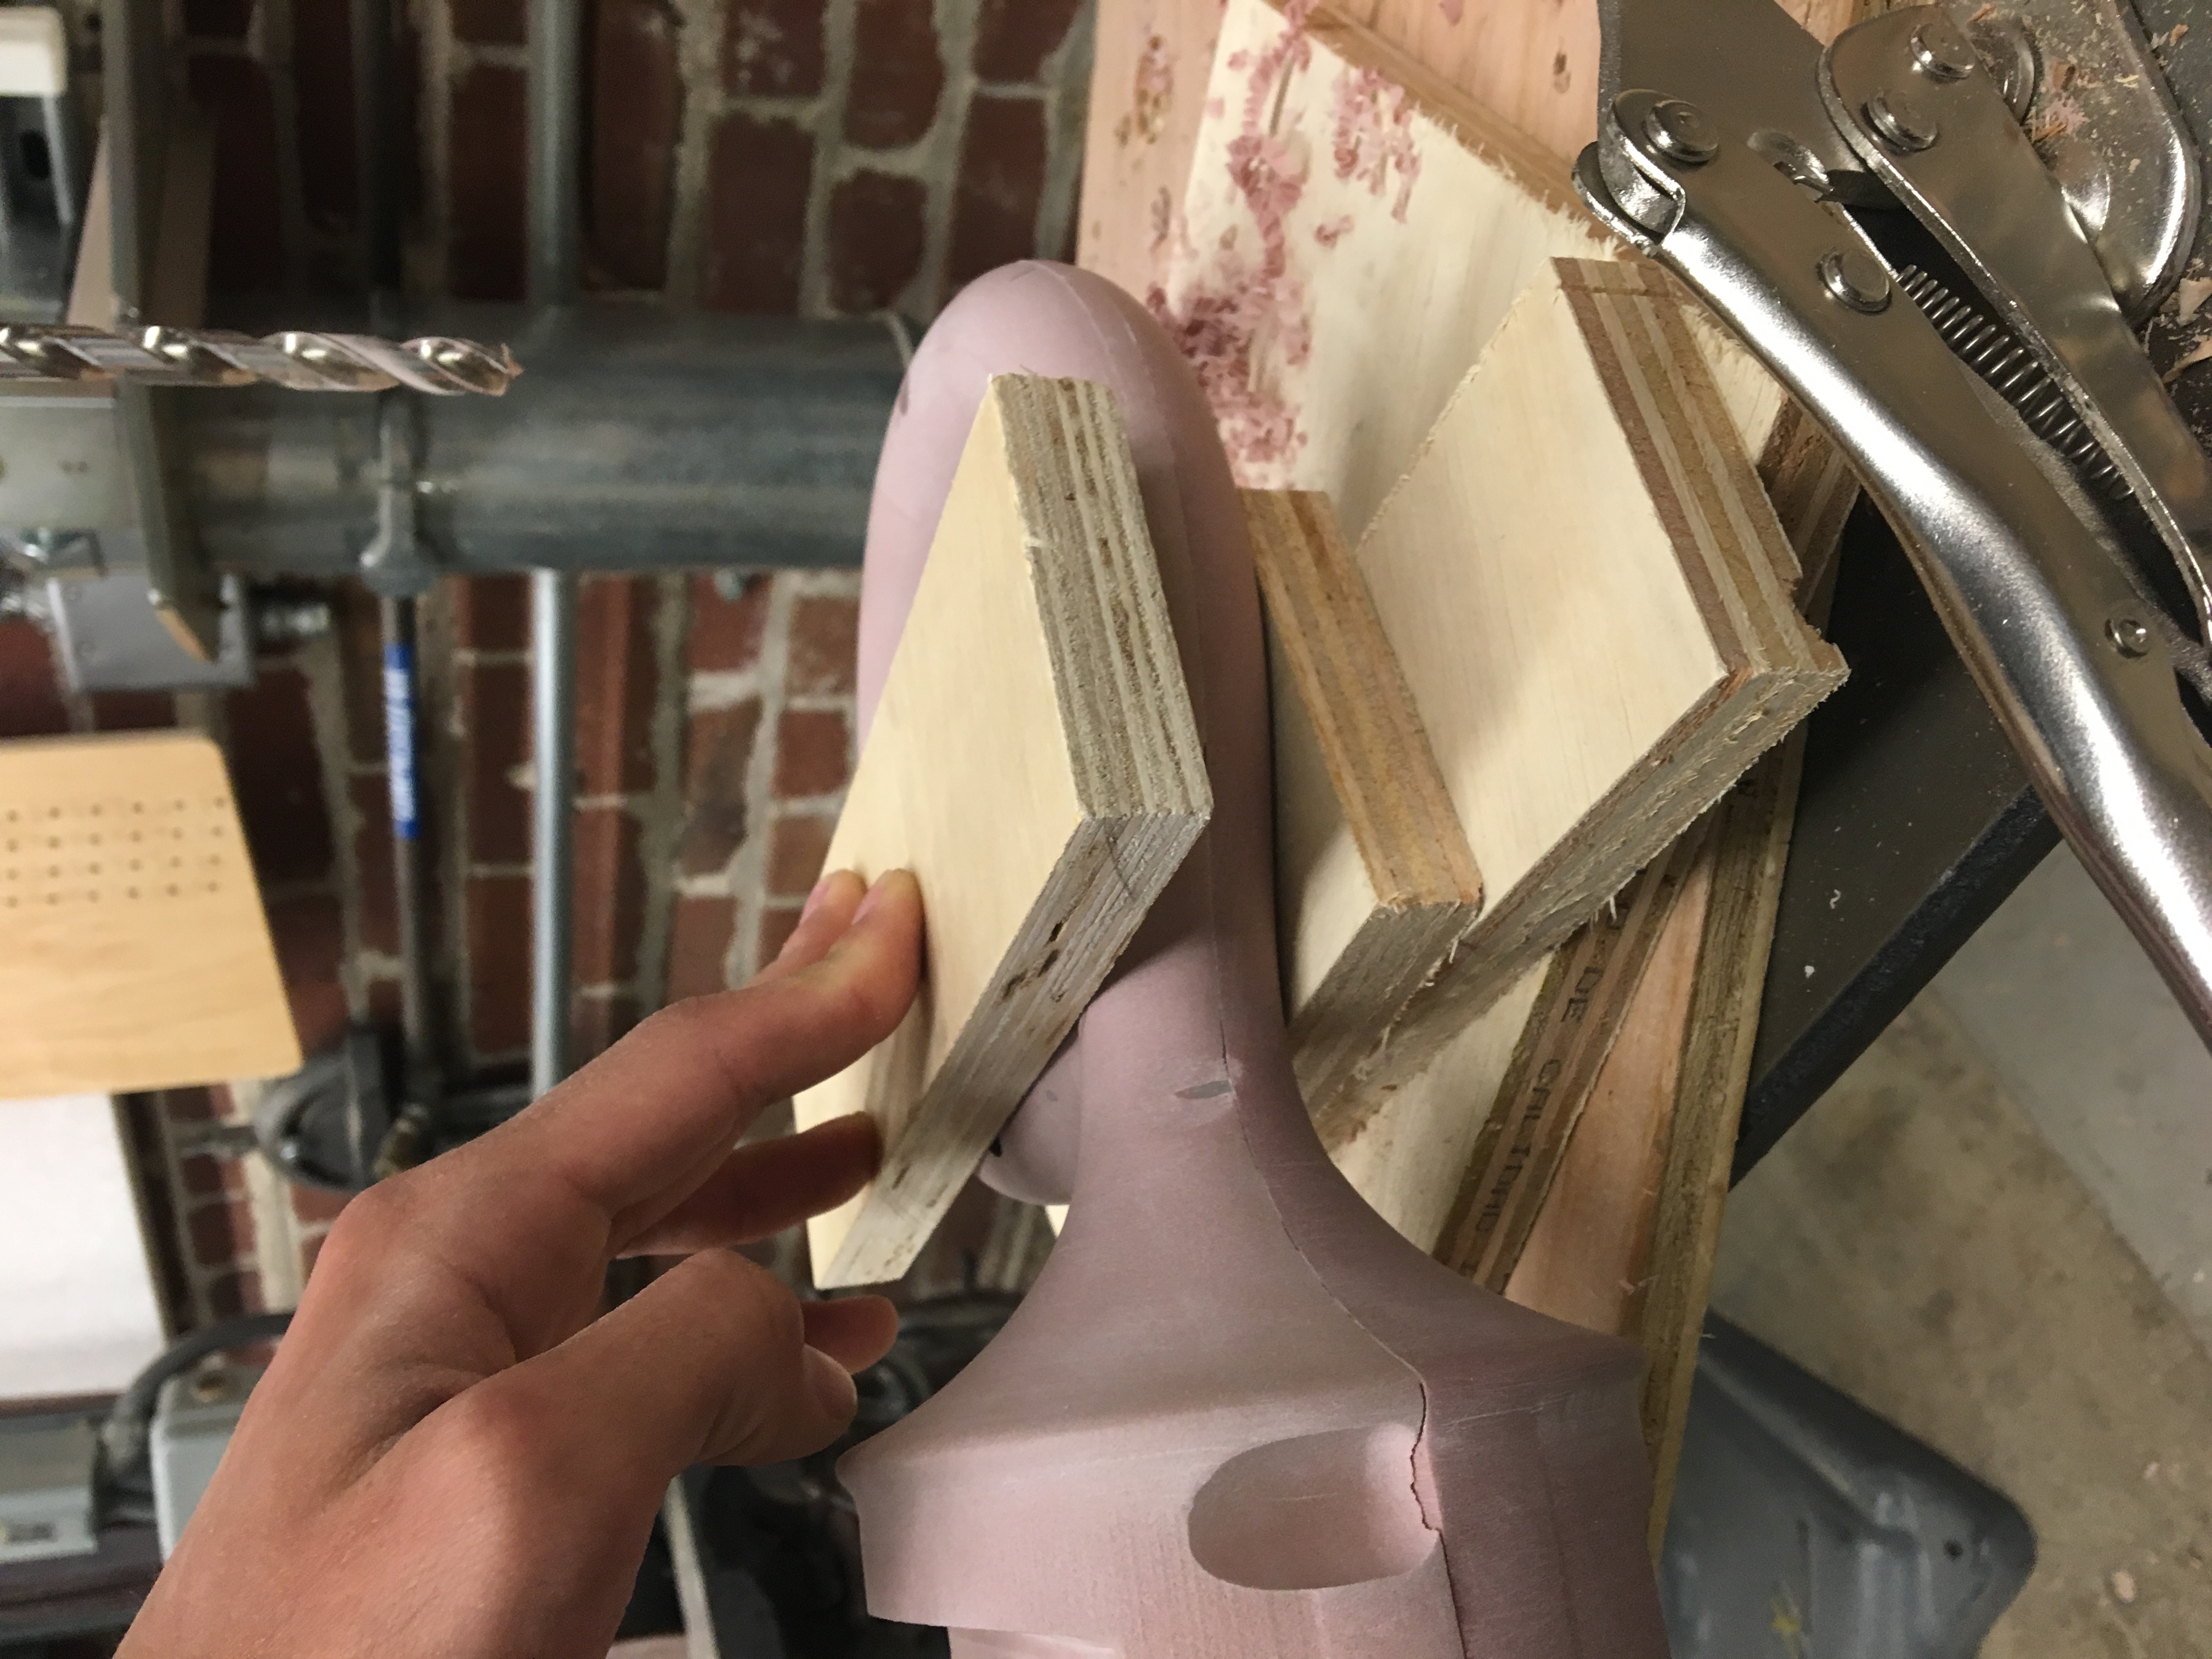
All the major machined pieces!
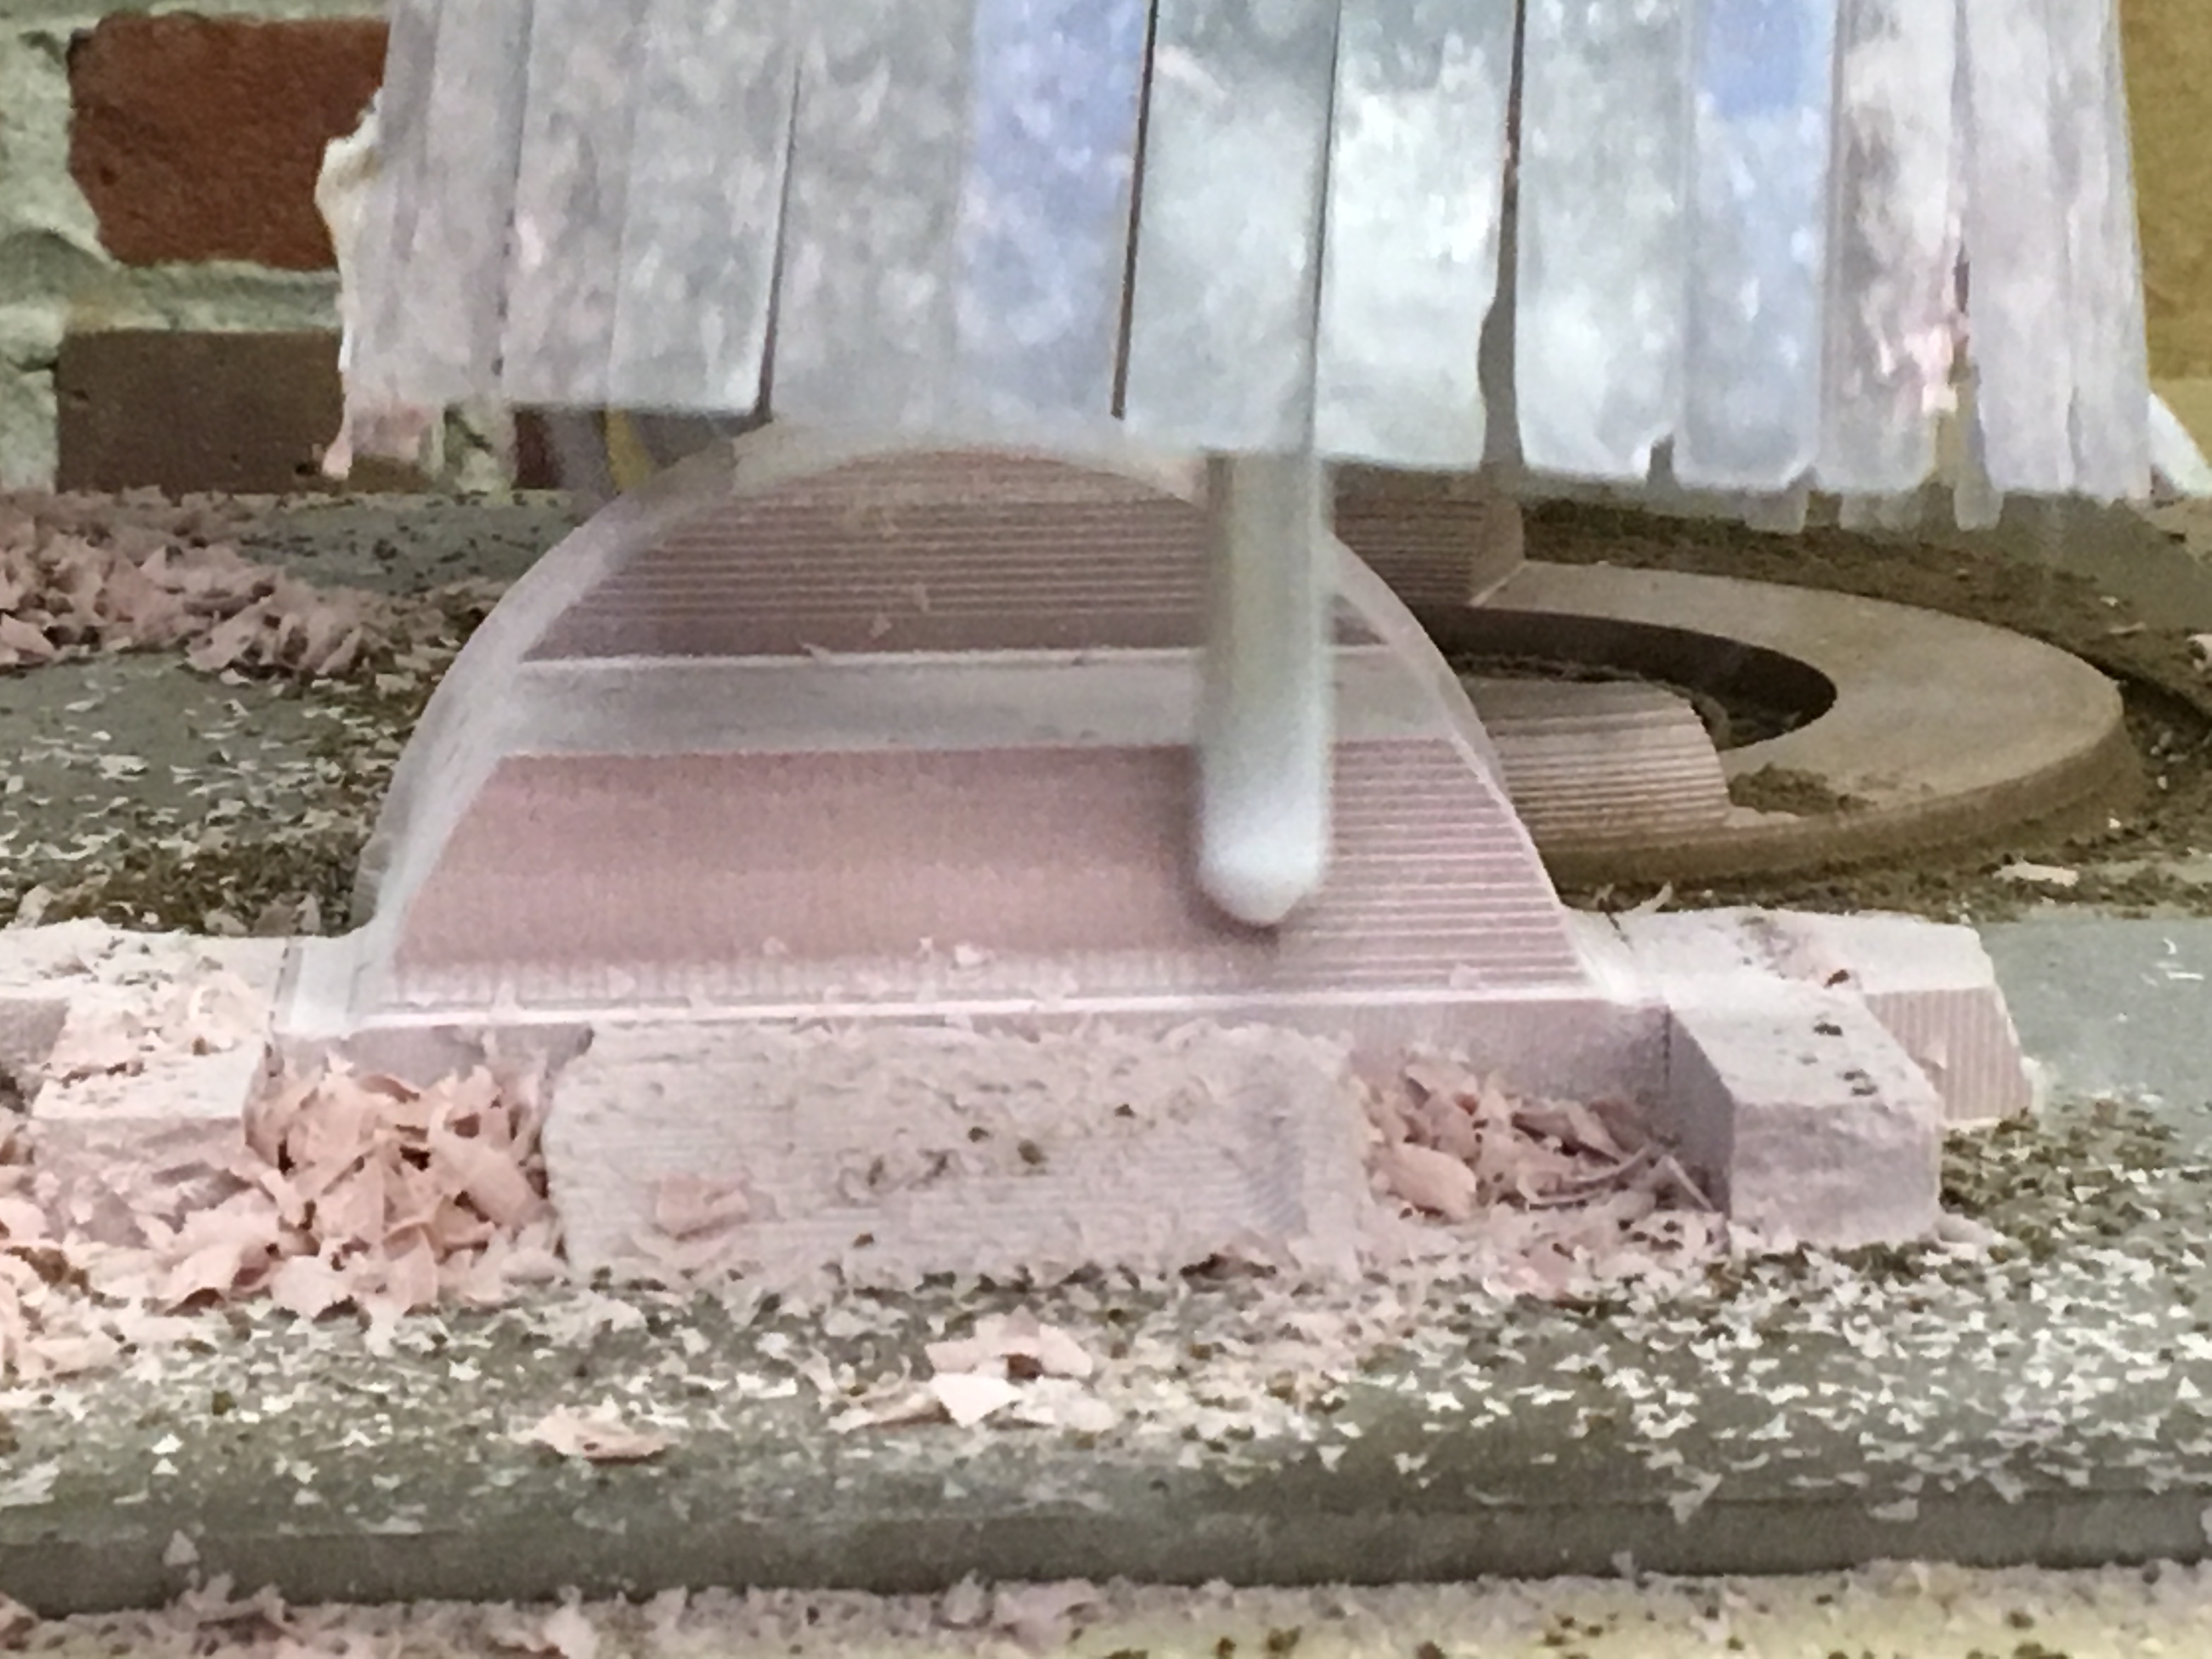
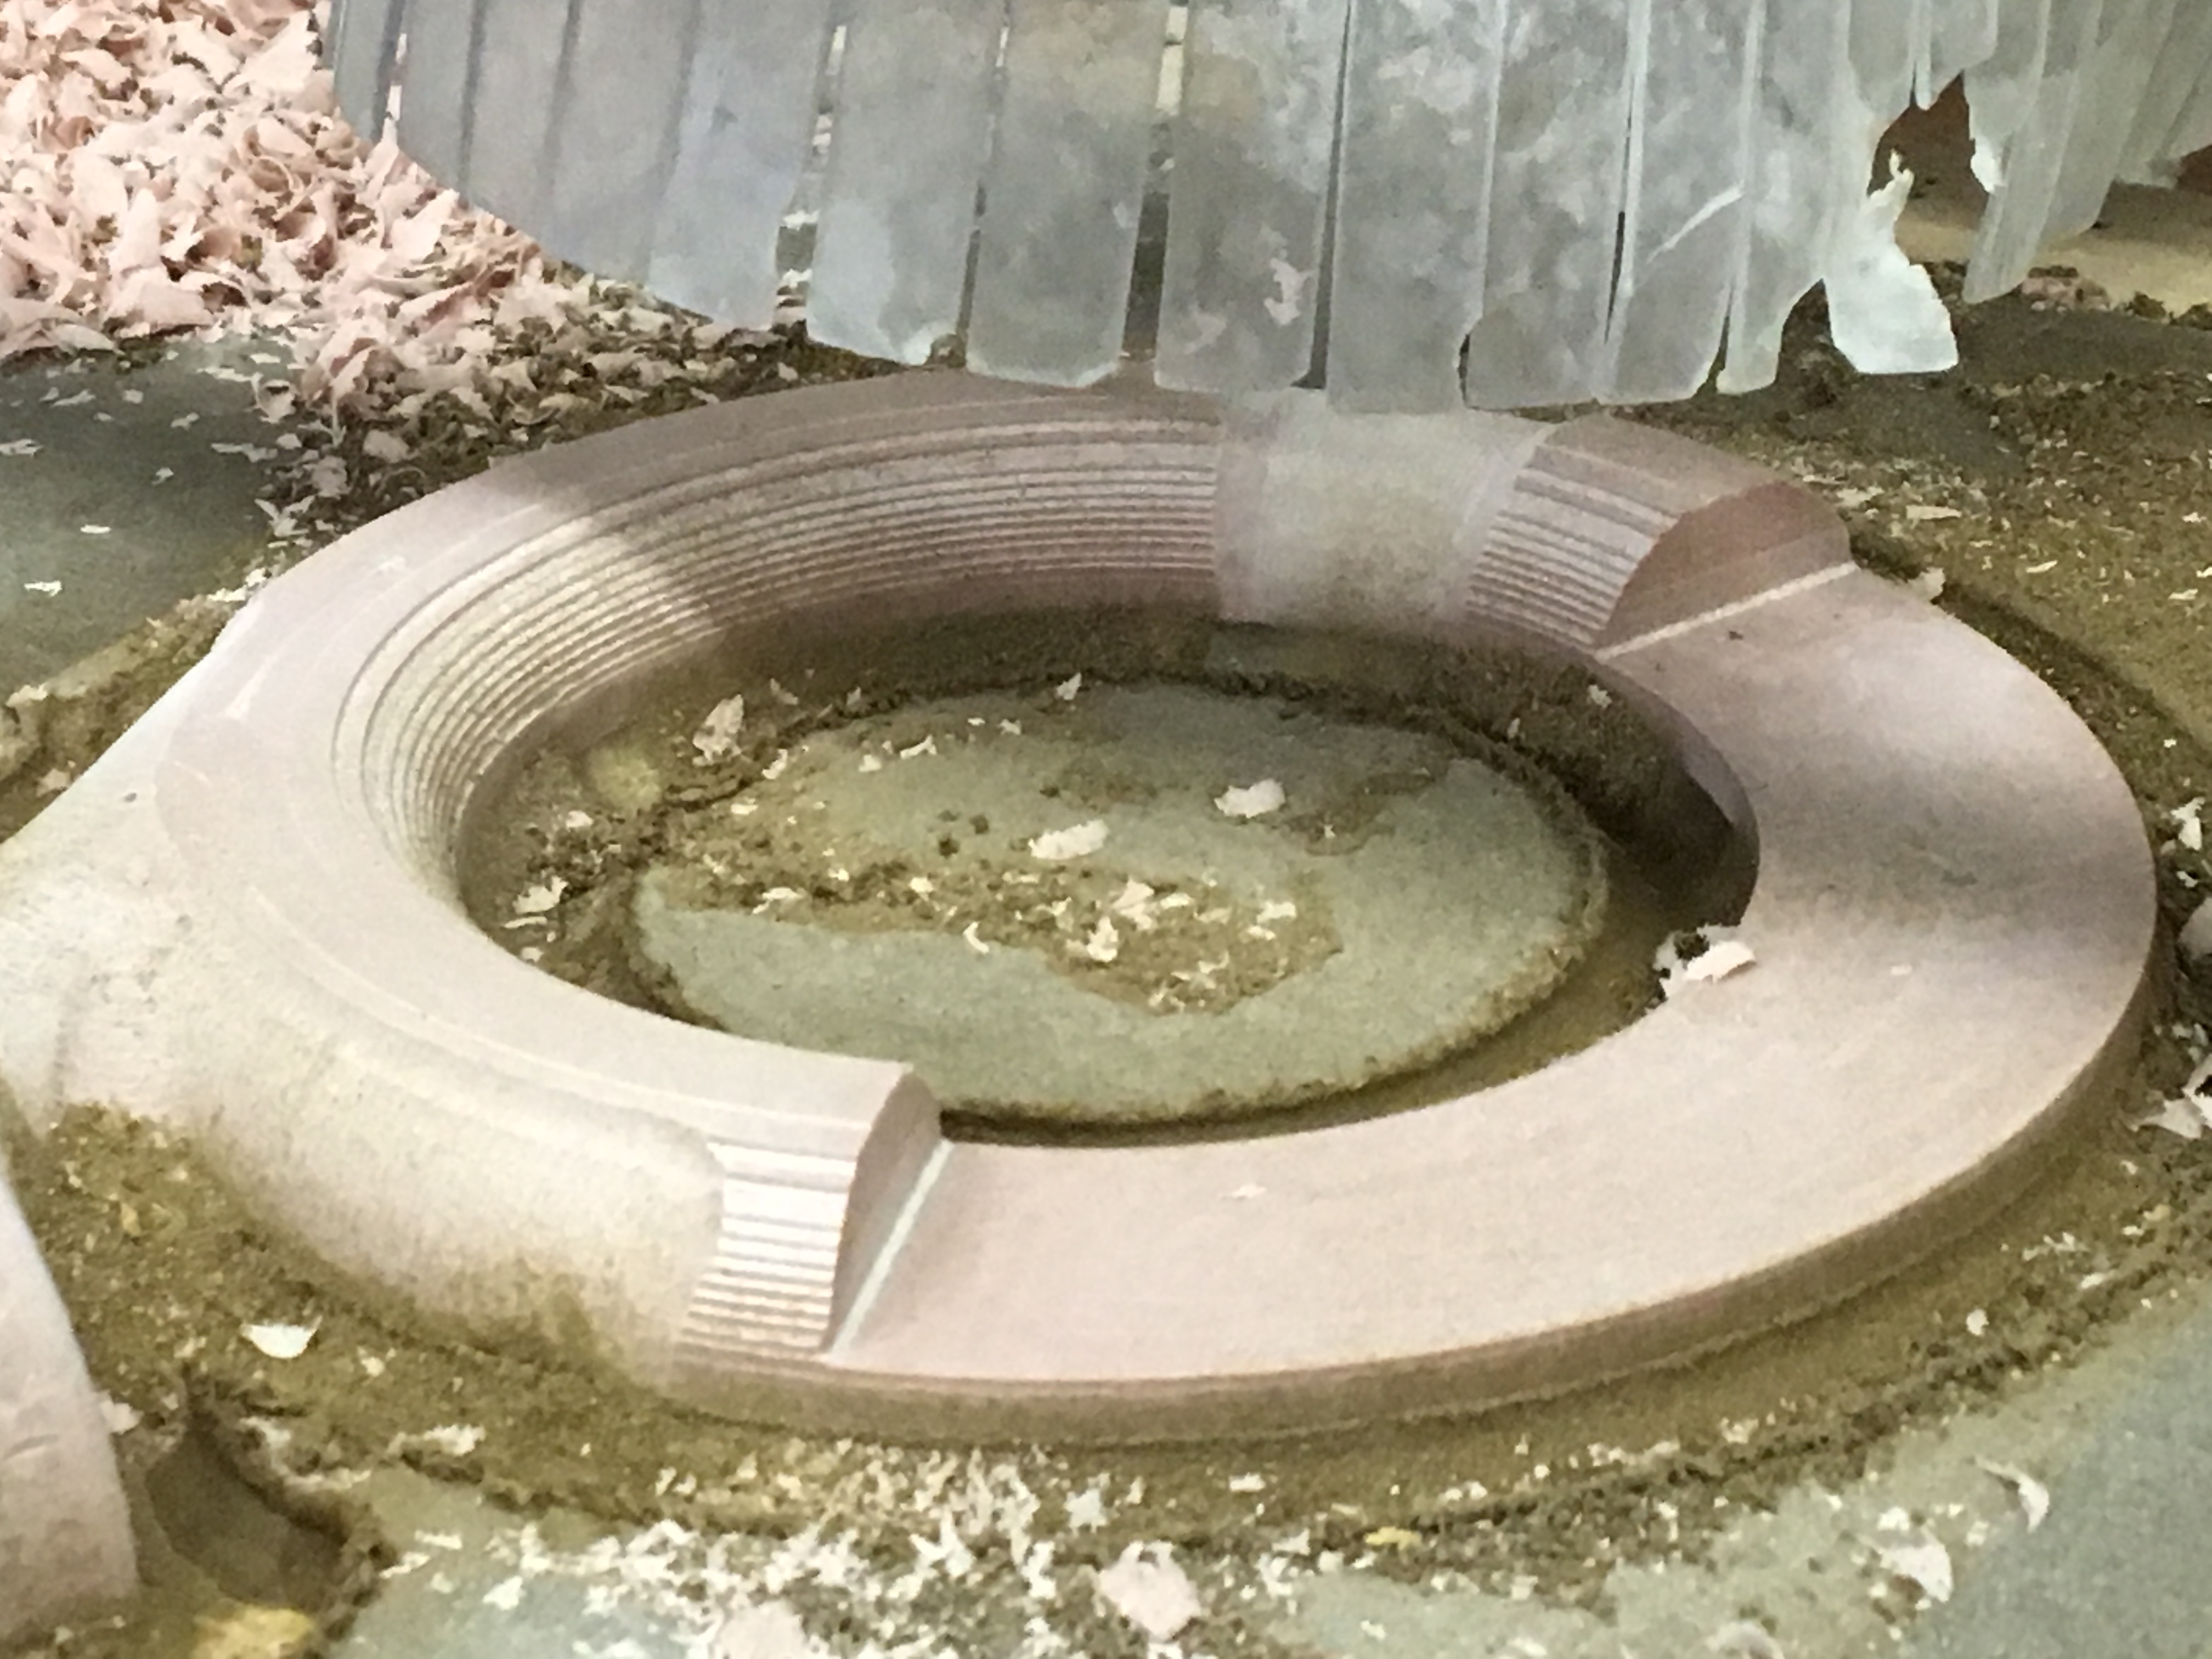
There were still more steps to complete the pattern board. I had to sand everything, then glue the main machined patterns to the plywood pattern board. Then I also had to create a runner from scrap wood and glue that to that pattern board (visible on the left side of the right picture below). A runner serves as a path for molten metal to get into the mold. The runner serves to reduce turbulence in the metal versus pouring directly into the mold, and it also control where a seam will be present on the casted piece. Once the runner was in place I then had to shellack the entire surface to get it ready for the actual sand casting.
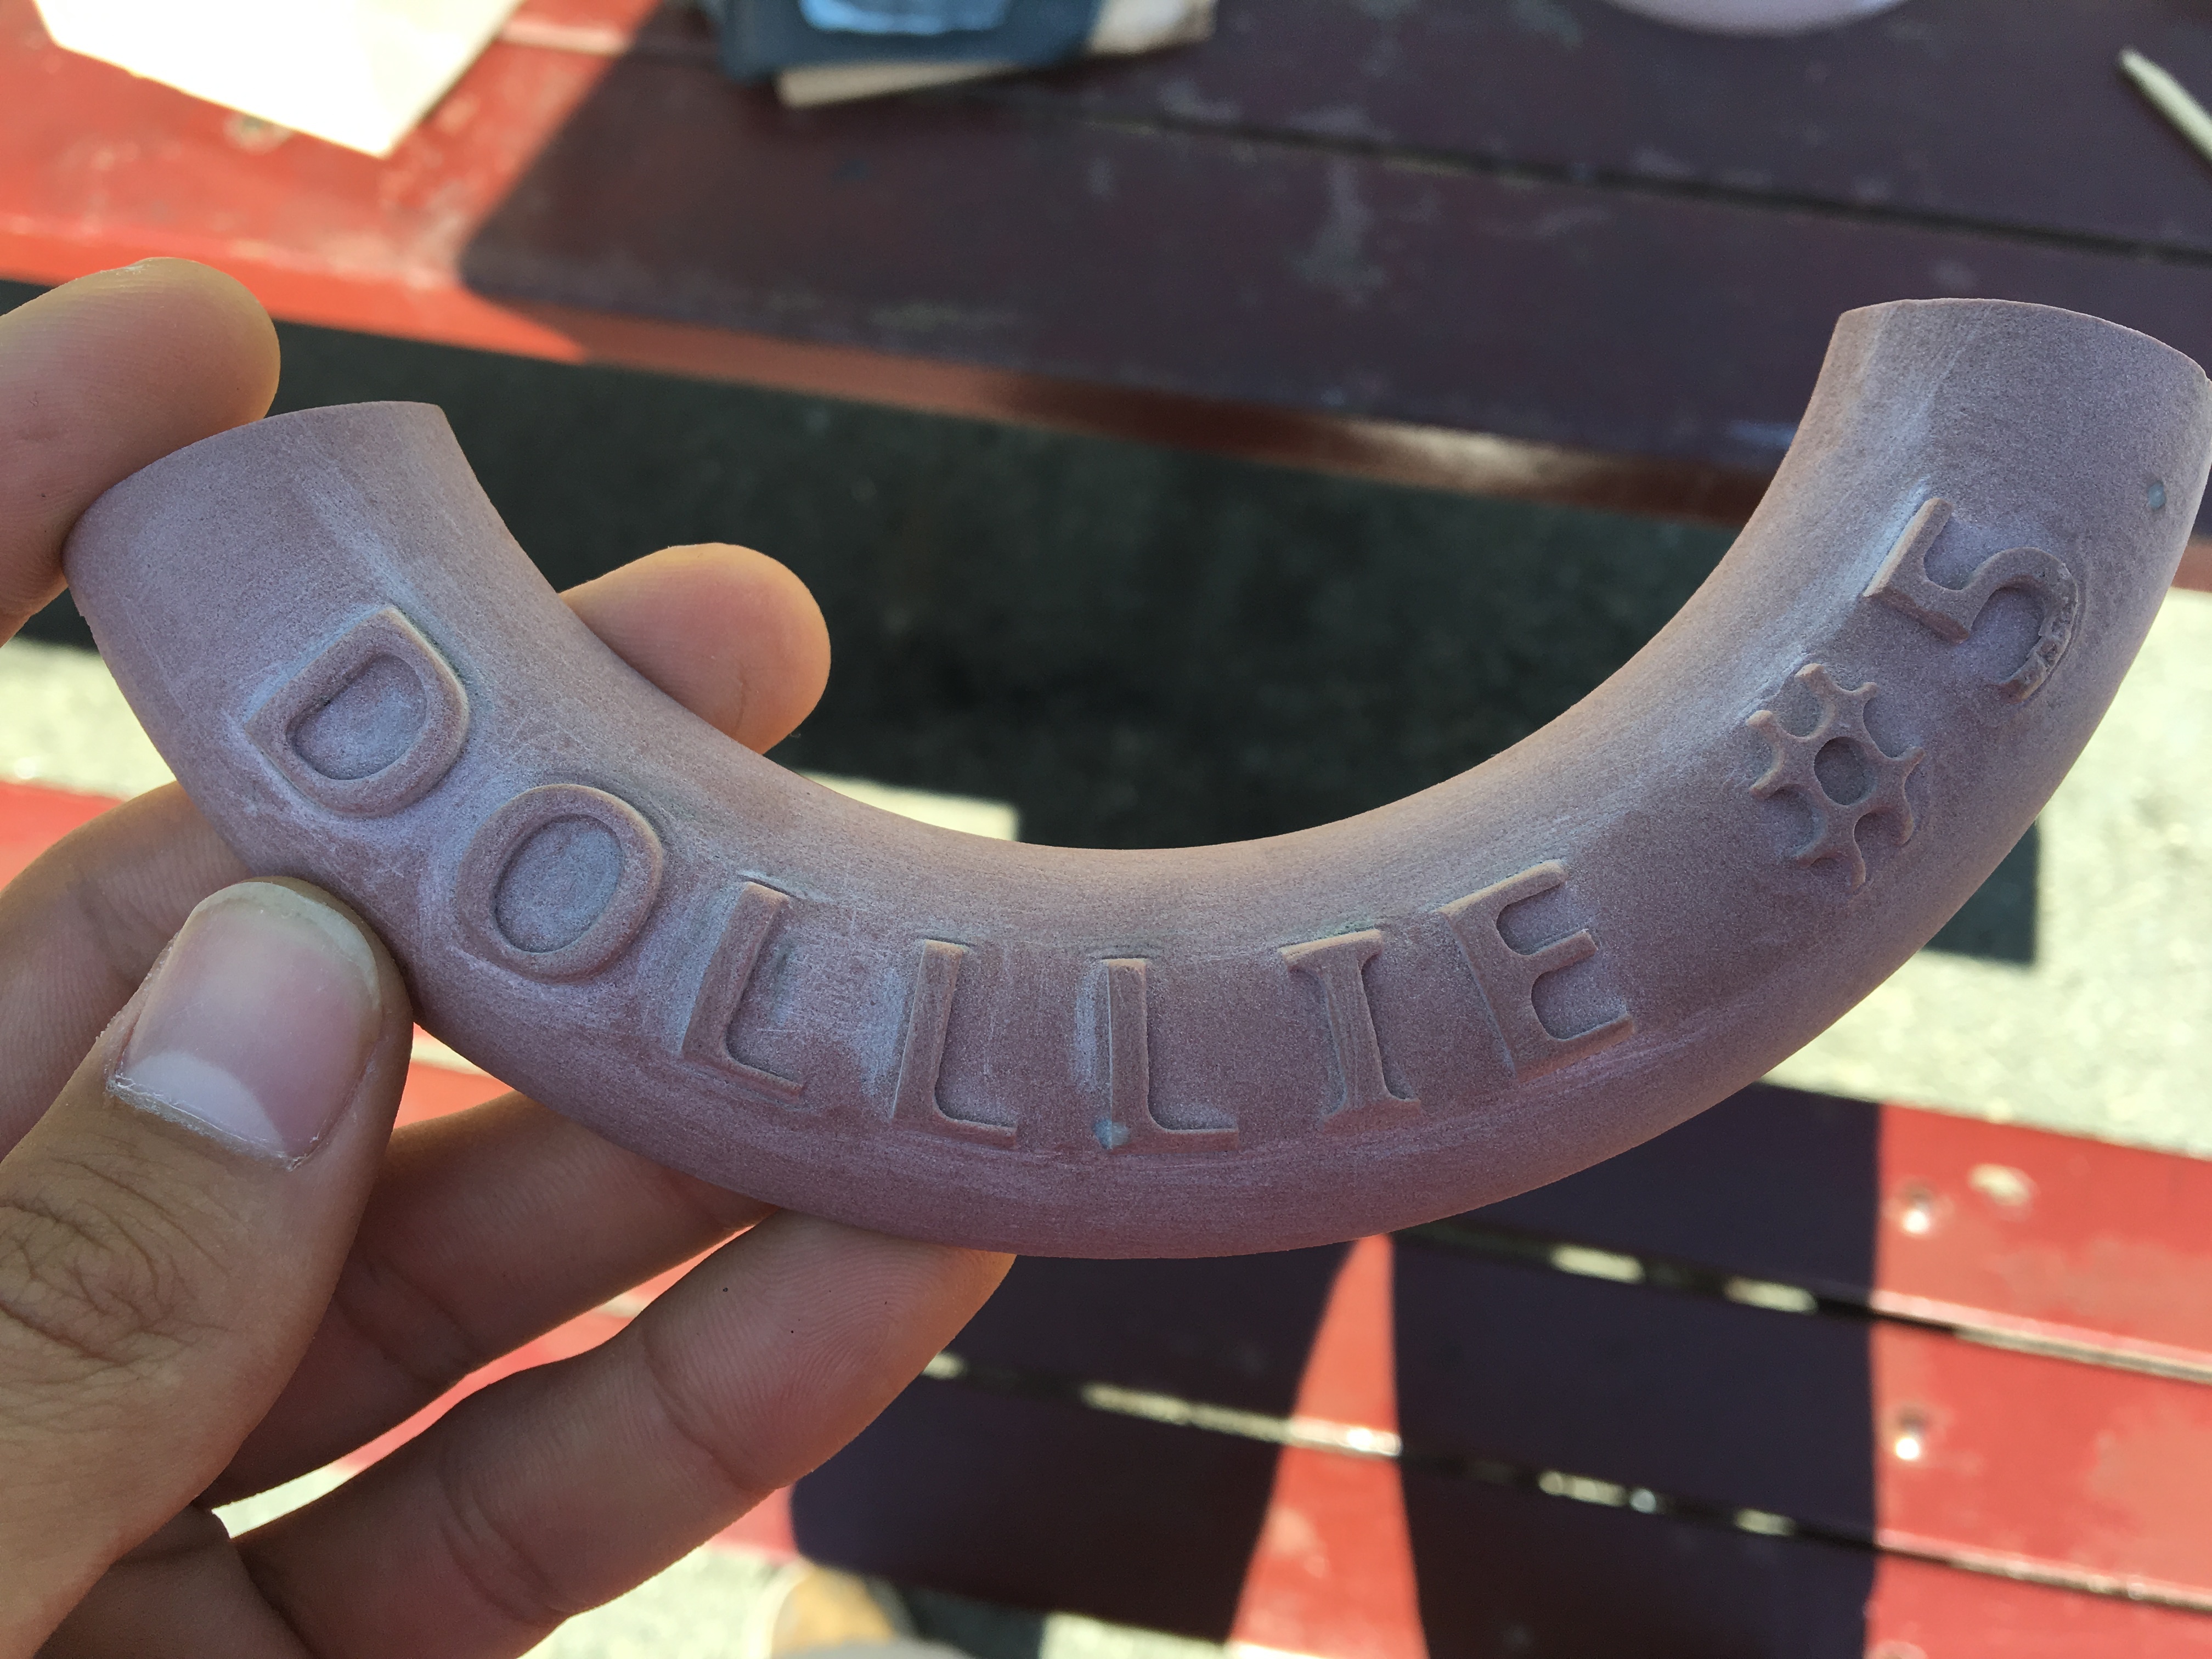
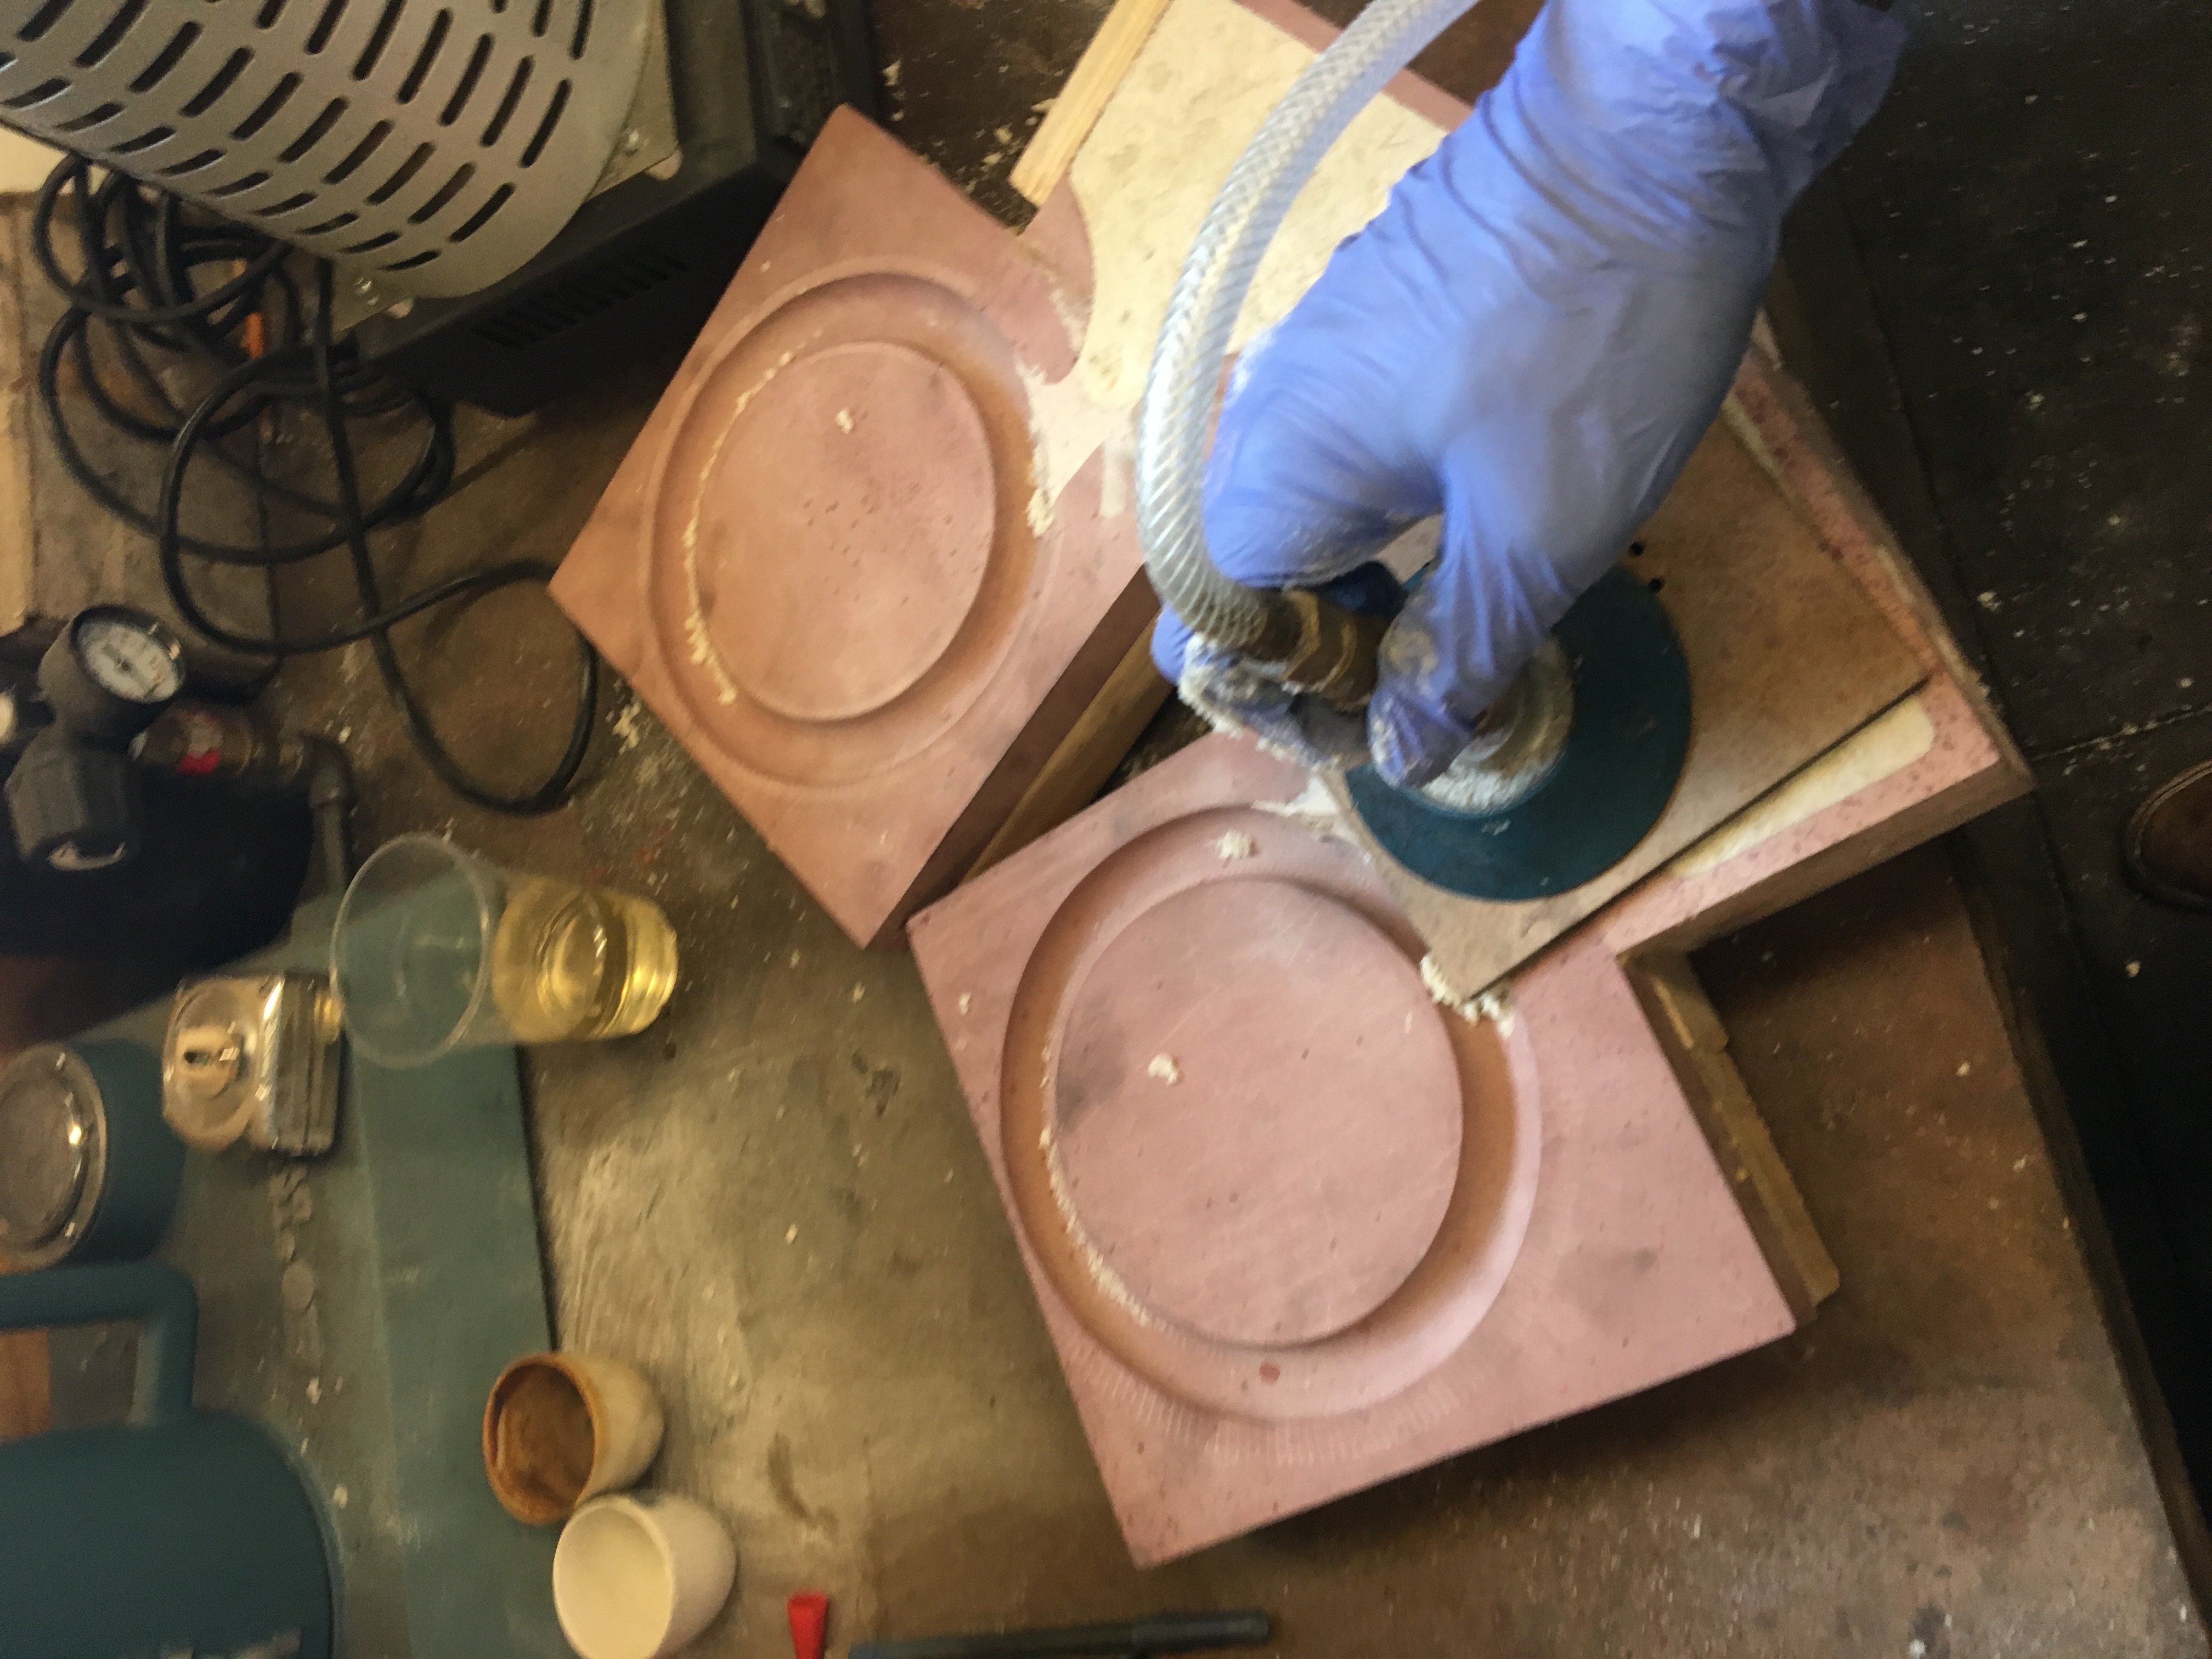
Inserts
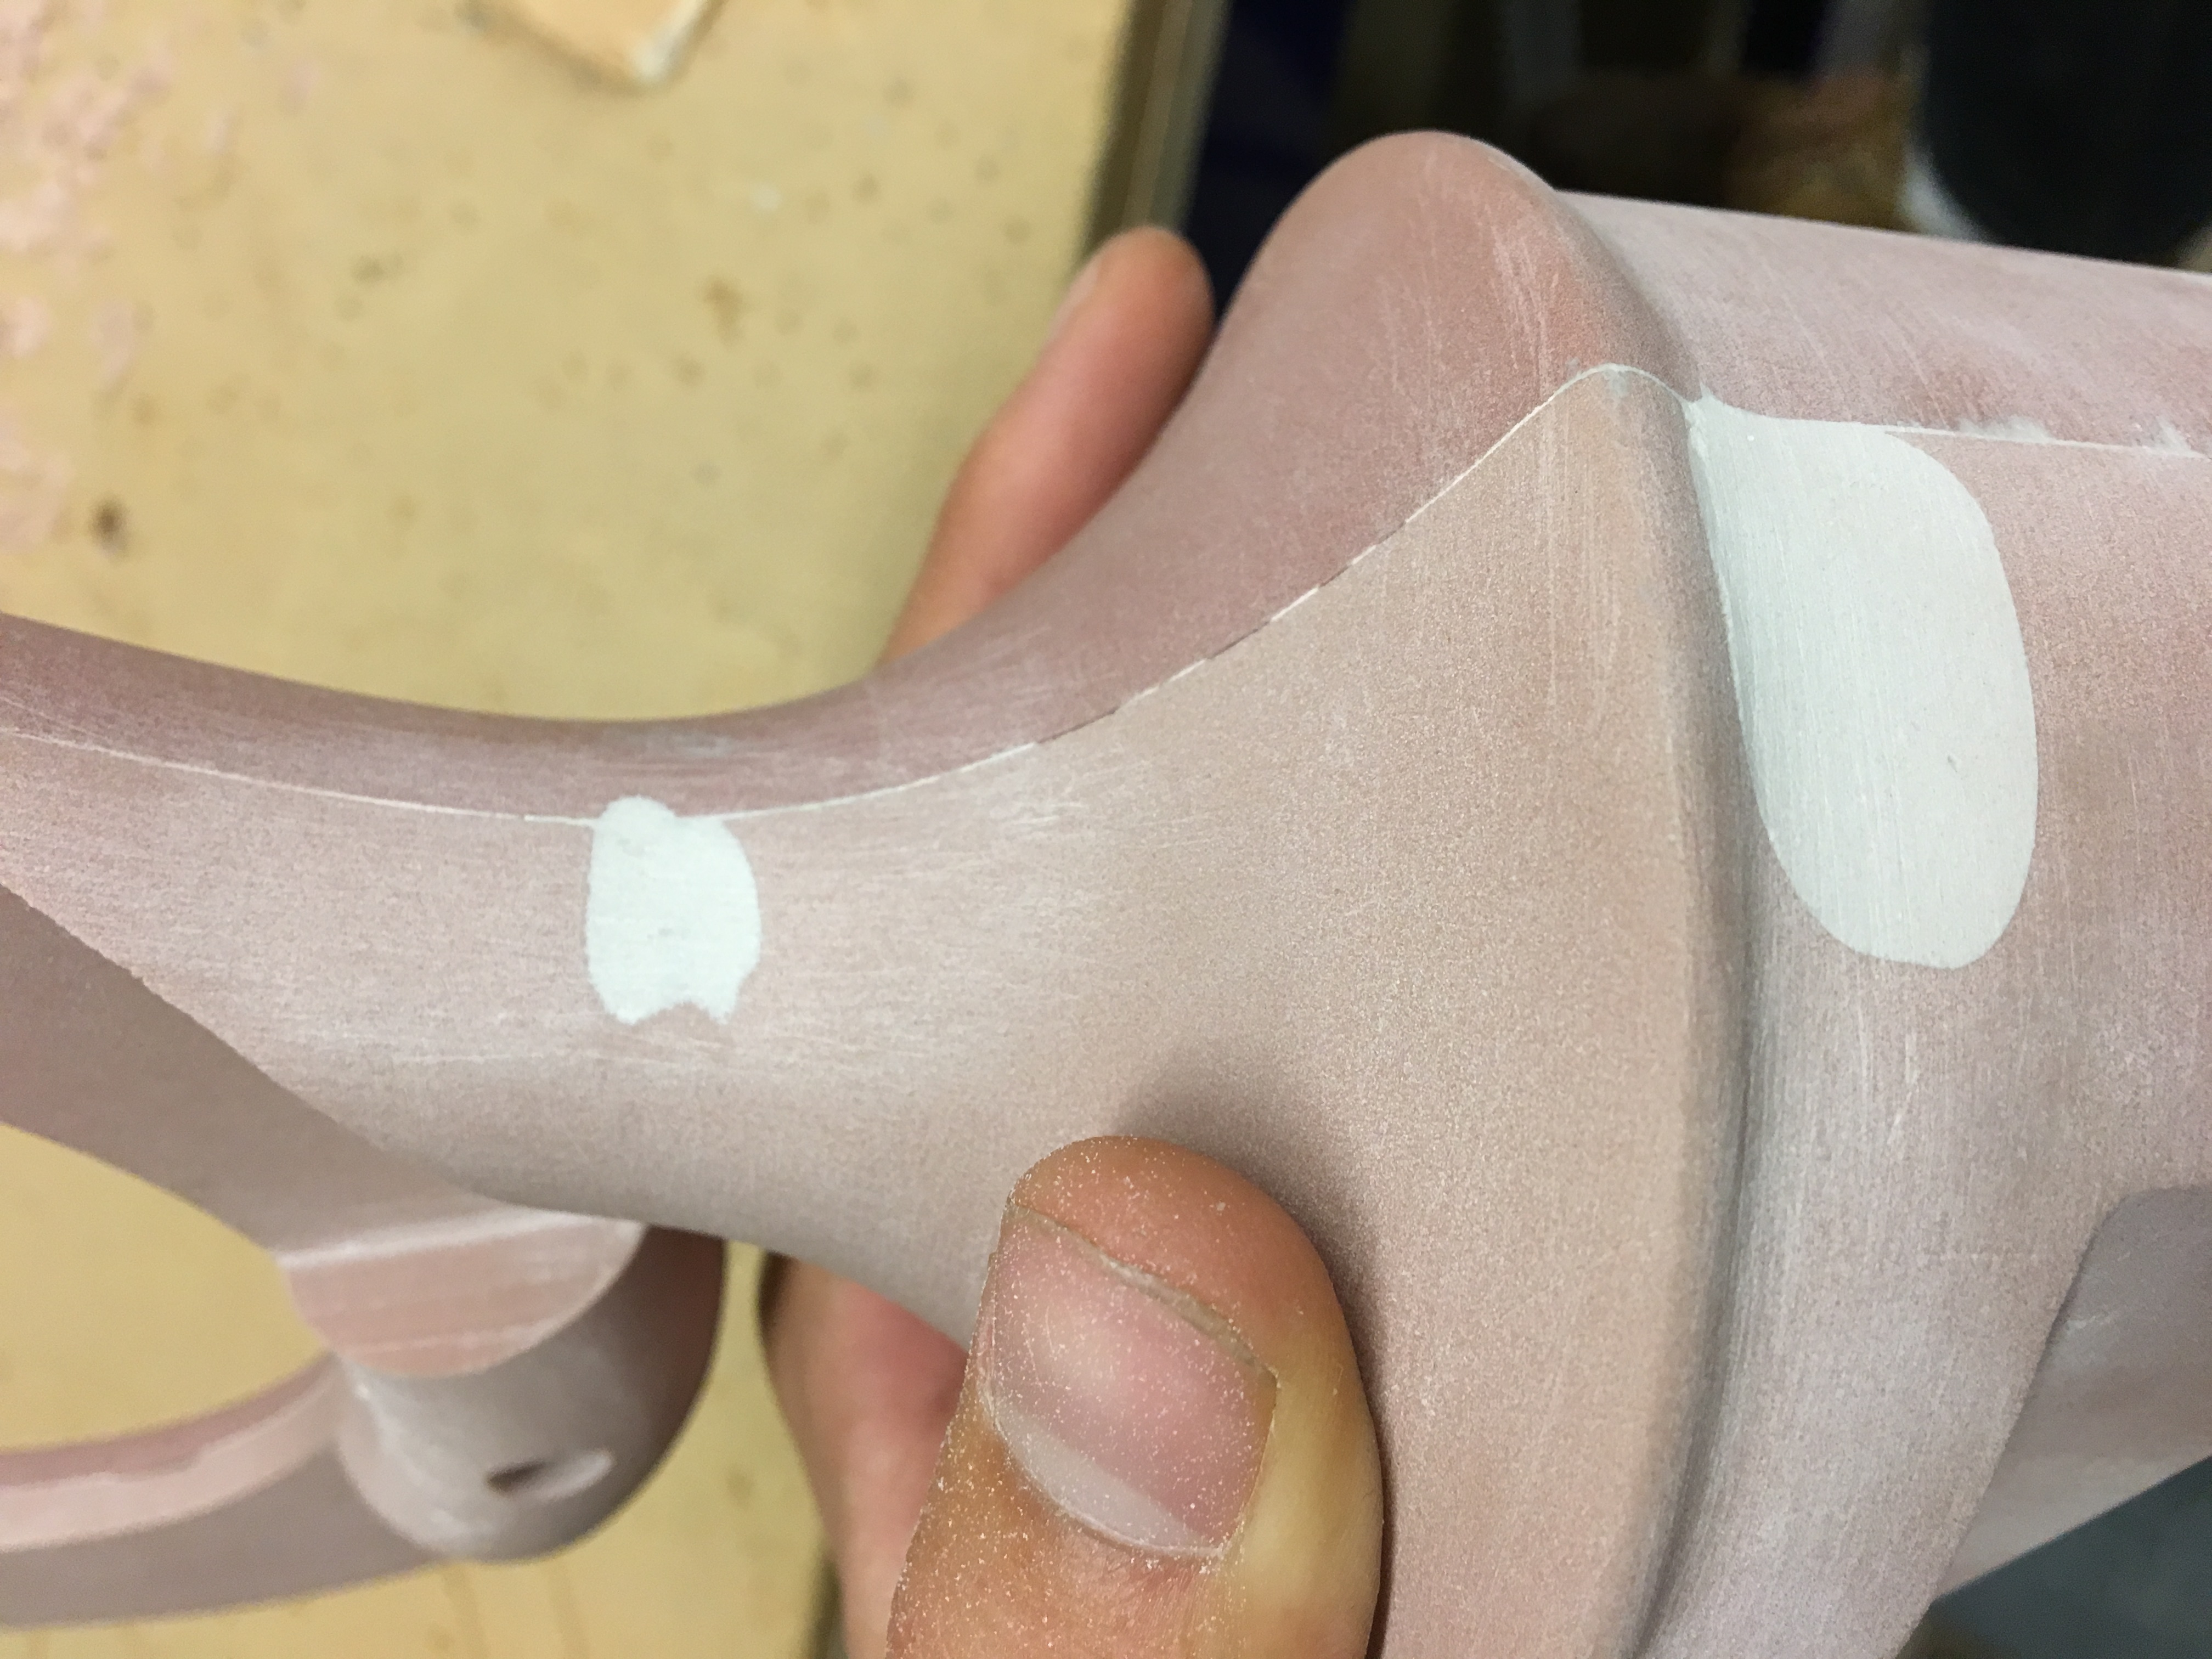
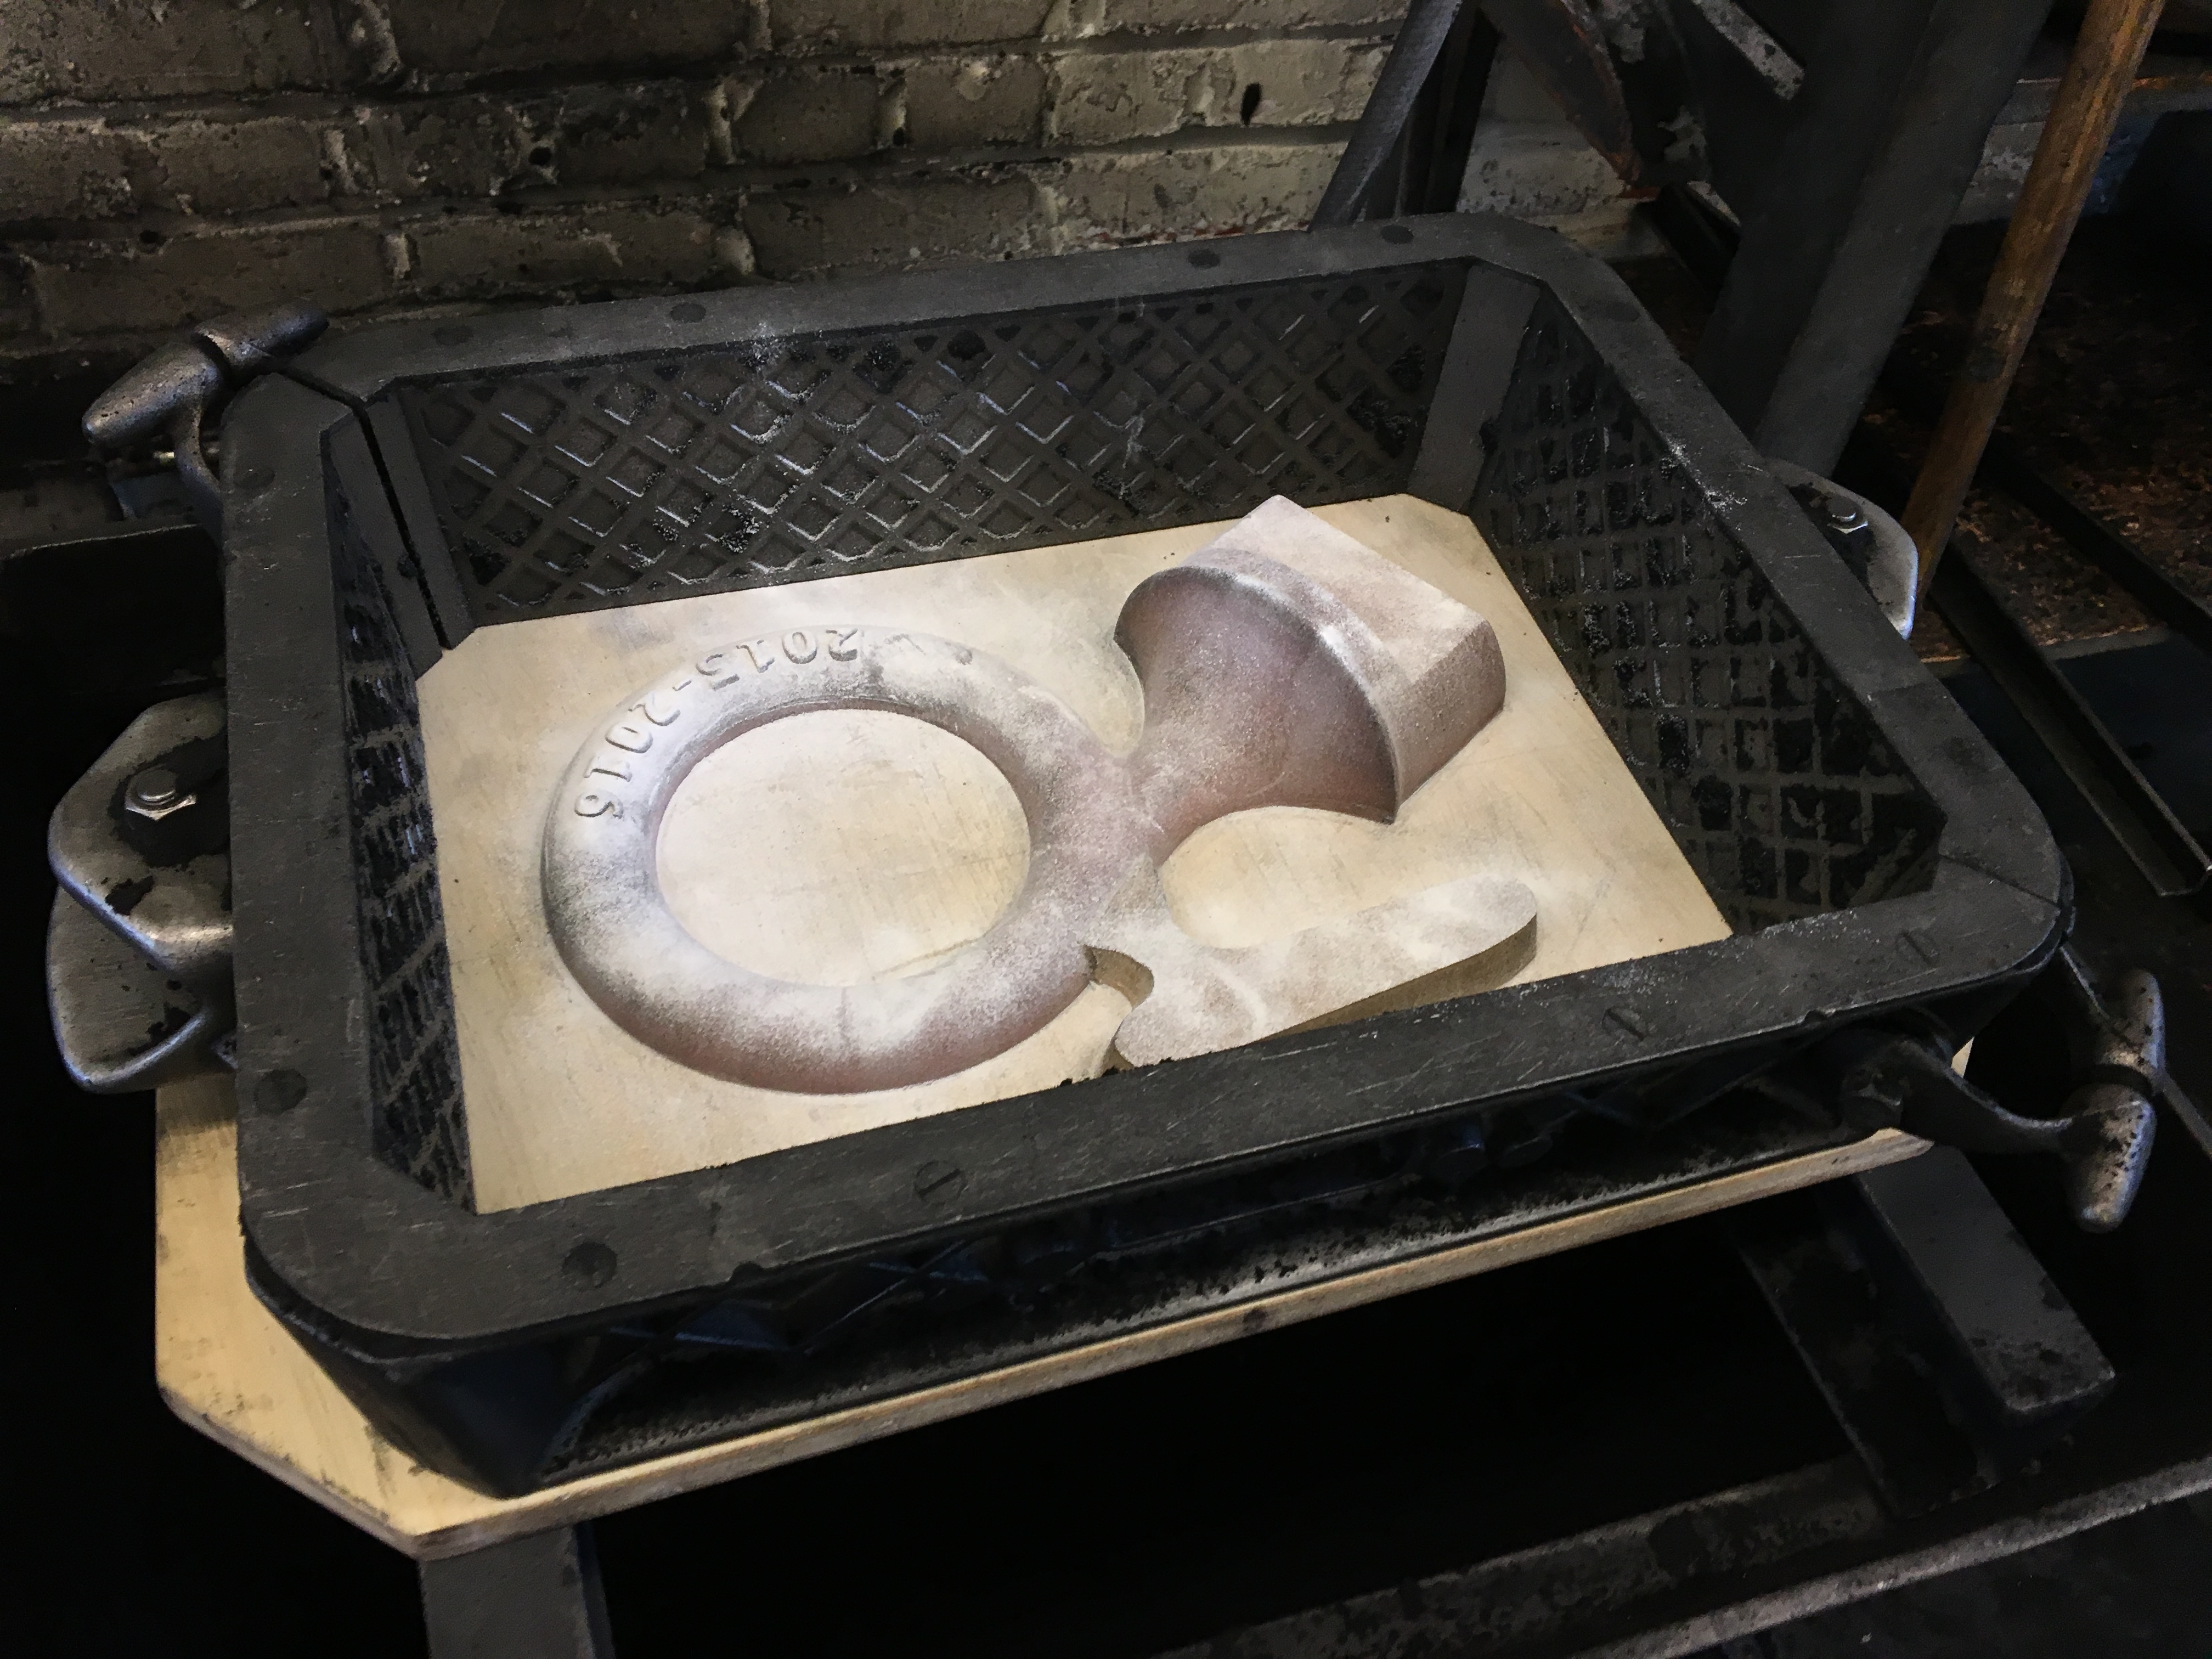
A critical part of the design for this project was the idea of having replaceable inserts. This was a great idea in theory, but it also ended up being a lot of work in practice. After the first couple I got the process down to where I could easily machine three new inserts in a single four-hour shop session. I ended up creating 15 different inserts. Apart from the machining itself, that meant generating 15 sets of custom tool paths, and sanding and shellacking 15 inserts.
Like the main pattern, each insert went through a roughing pass with a square end mill and a finishing pass with a 1/4" ball end mill. To get sufficient detail on the letters, however, I had to do a third pass with an 1/8" ball end mill.
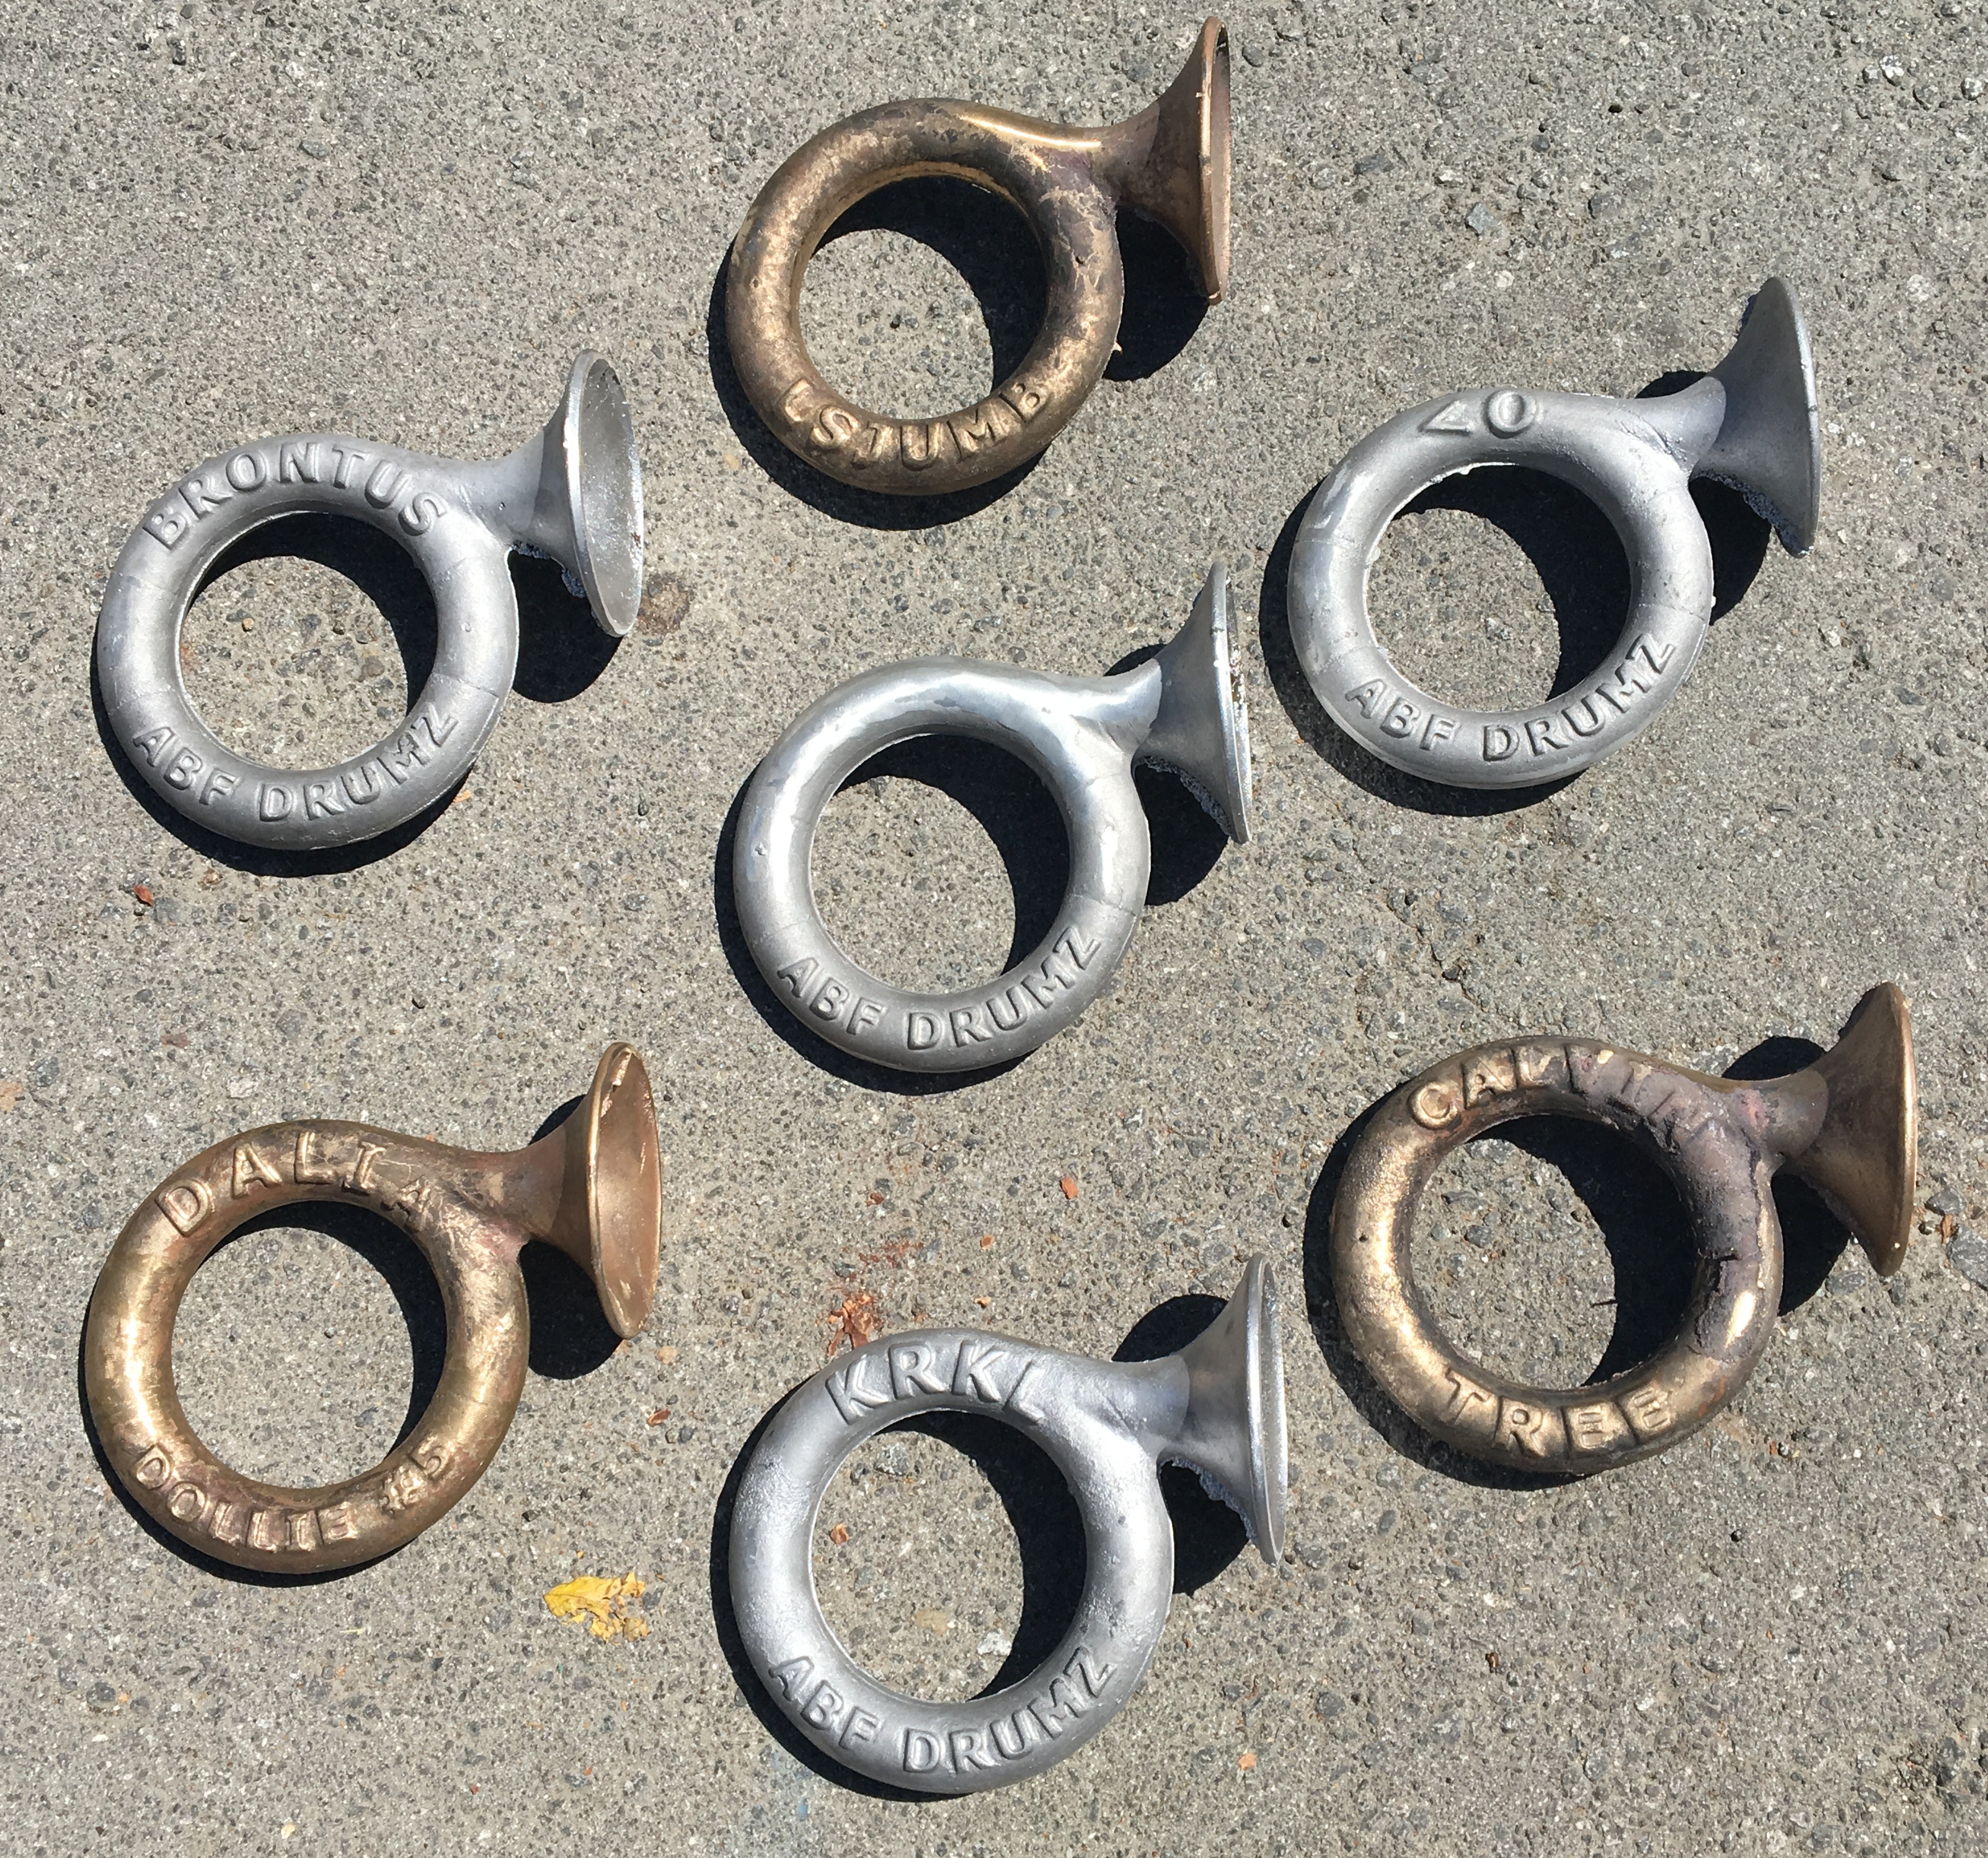
Did I say 15 different insets? I actually meant 16. Always double check your work for spelling mistakes! ("Dollie" has two 'l's, not three.)
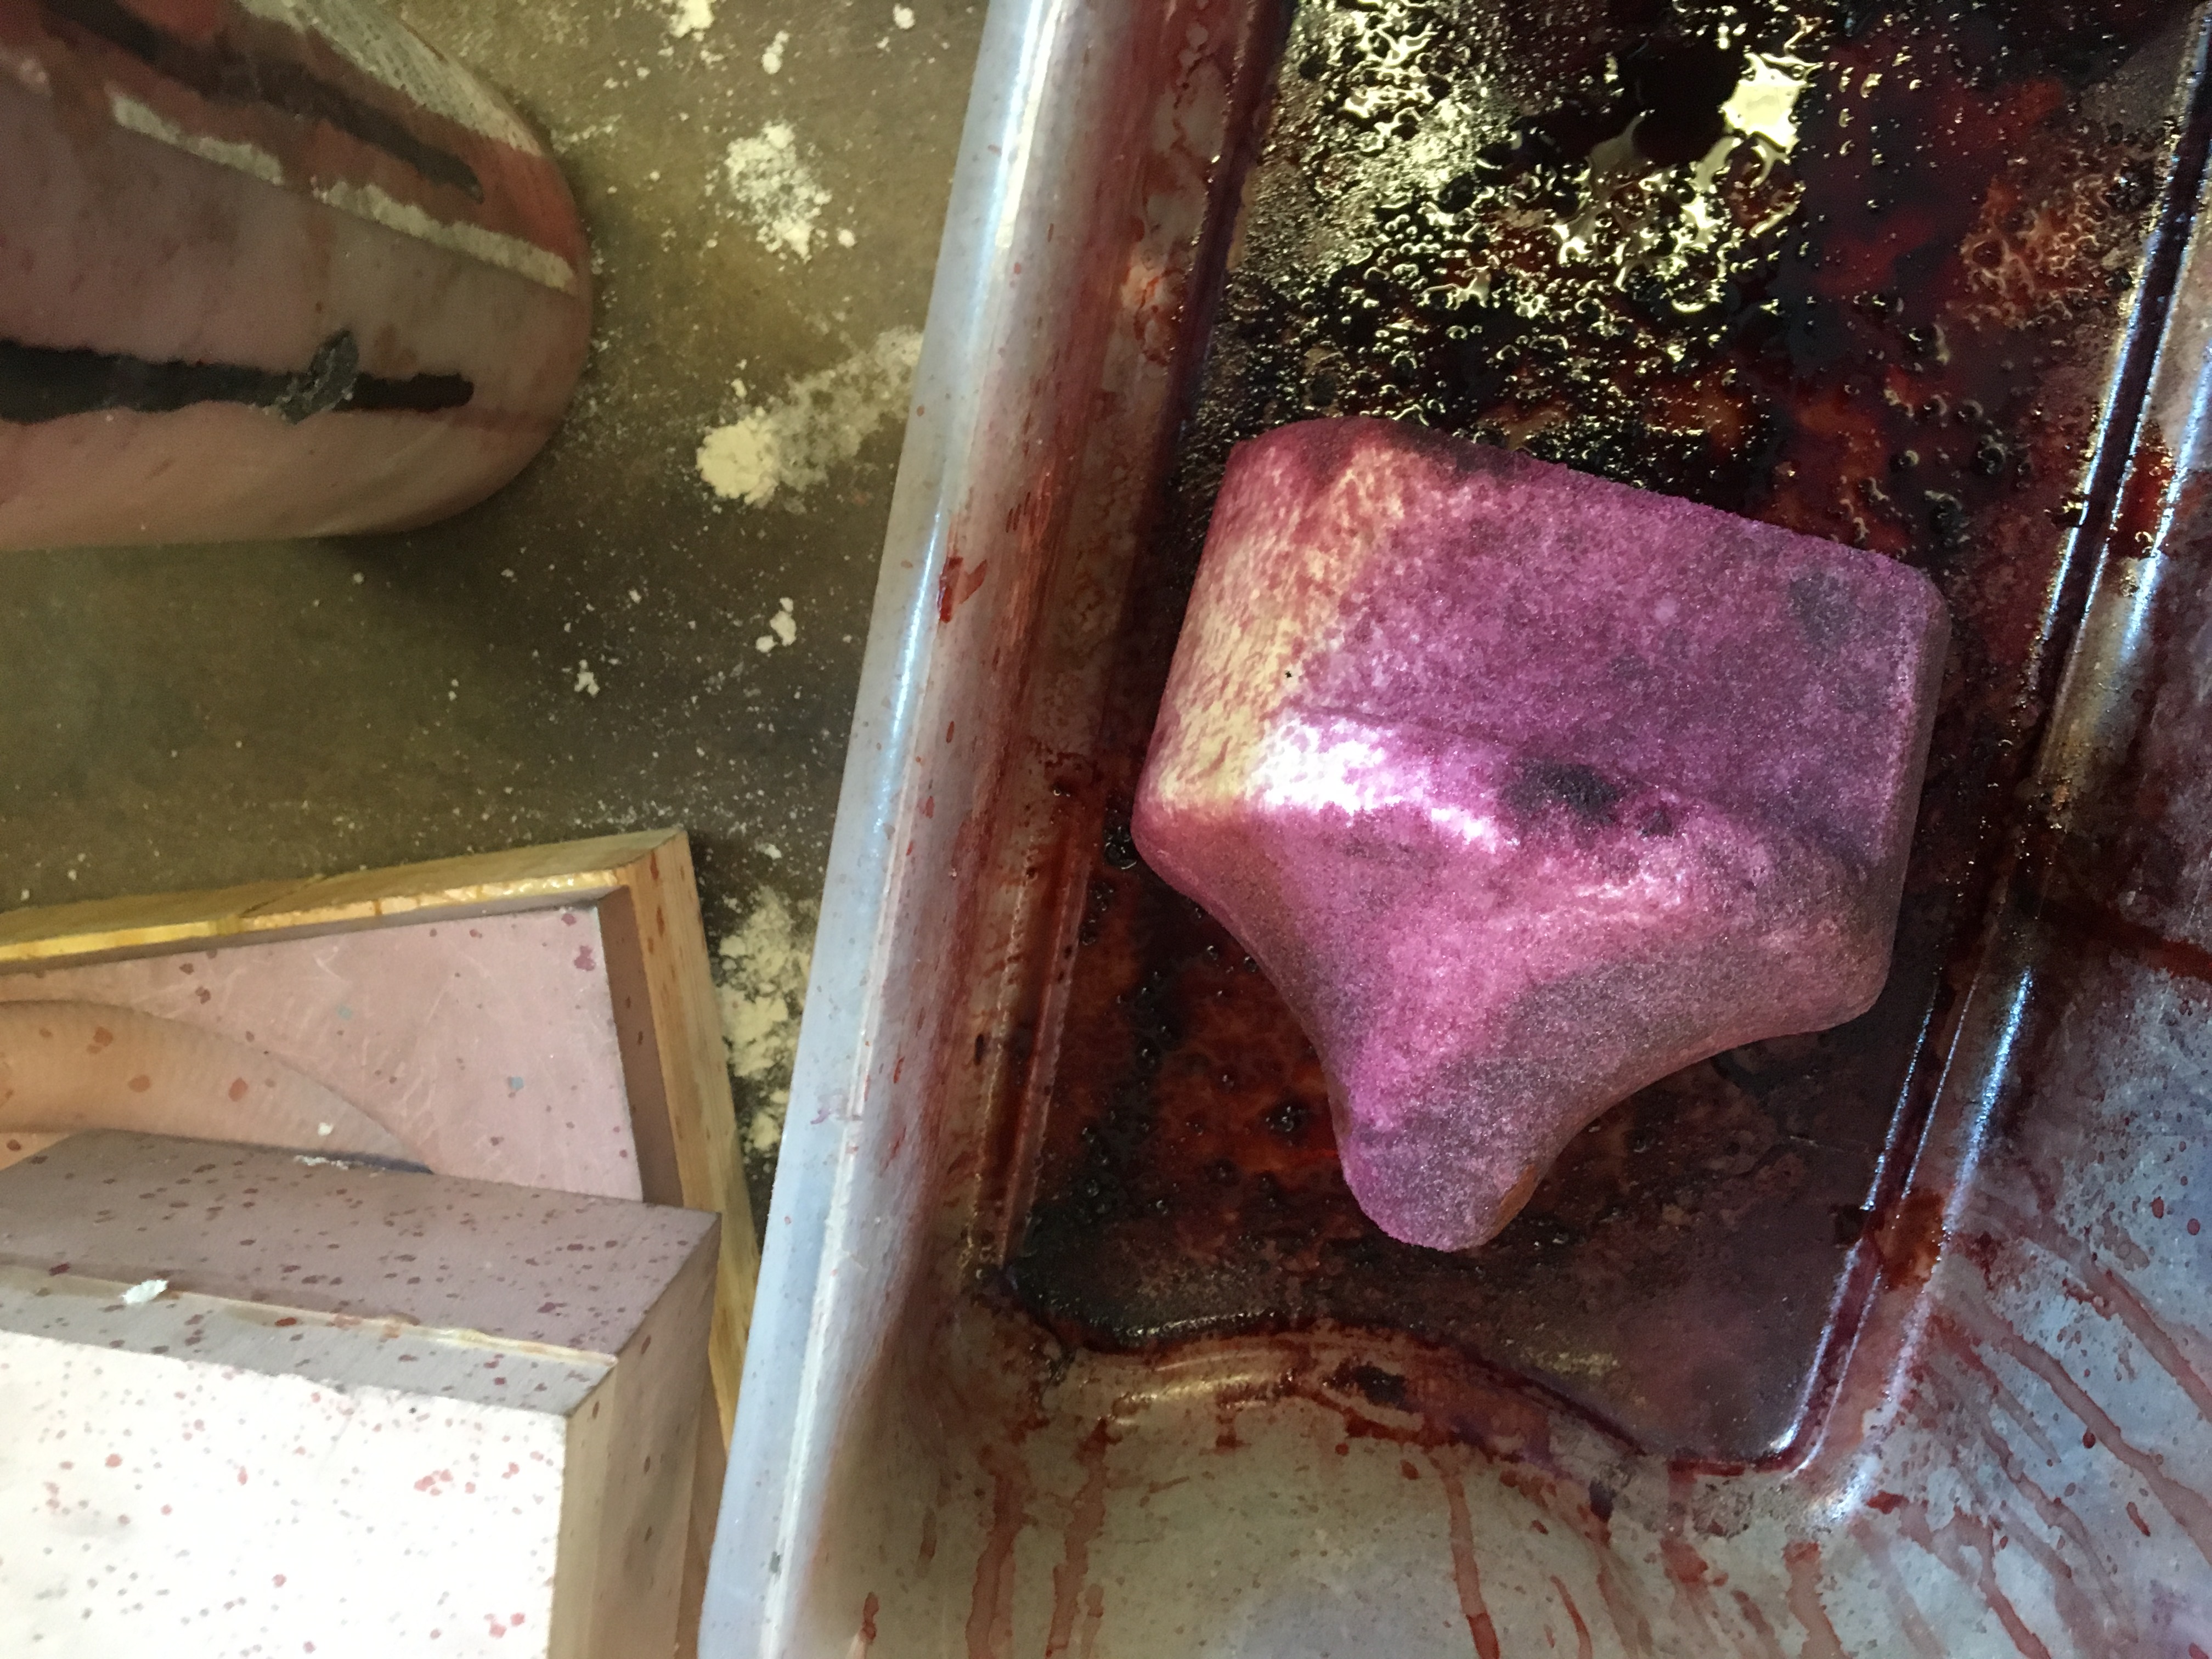
Casting
With the pattern board complete, it was time to actually cast an embo. Inserts were taped into place and then the seam was filled with beewax to create a smooth surface. I definitely got lazier with this critical step for later casts; the seams are clearly visible in the many of the final pieces.
Creating the Mold
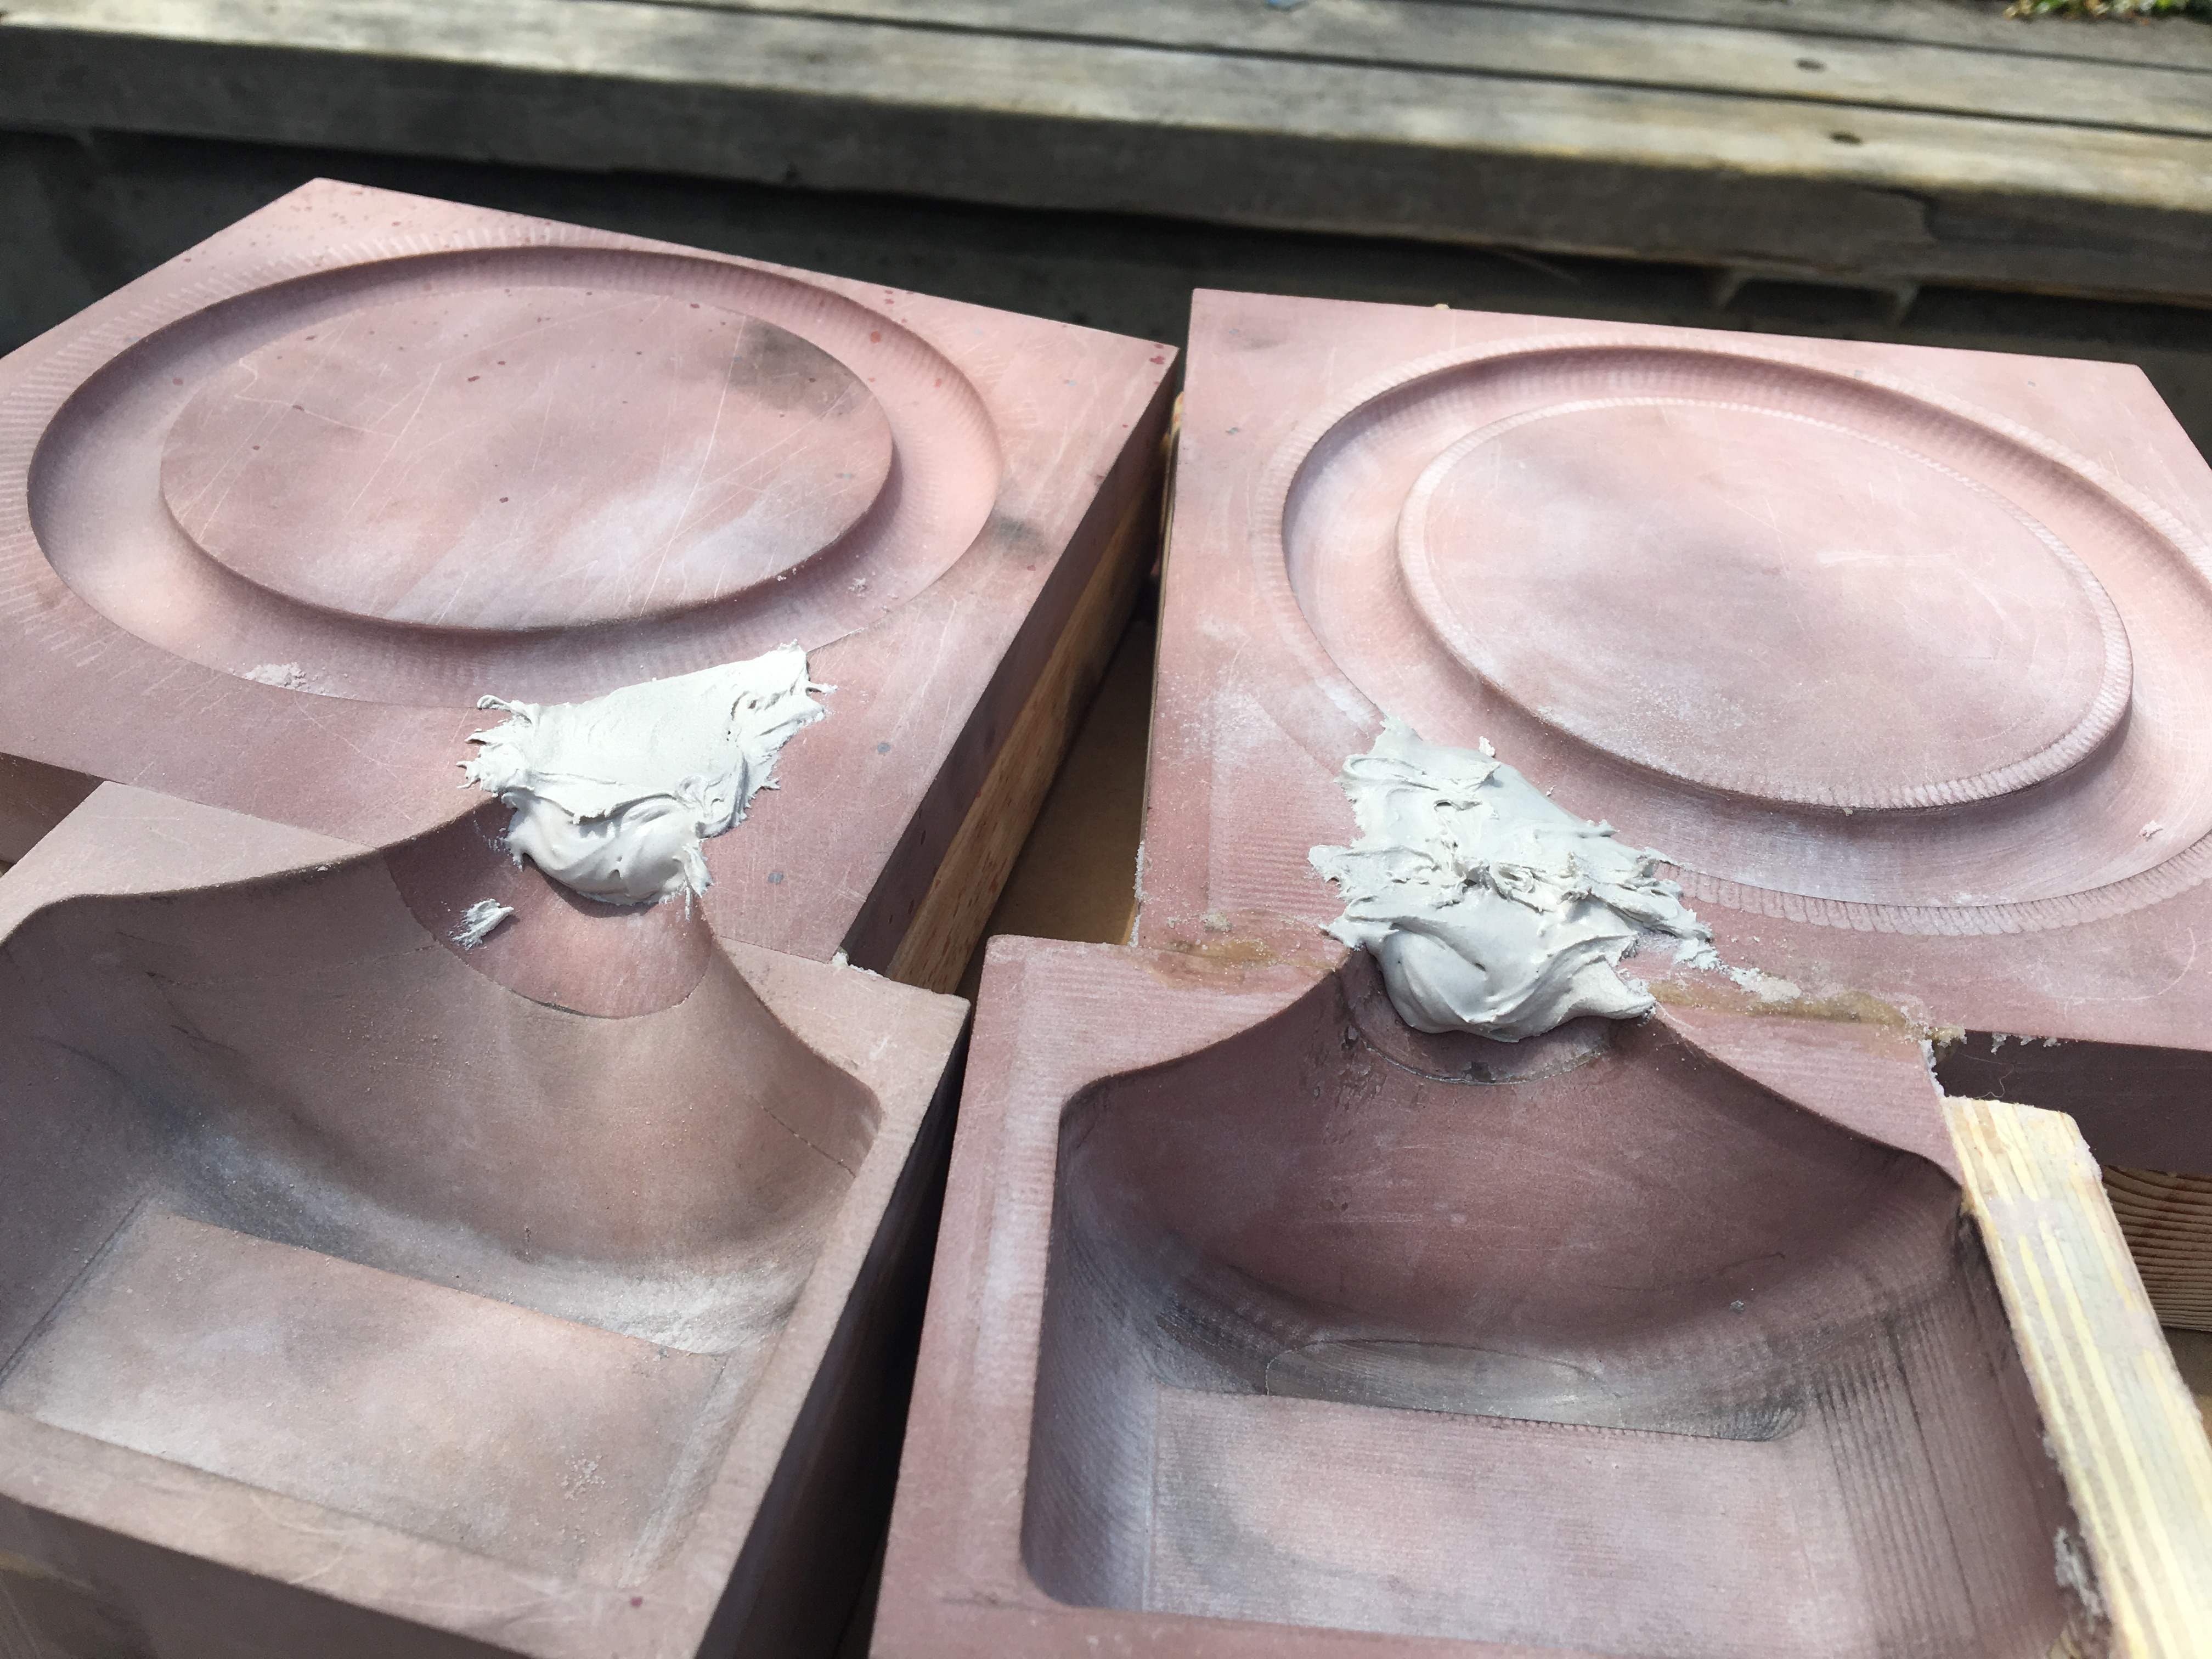
The first step in sand casting is to create a mold from the pattern. A flask is first placed over the pattern. To help the pattern board cleanly separate from the mold, I would sprinkle parting compound over the pattern before adding sand. In order to ensure all the details in the pattern would come out cleanly in the mold, I sifted a few layers of fine sand on the pattern before shoveling additional sand and ramming it down with a wedge.
This process is repeated with the other side of the pattern, creating the cope and the drag.
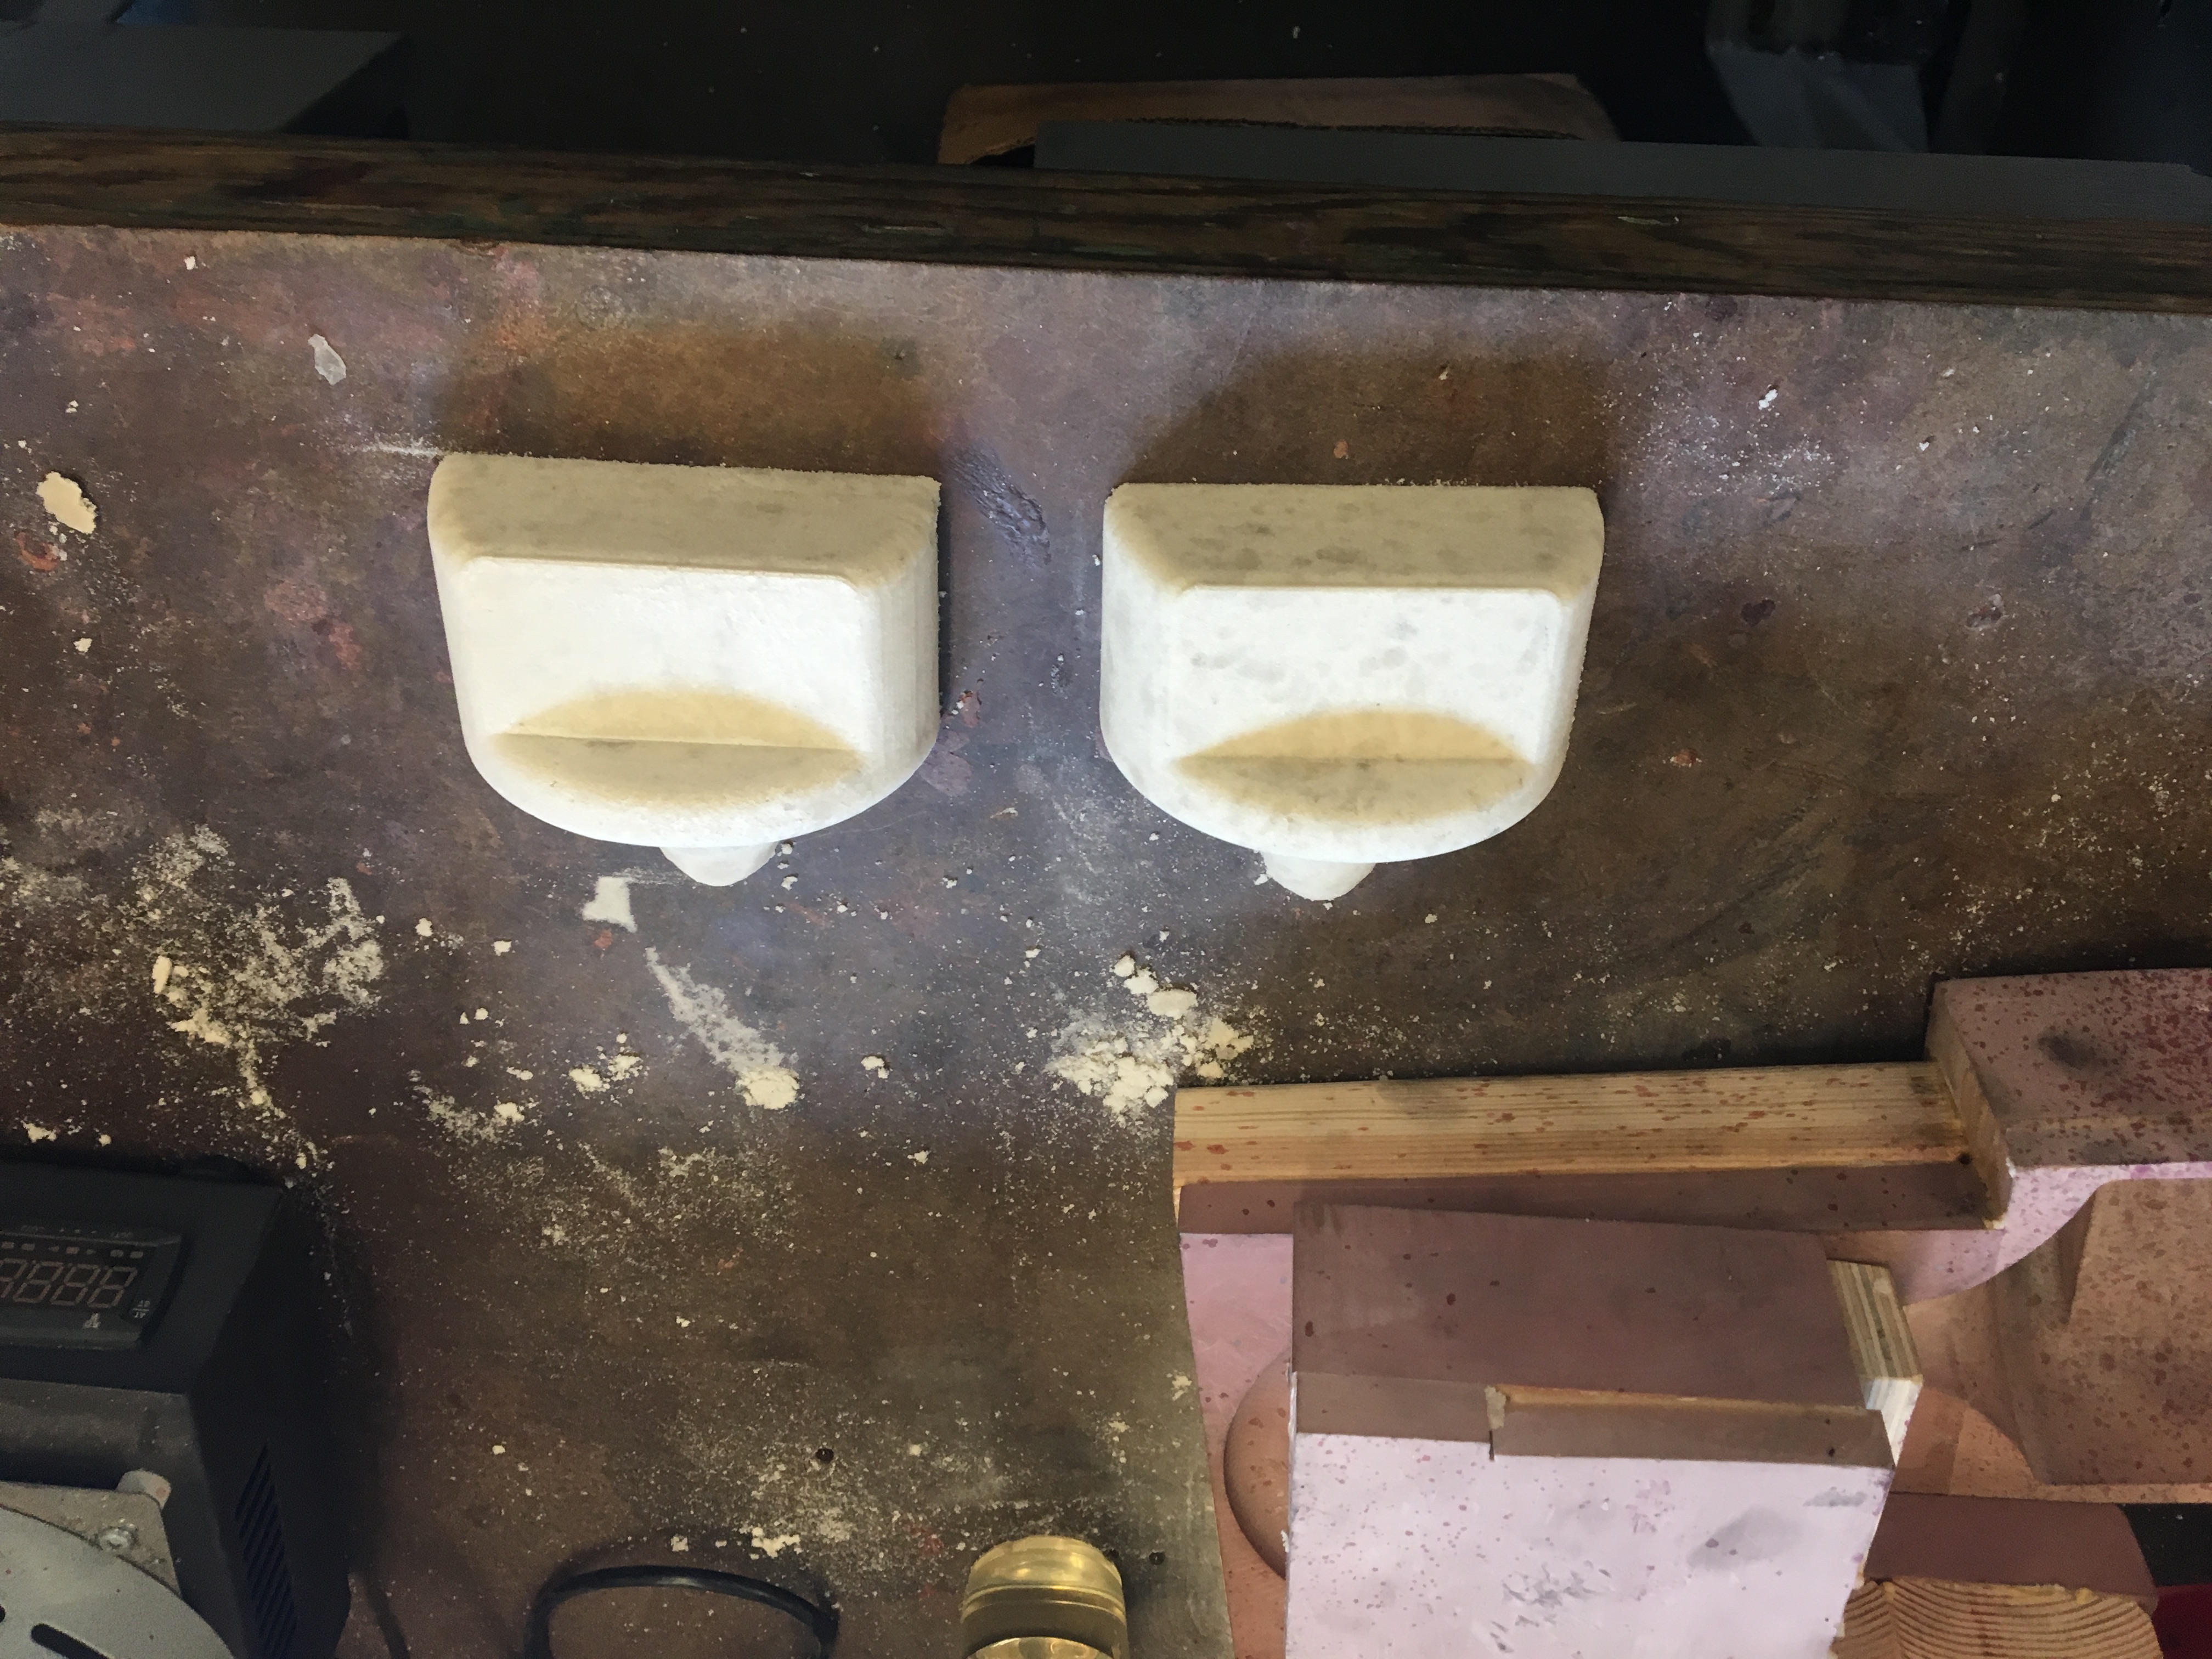
Creating the Core
For each cast I had to create a core for the bell cavity. The first time I tried to create a core it immediately became evident that it wouldn't be feasible to create a core for the entire tubing. I quickly abandoned this idea and added some Bondo to the core box and carved a nice interior surface.
Creating a core in the PRL was a long process, little of which I totally understood. First the core sand was mixed with some oil and then pressed into the core box. After creating a flat surface, a vacuum was applied to harden the core halves. Once they were moderately hard they could be knocked out of the core box.
The two halves were then glued together:
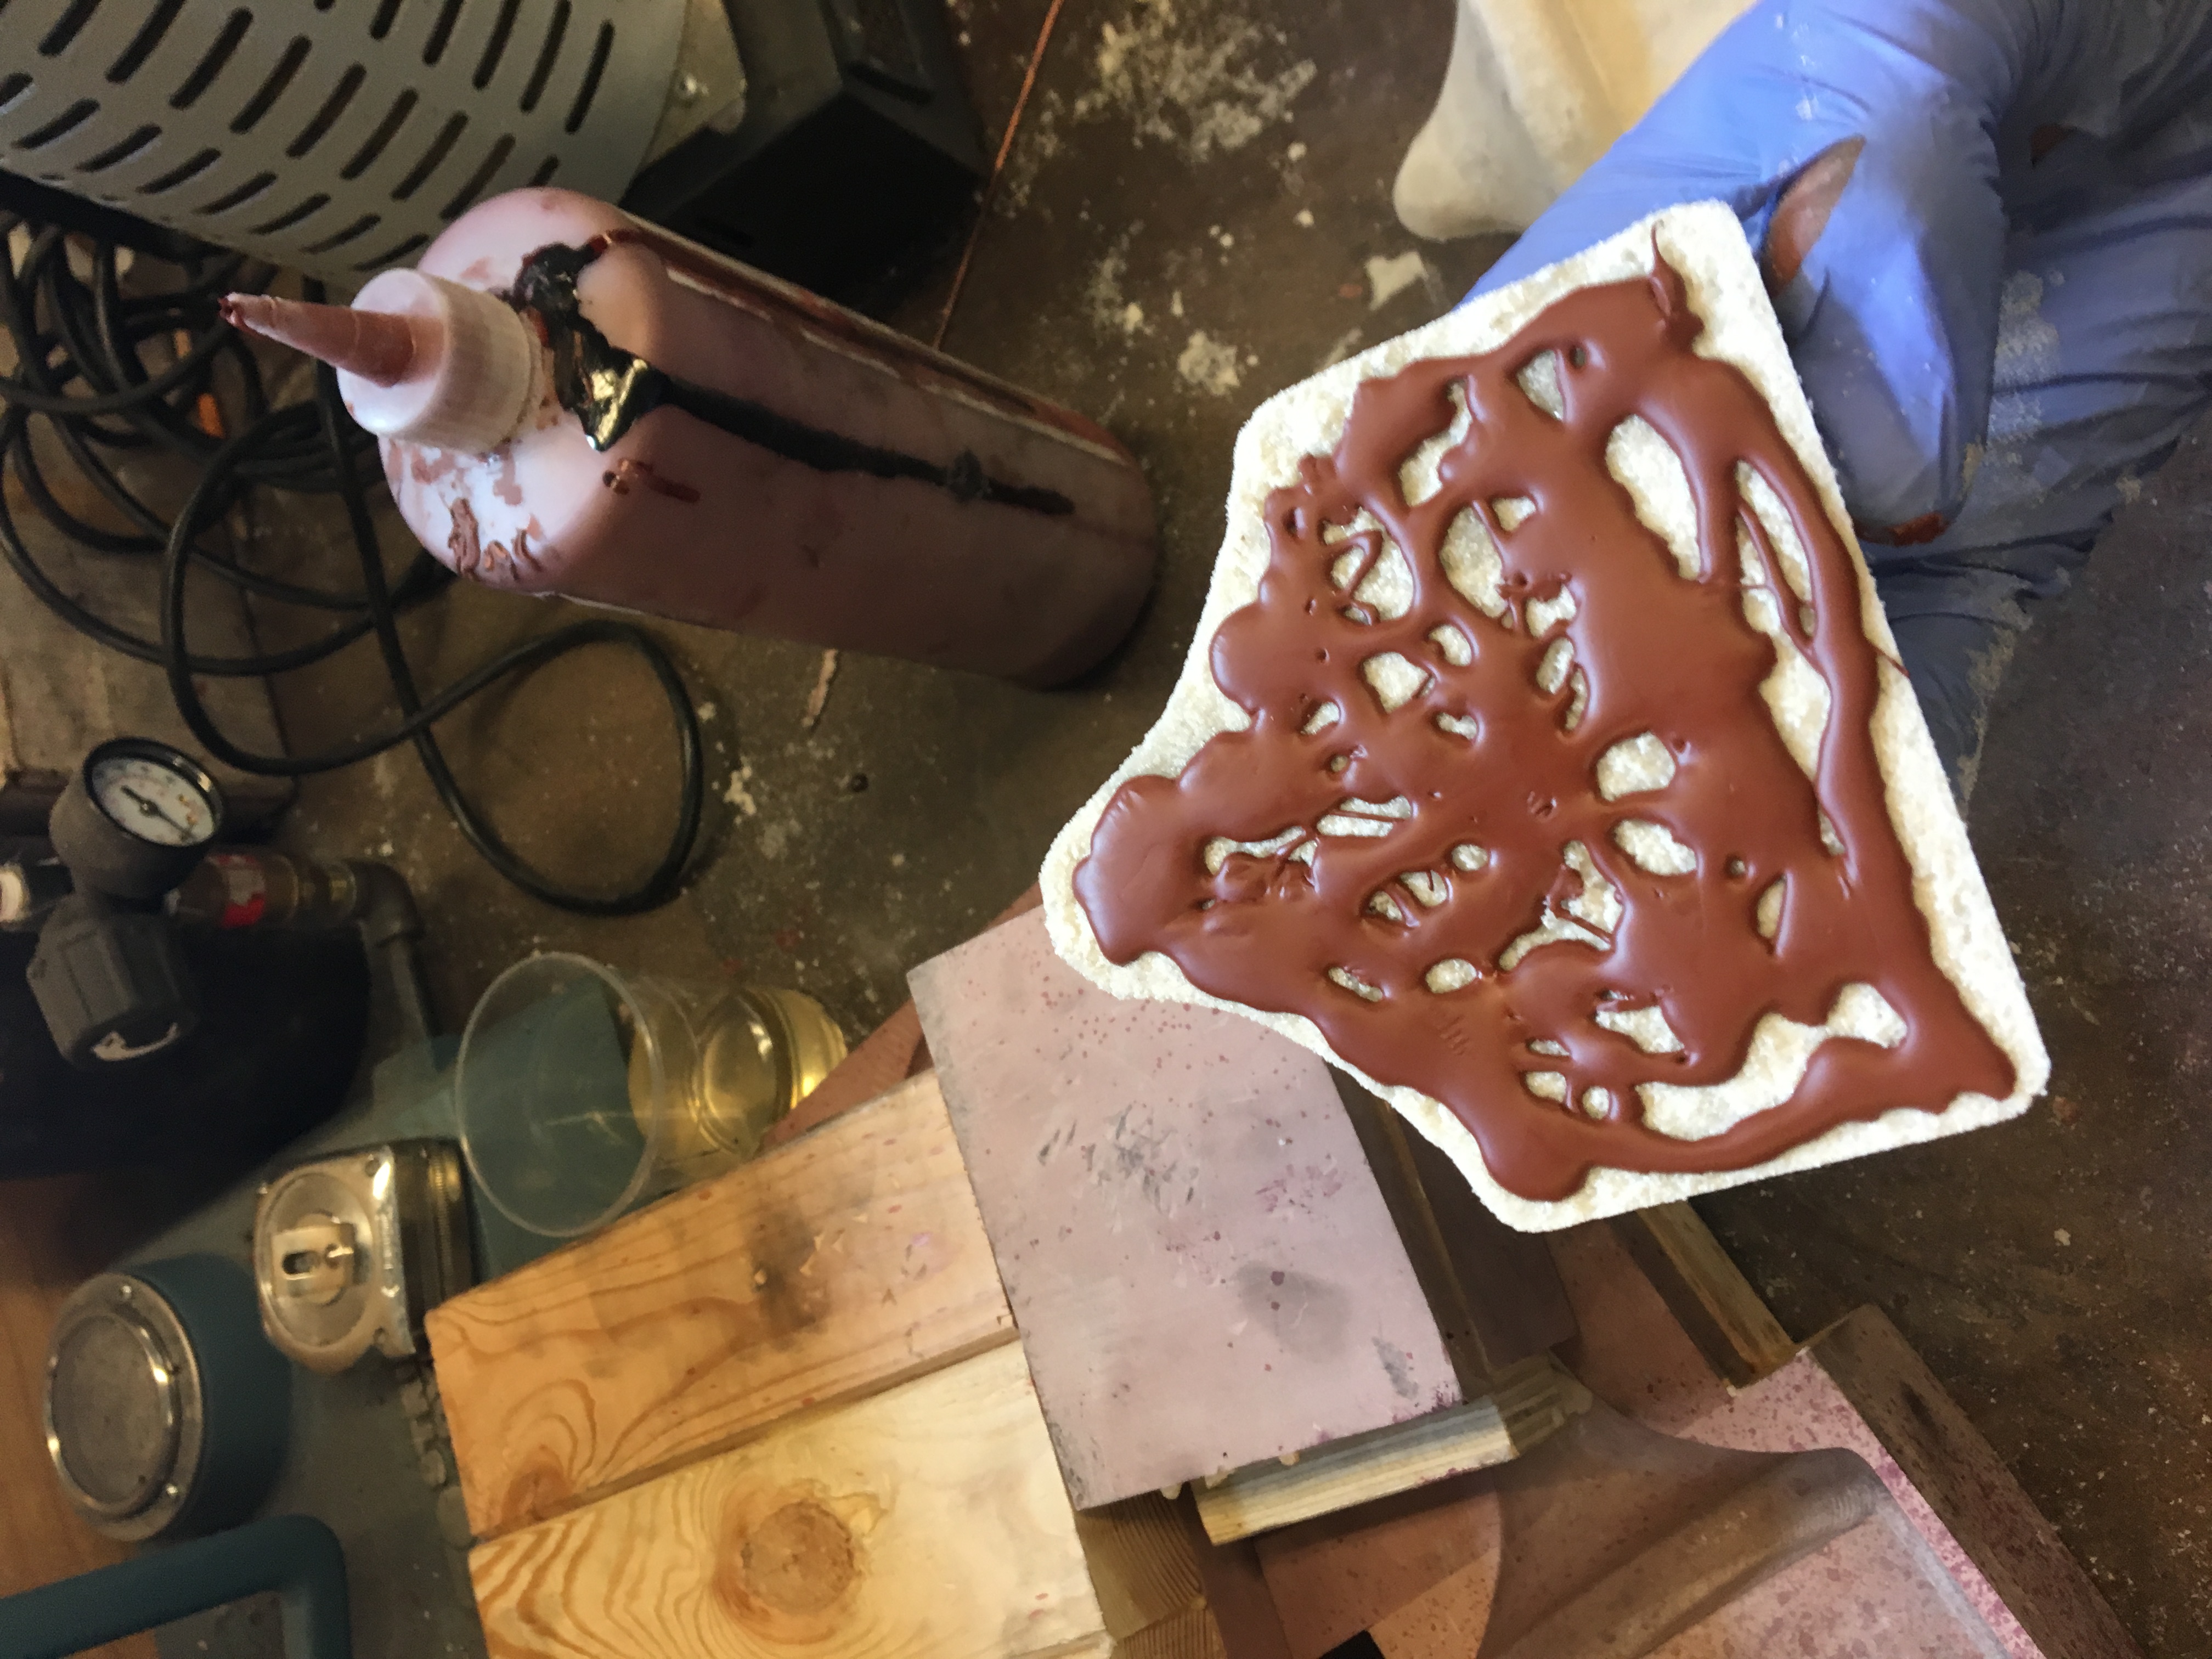
I then sprayed the core with a mysterious liquid and heated it with a torch, which hardened it further.
Finally at this point the core could be placed in the cavity left by the core print. It sat cantilevered into the bell cavity, leaving just a thin volume for the metal.
The Pour
I didn't get to actually pour the metal into the mold. That was handled by the shop TAs. I got to watch from outside, though!
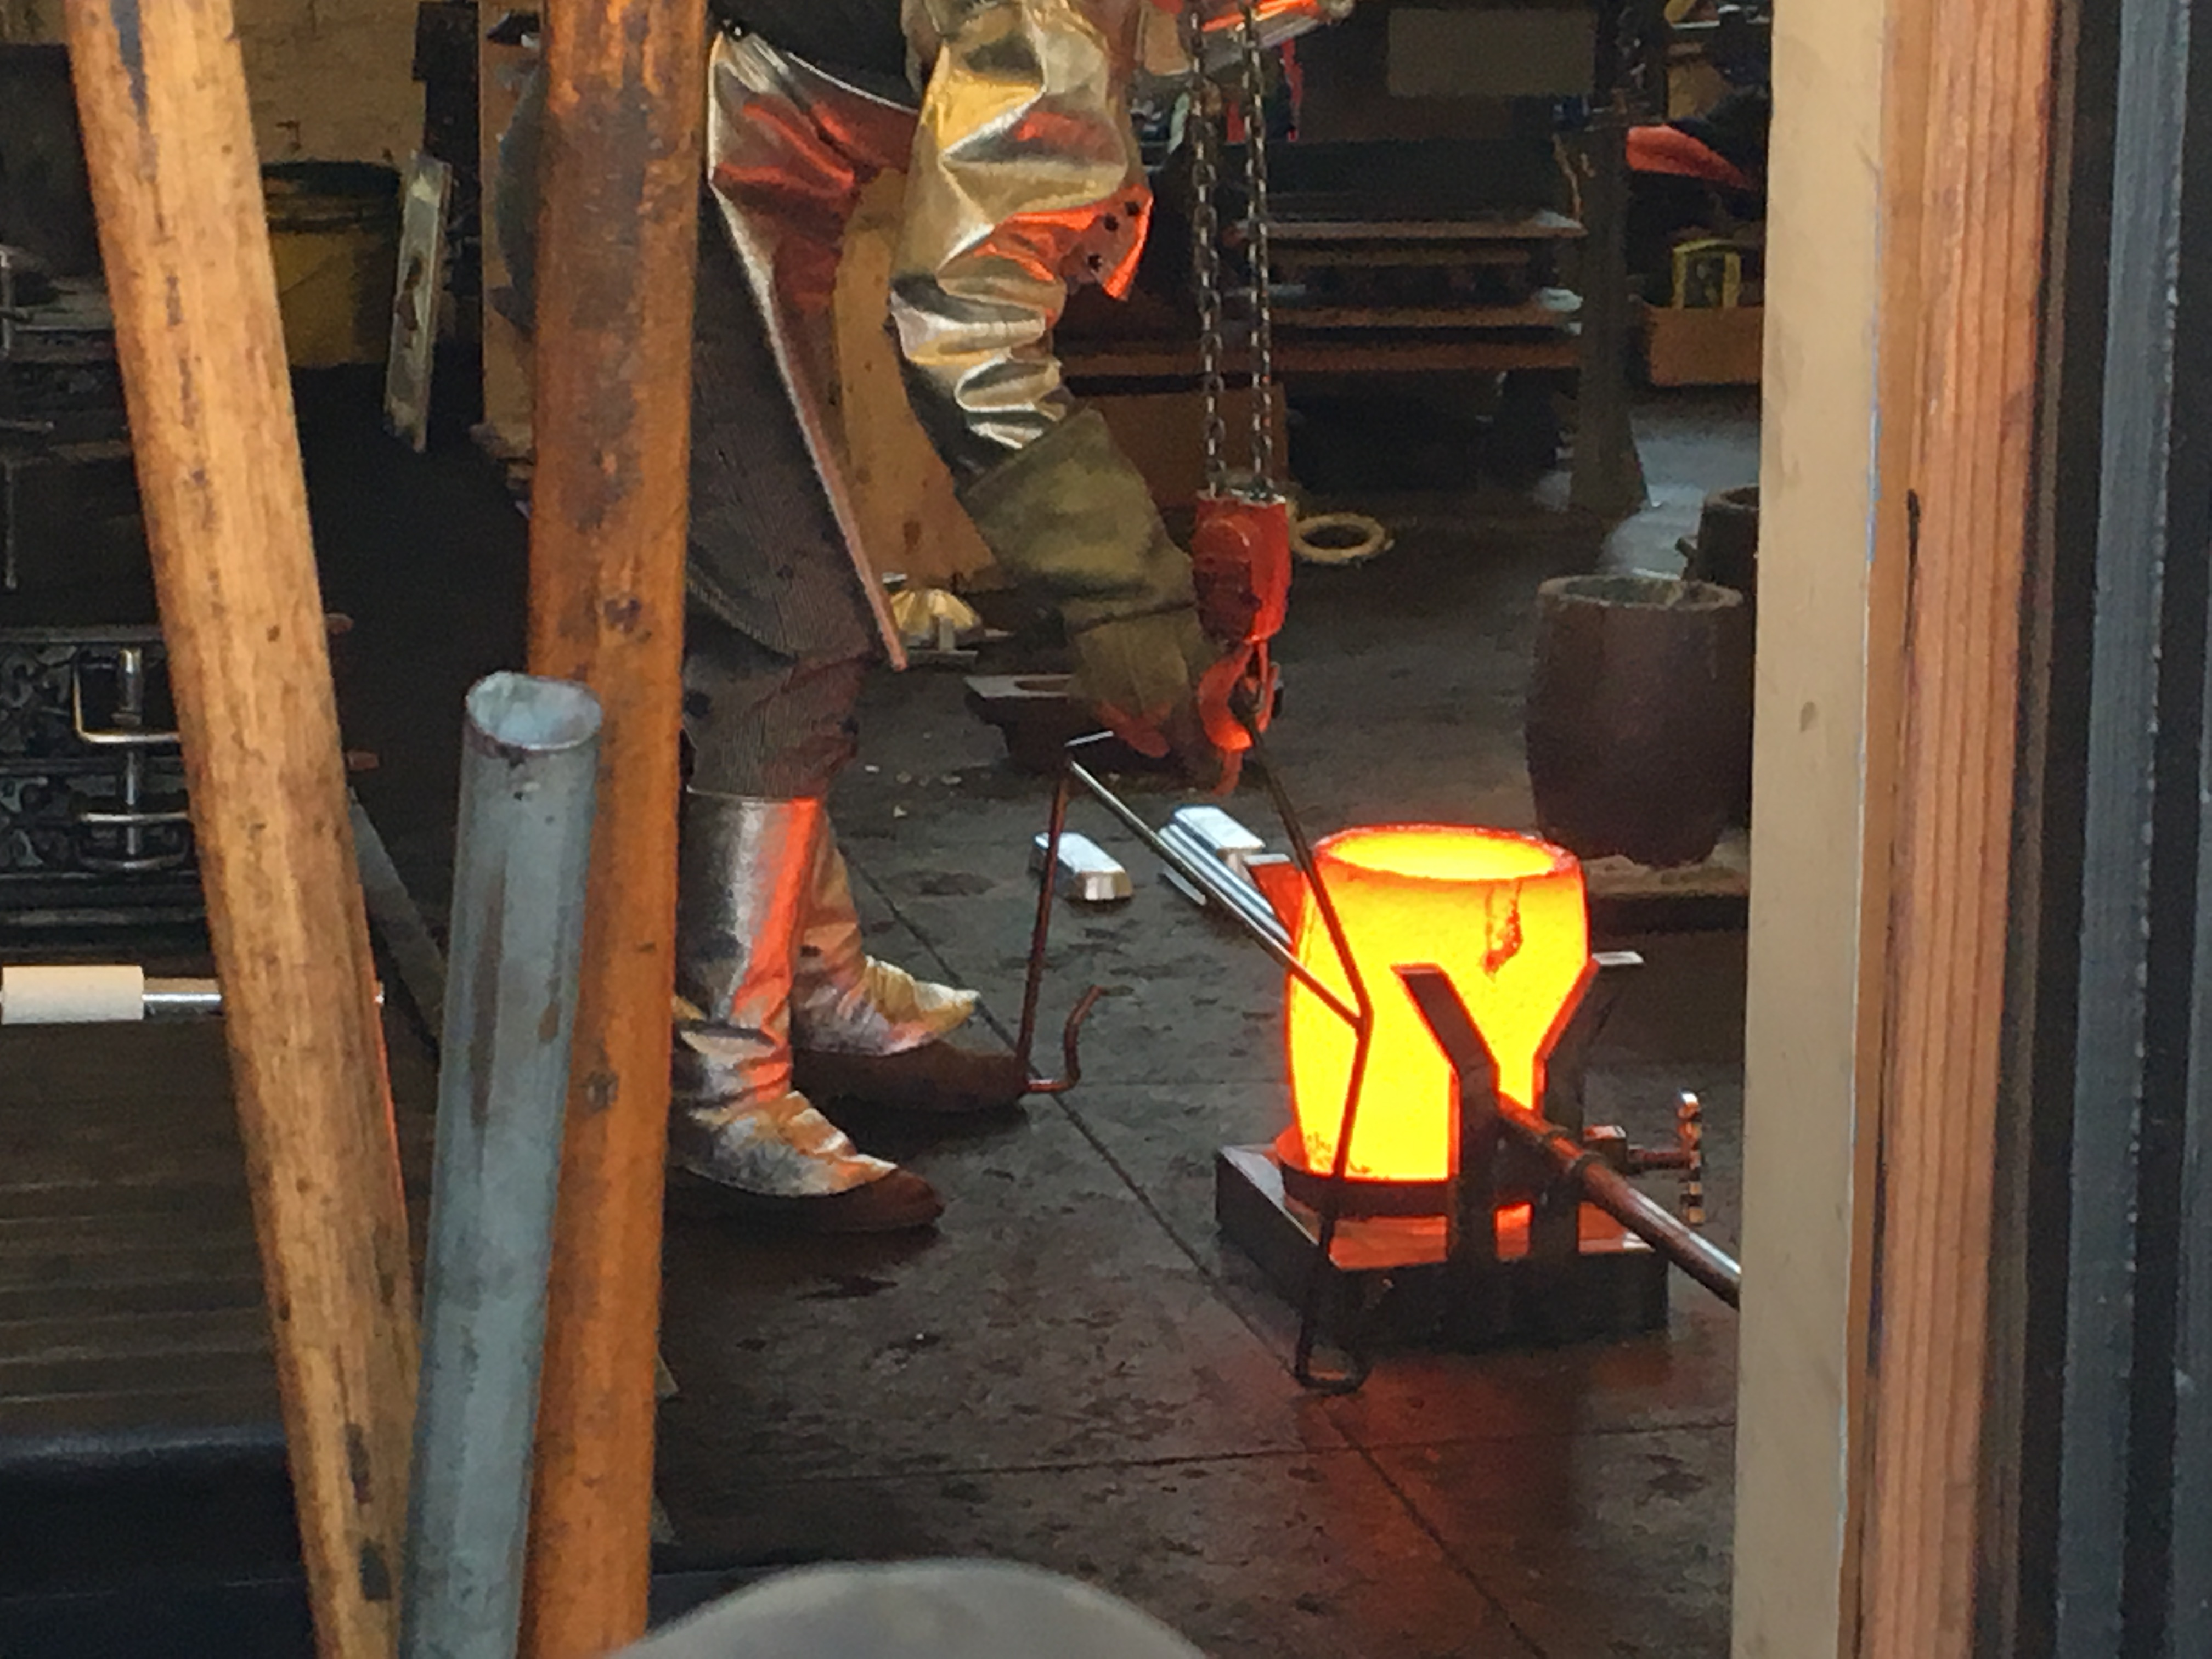
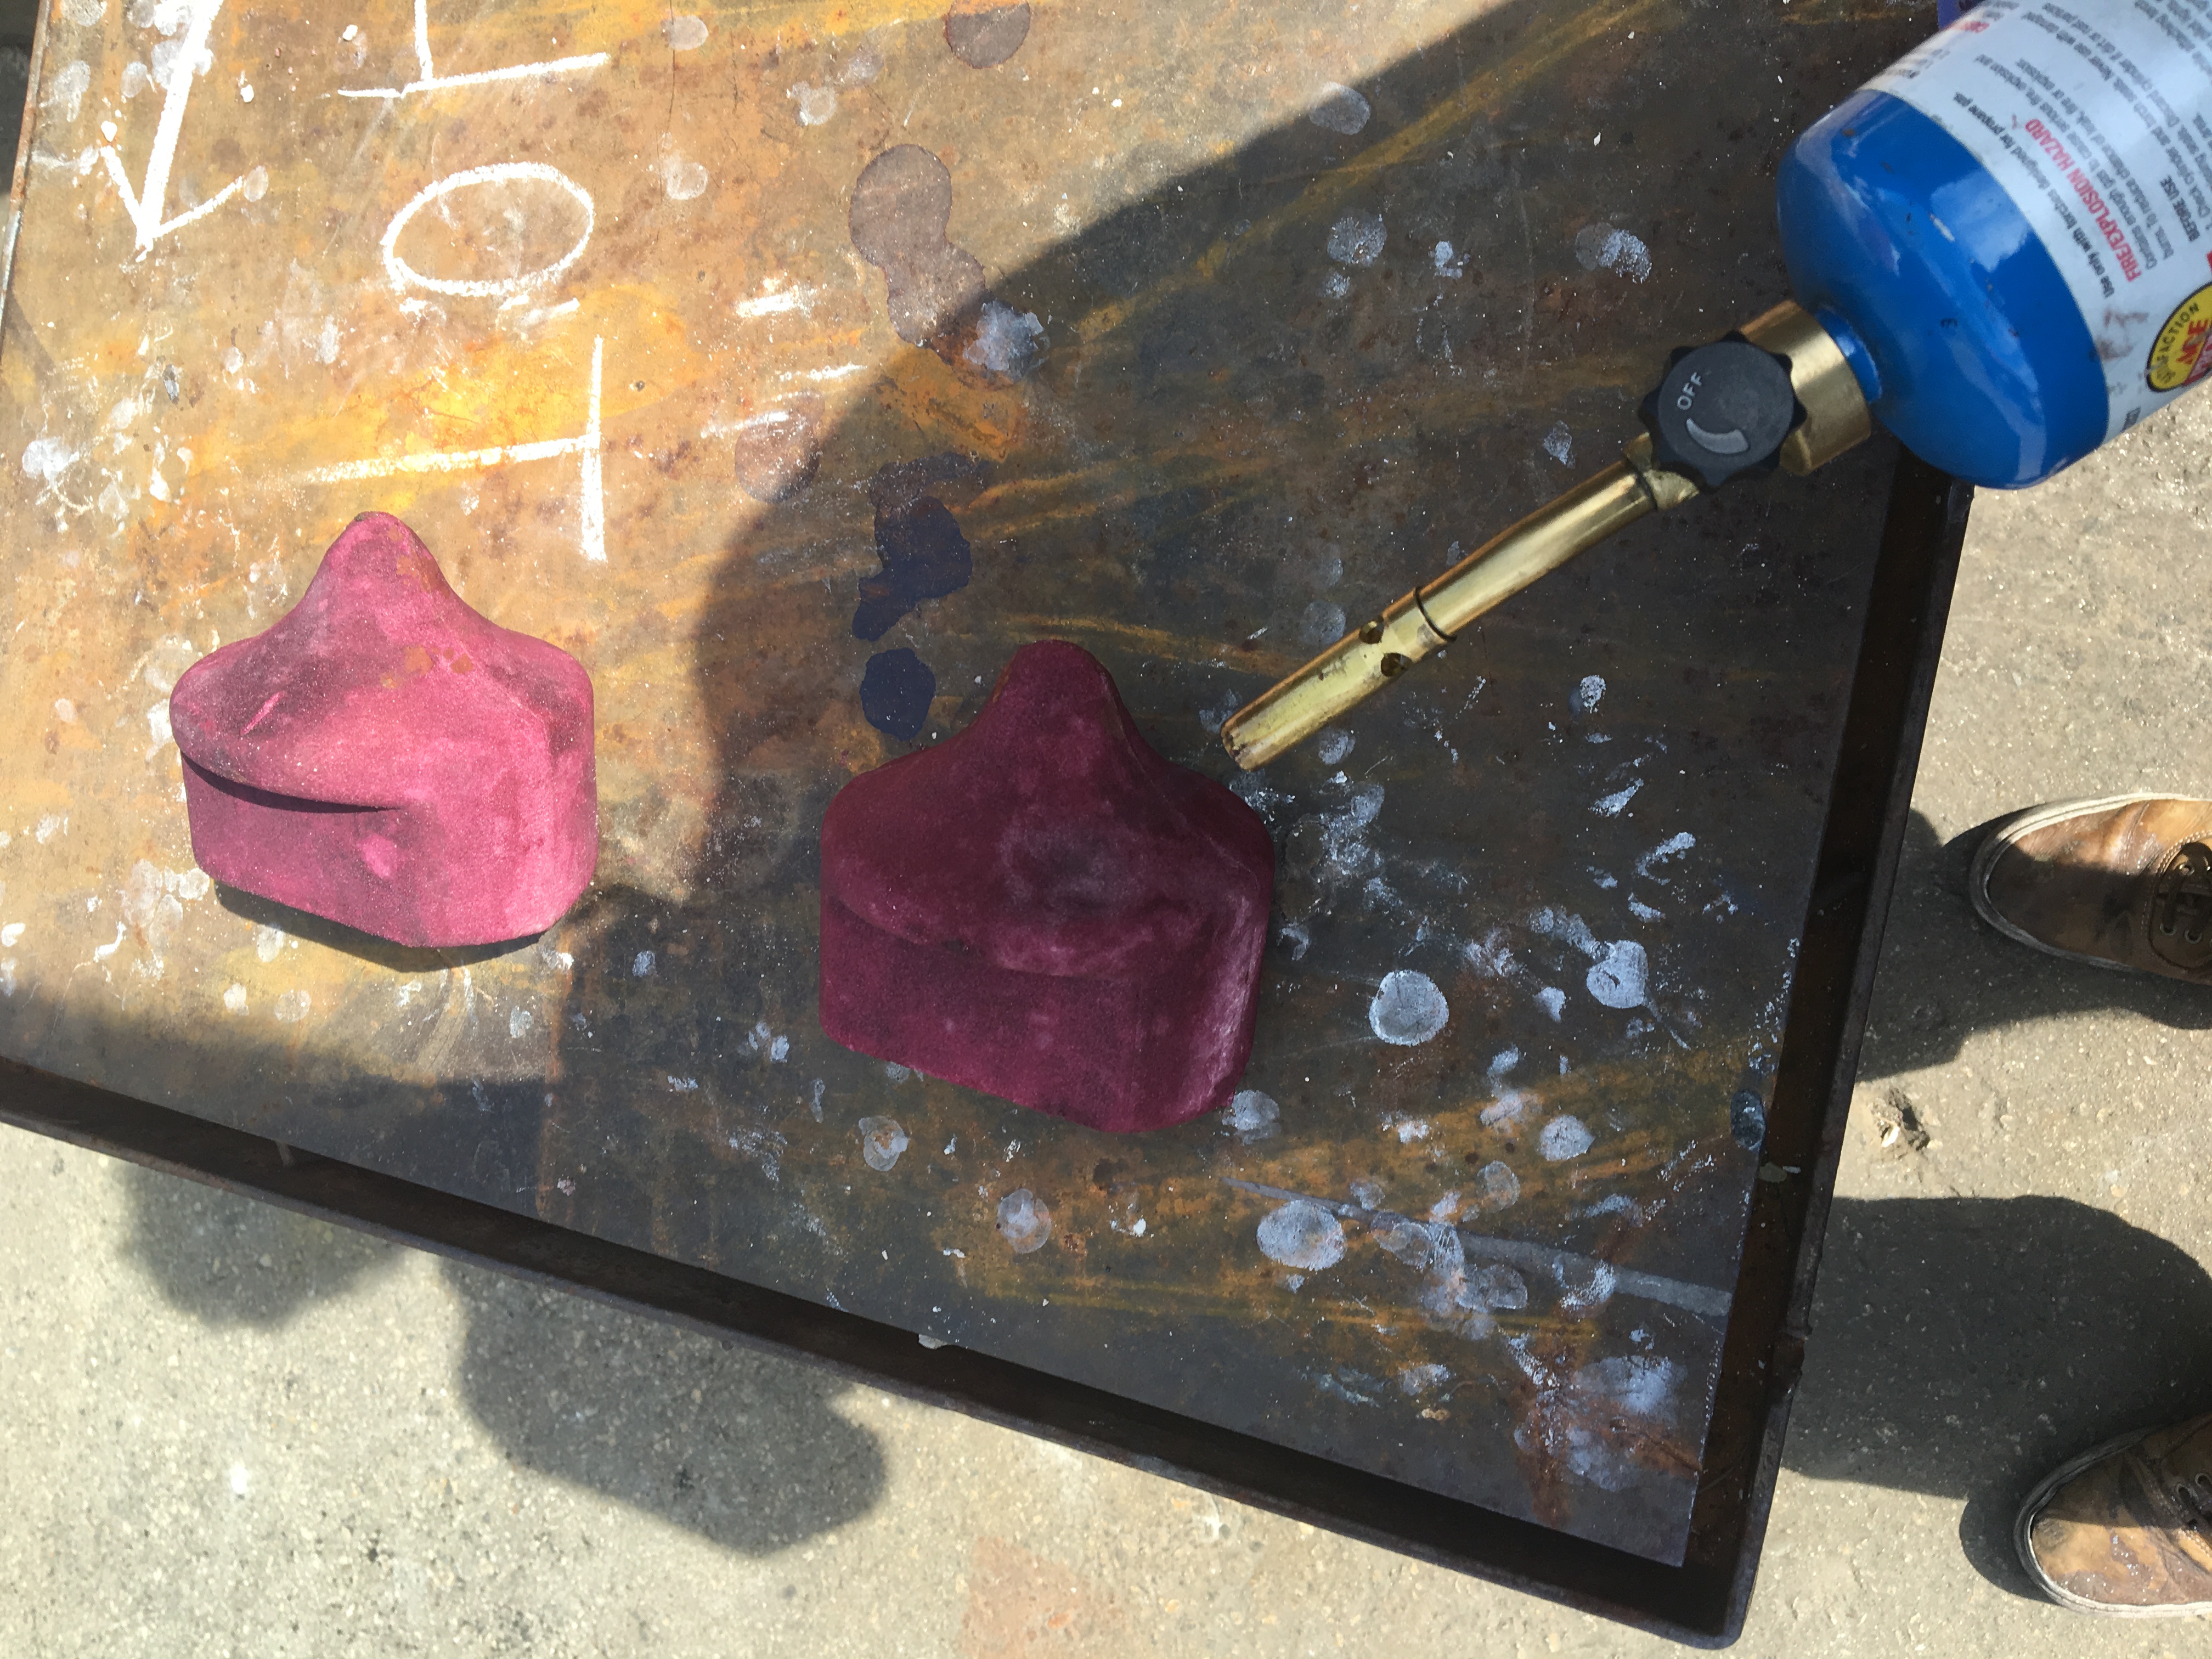
It worked! After the pour I retrieved the cooled (though still really hot) pieces from the sand. They looked incredible.
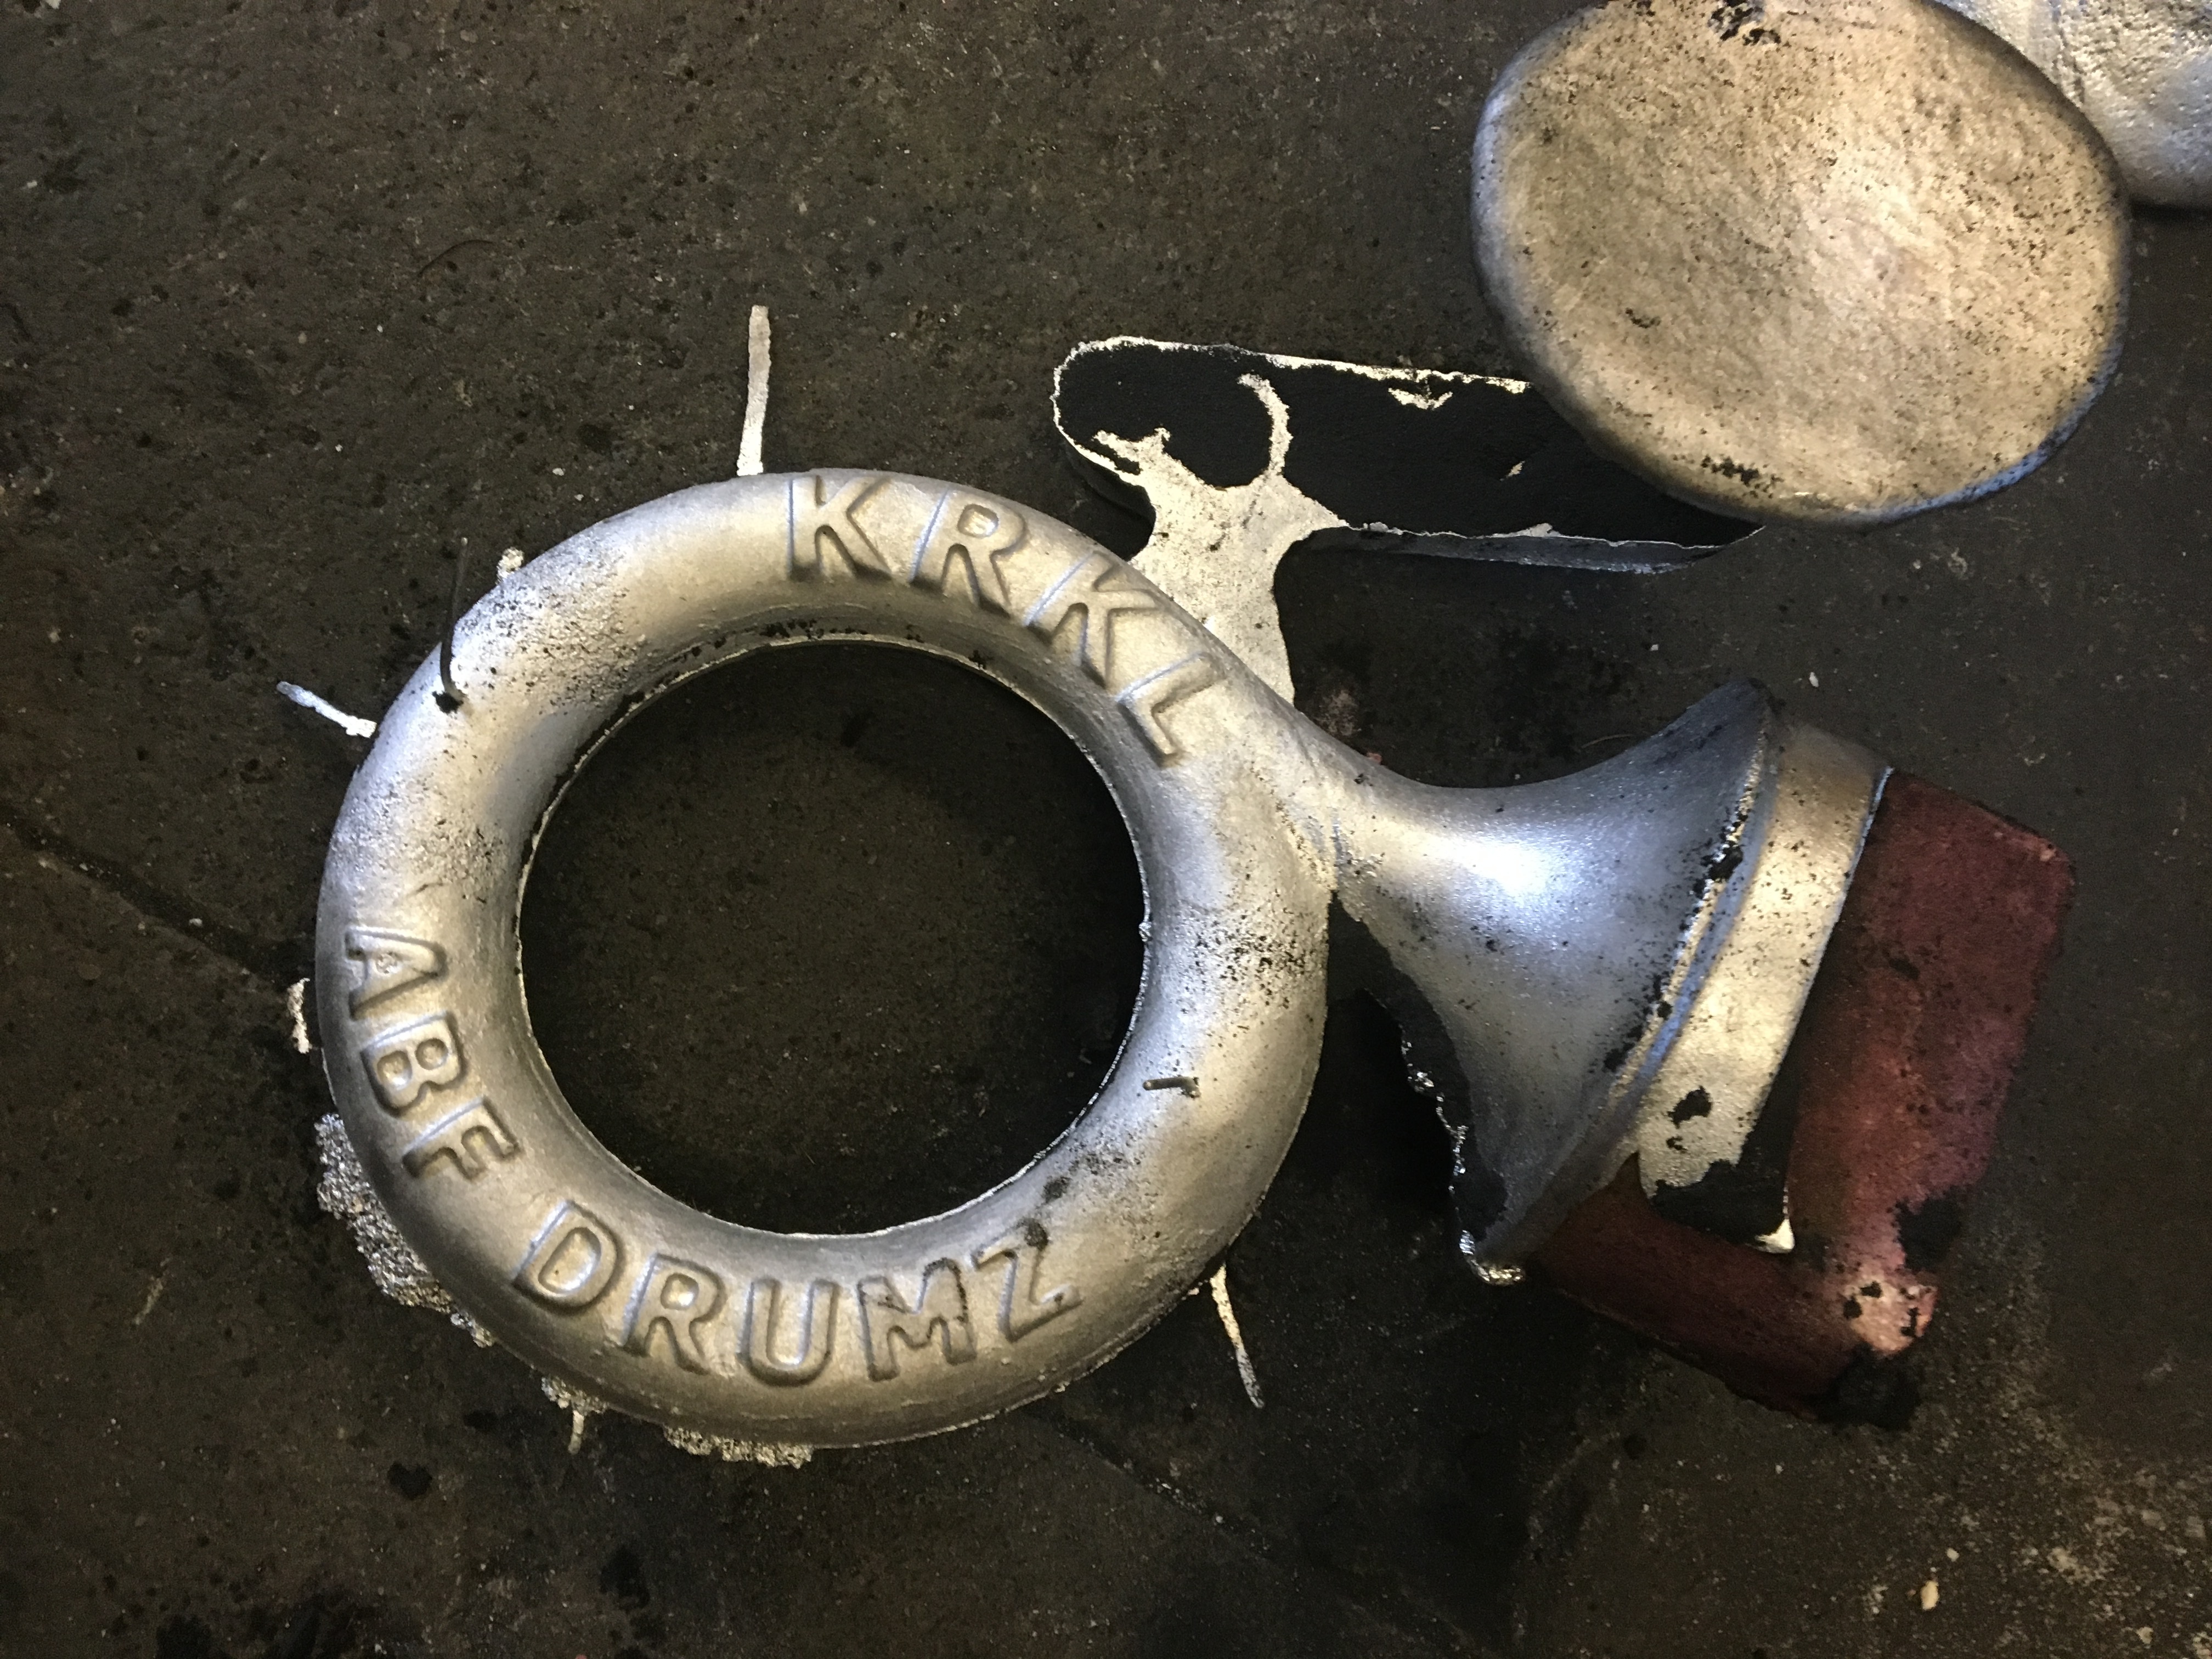

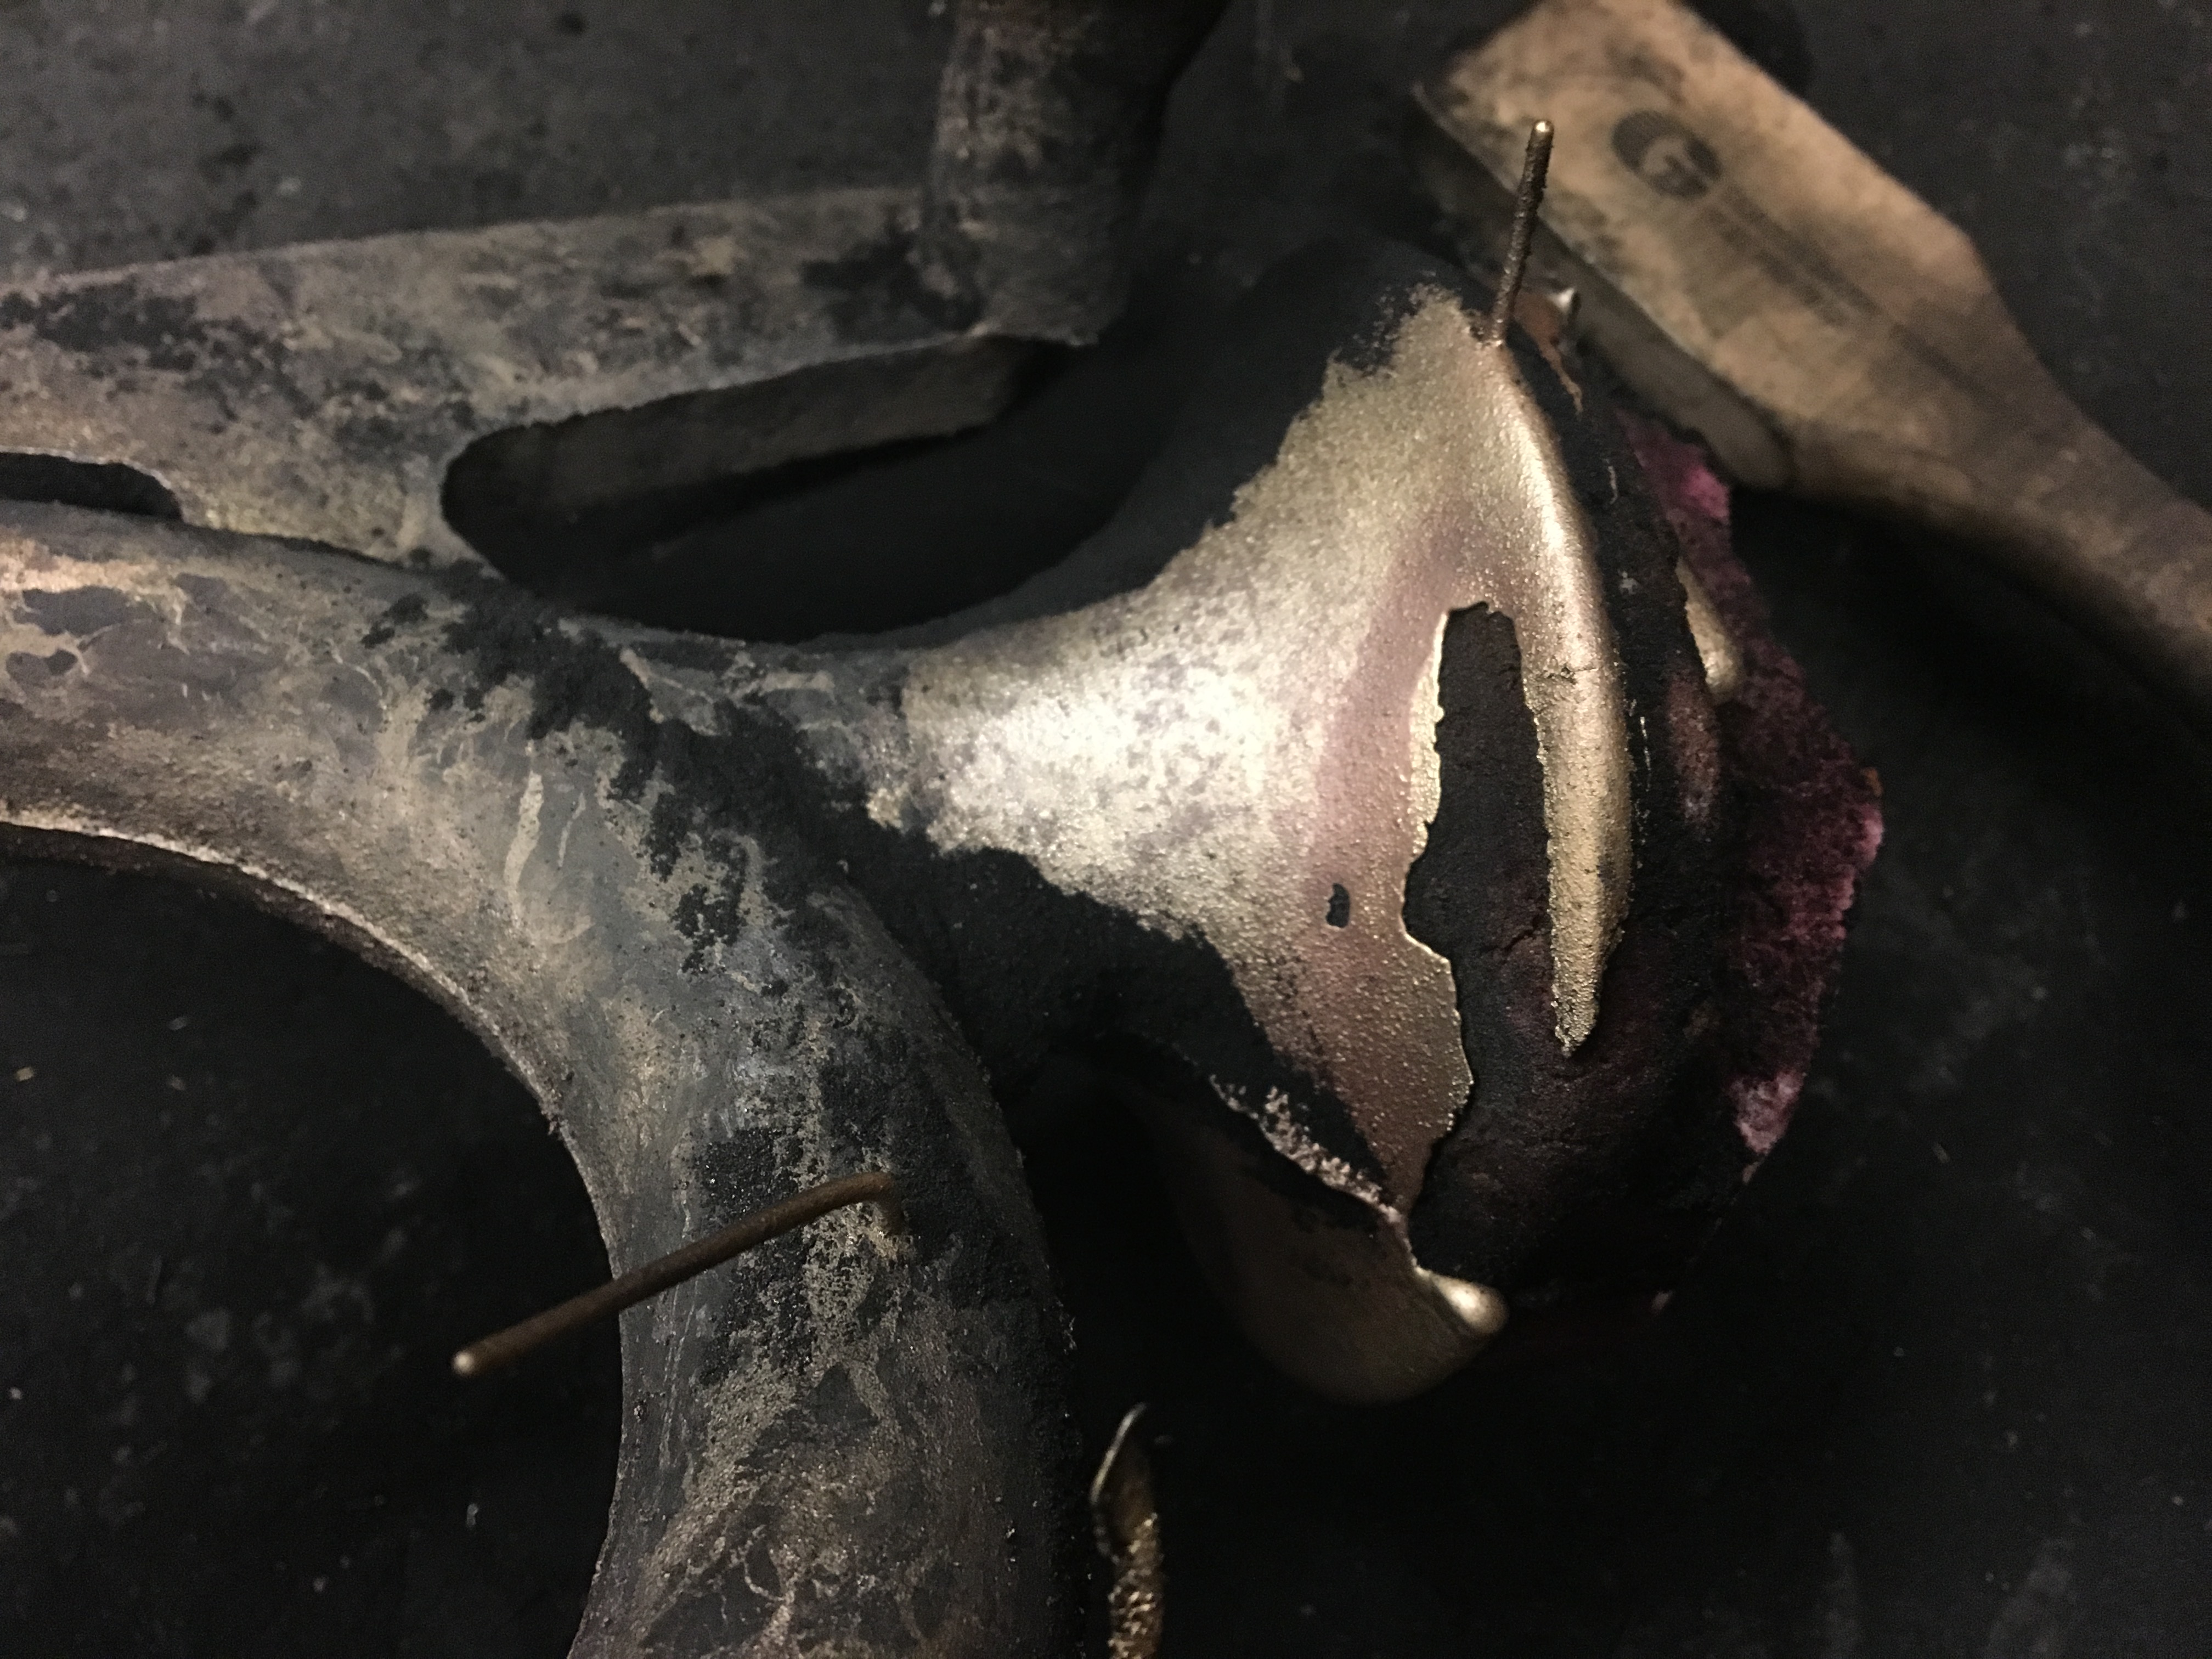
I had a lot of distinct patterns to cast, and not a lot of time. Casting is imprecise, so I would create multiple molds to increase my chances of getting a cast I could keep. Most of them turned out okay, but the letters didn't always come out super clearly and sometimes the metal didn't flow through the entire mold.
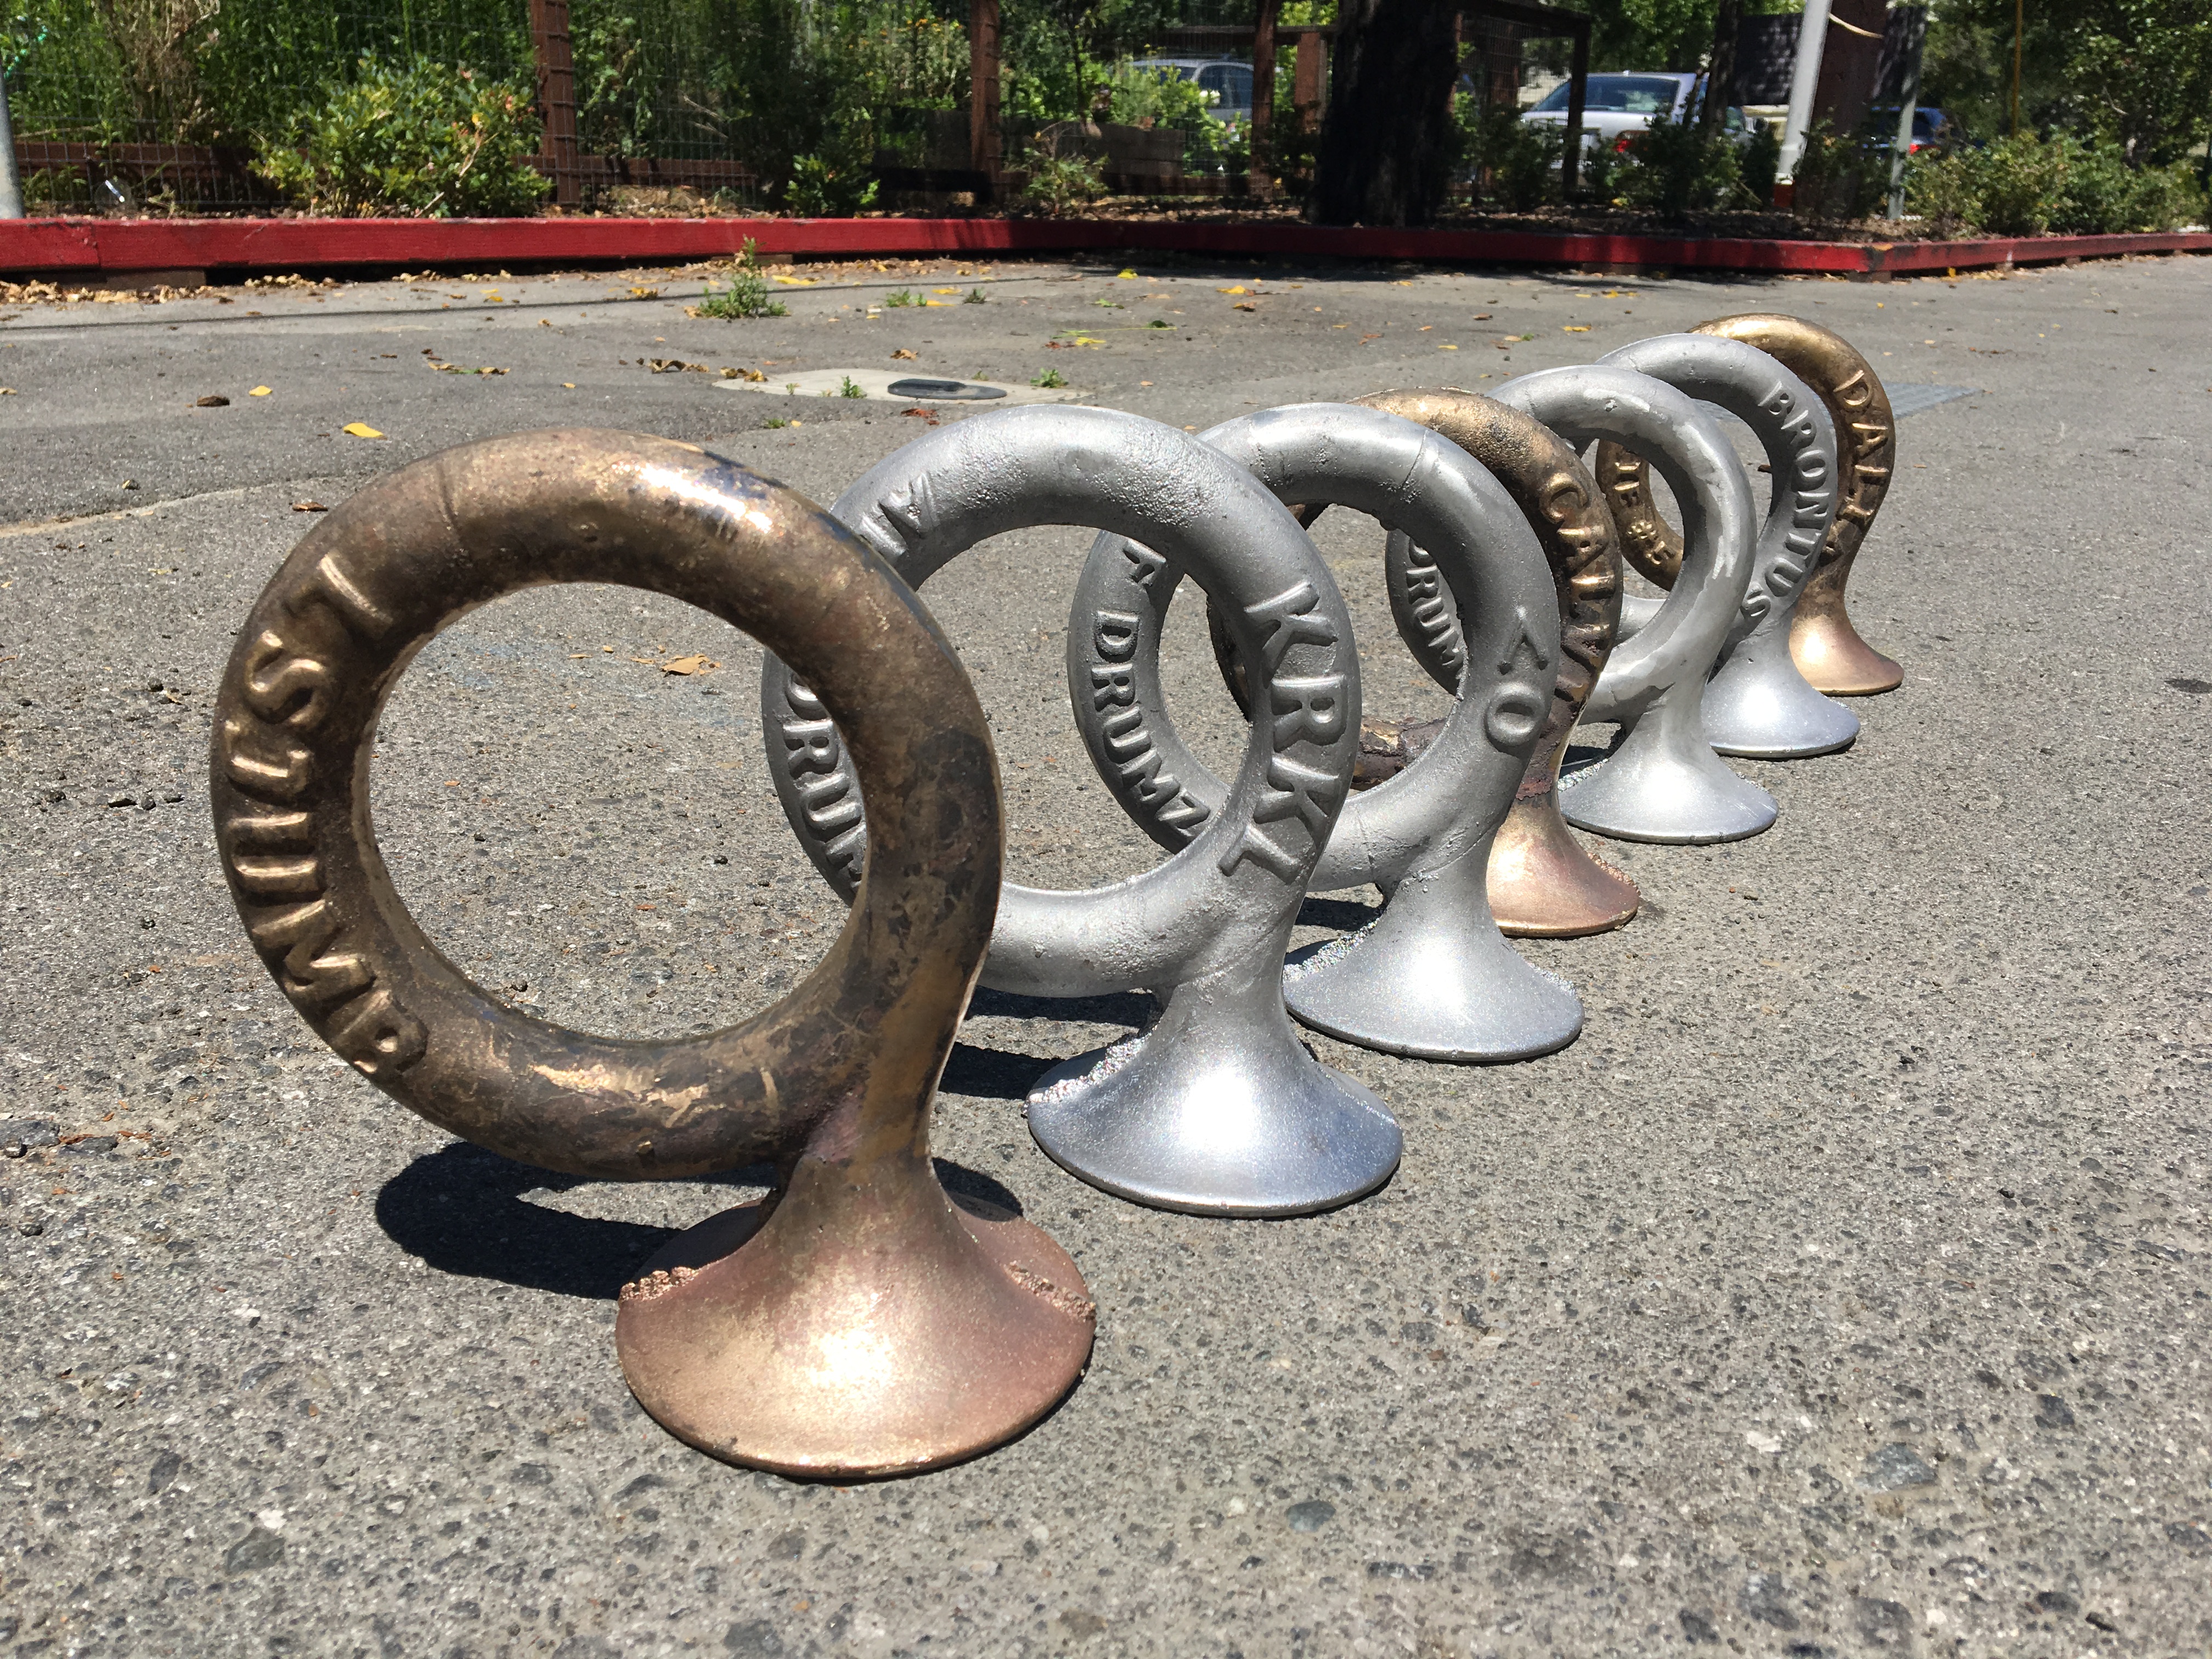
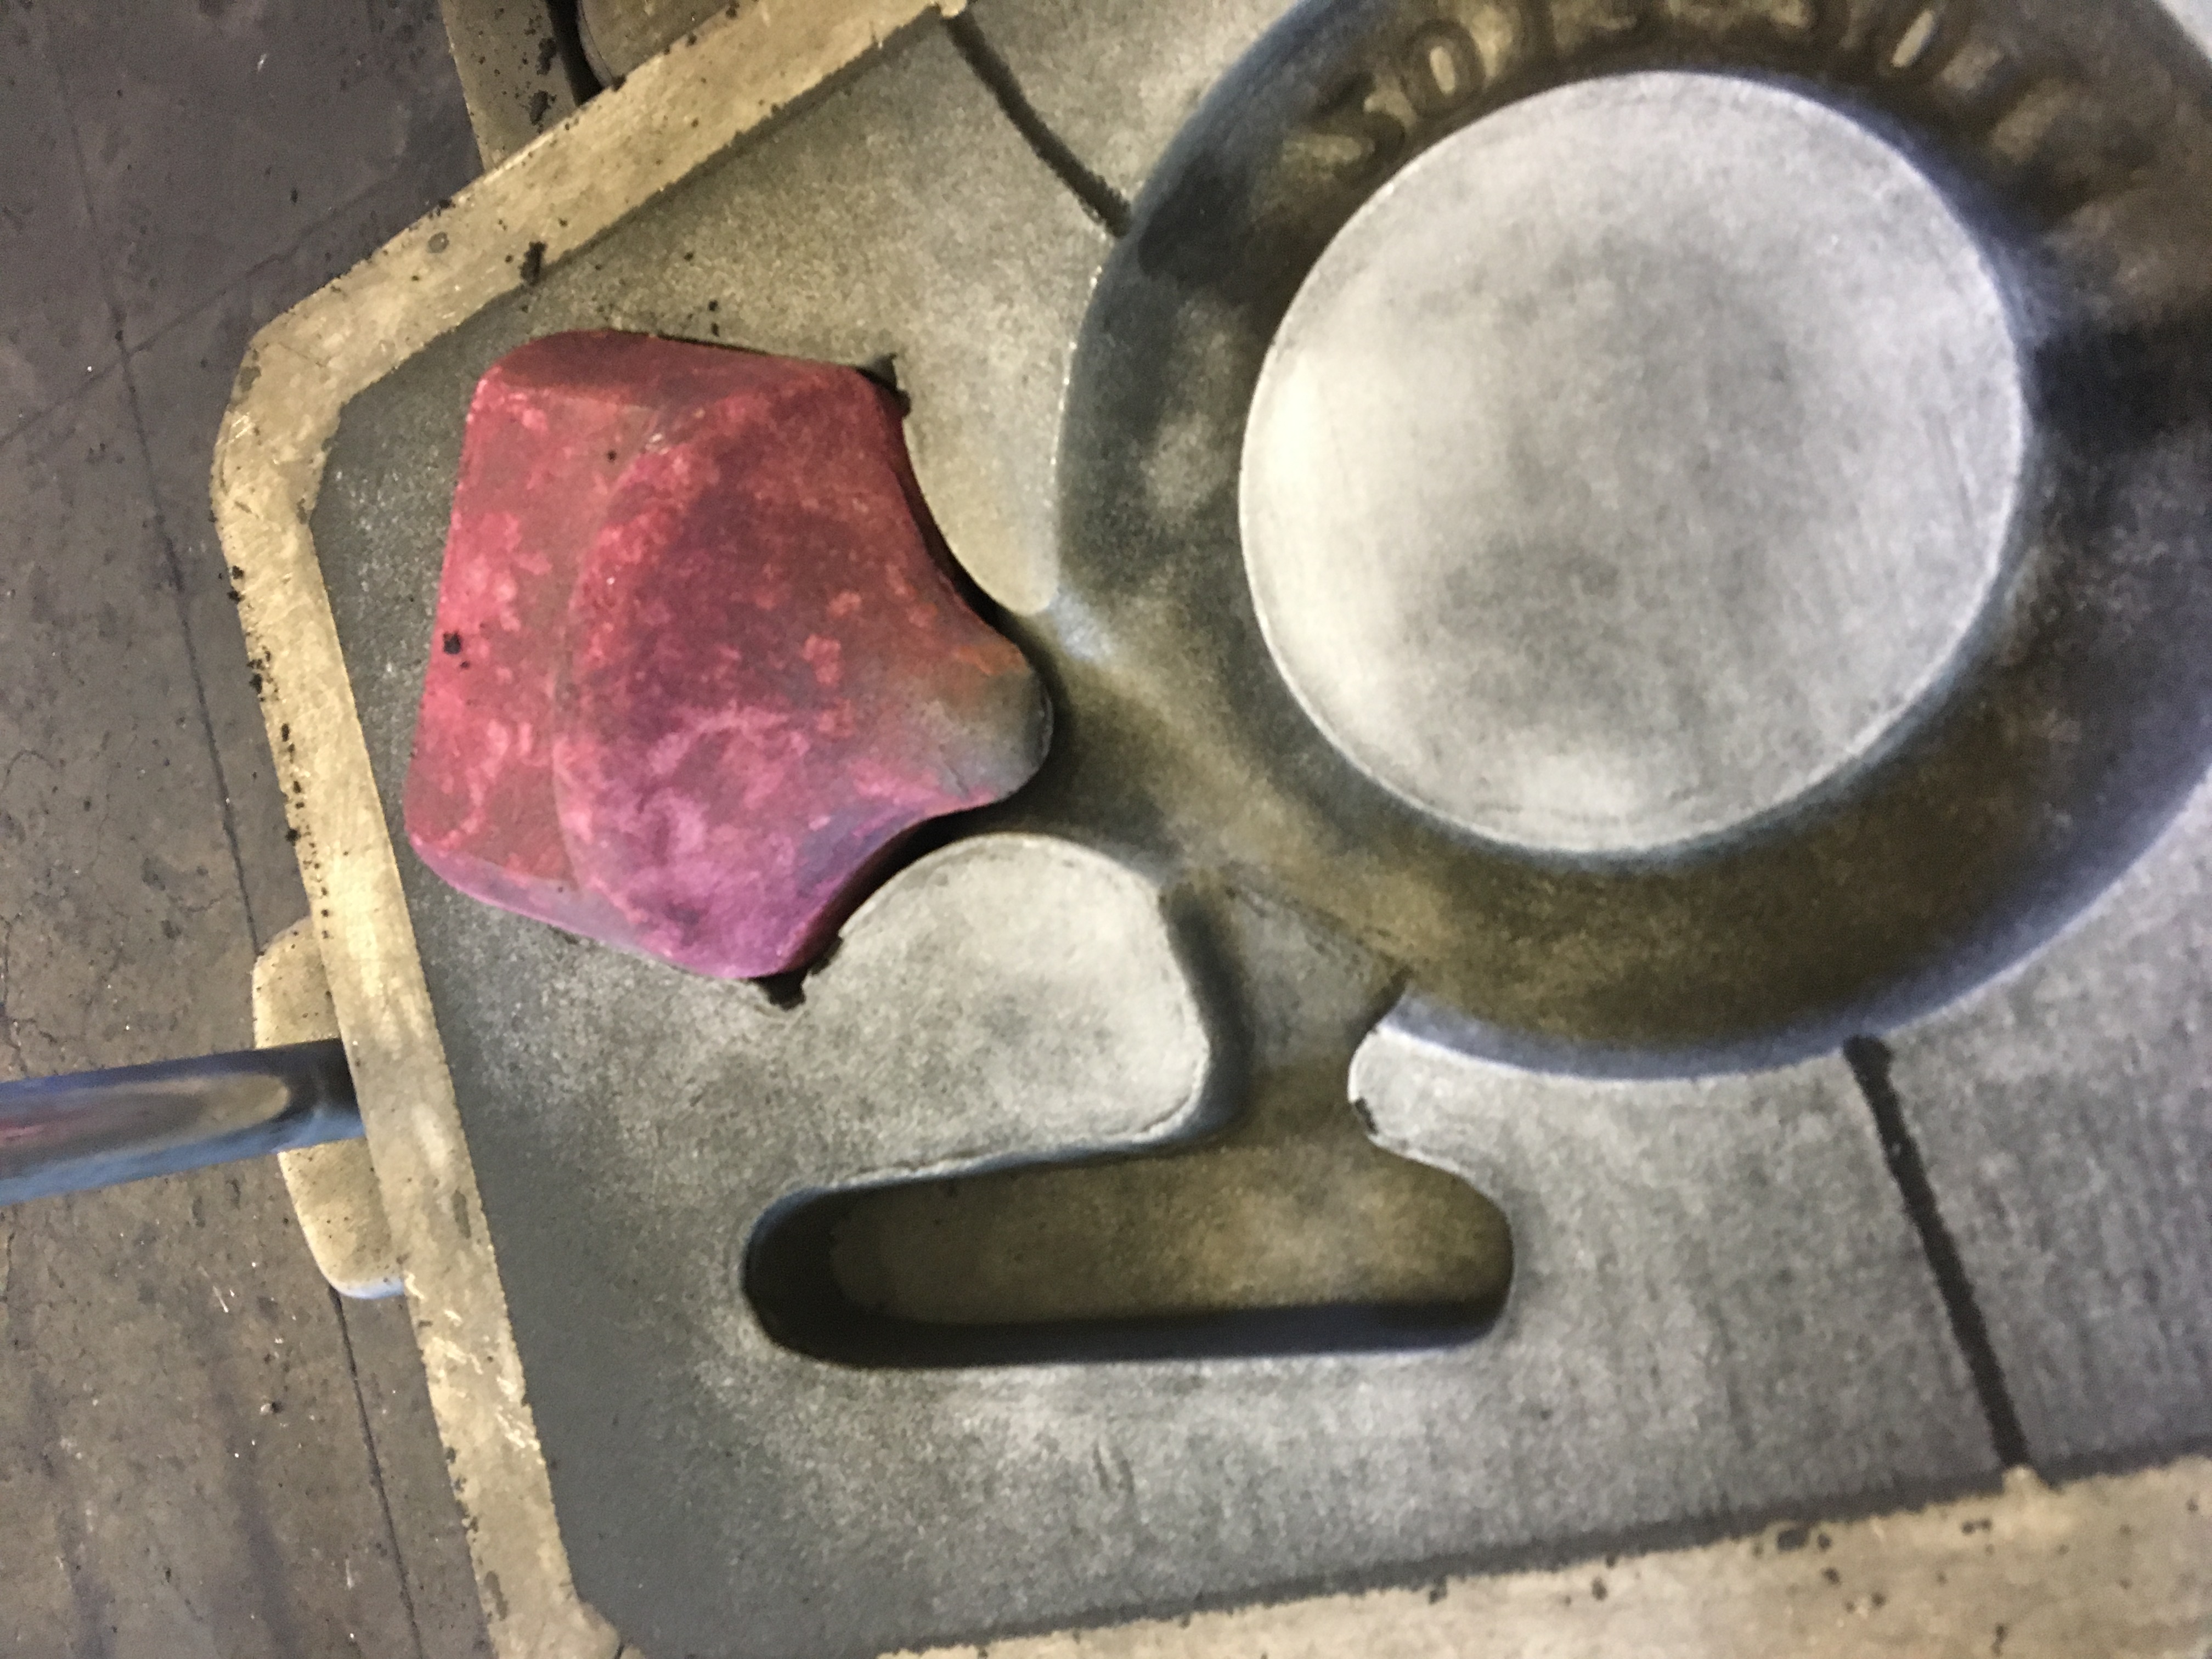
Seven pieces in total! Four aluminum, three bronze. The aluminum ones weighed about 1.5 pounds, and the bronze ones weighed about 7 pounds. Here they all are with the runners sawed off.
Finishing
I thought that the casting the embos would be the easy part, but I vastly underestimated how much time I would spend on finishing them. There was a significant amount of extra material around the rim of the bell that I needed to file off, as well as along the part line. Additionally multiple casts had flash defects that needed to be sanded down.
My tool of choice became a Dremel rotary tool with sandpaper bits.
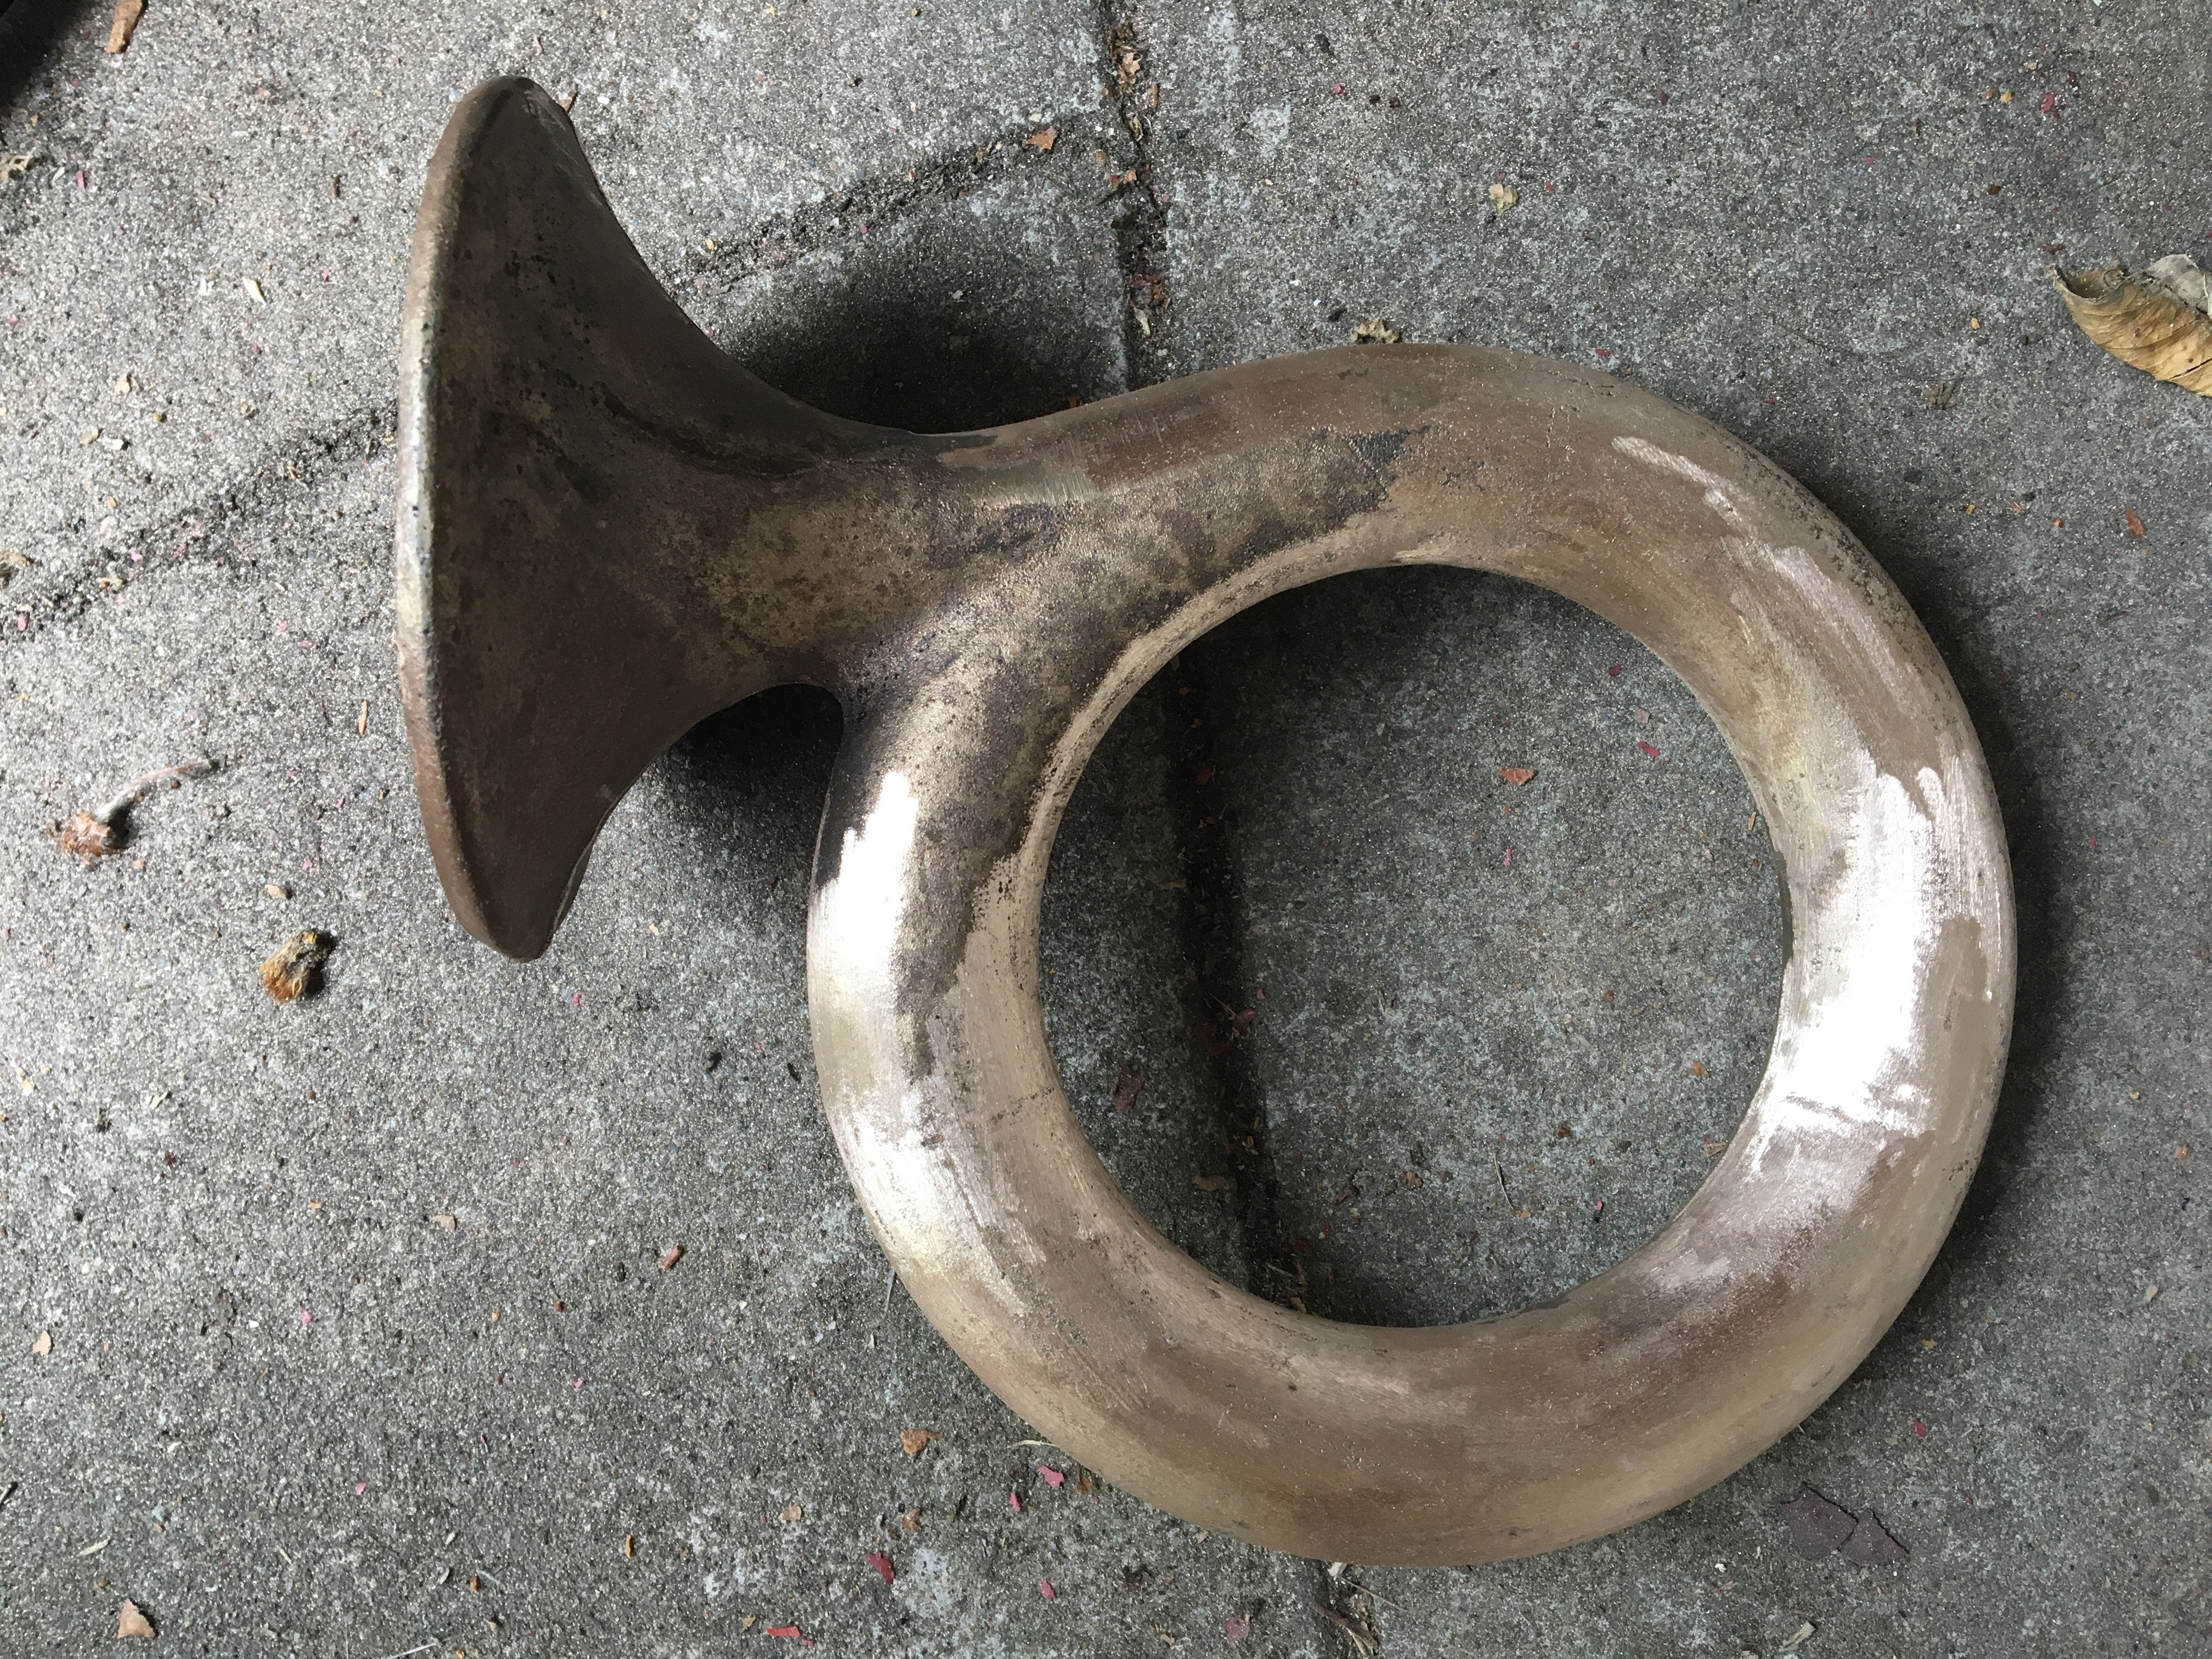
After going over the entire piece with the Dremel, I then sanded and polished them.
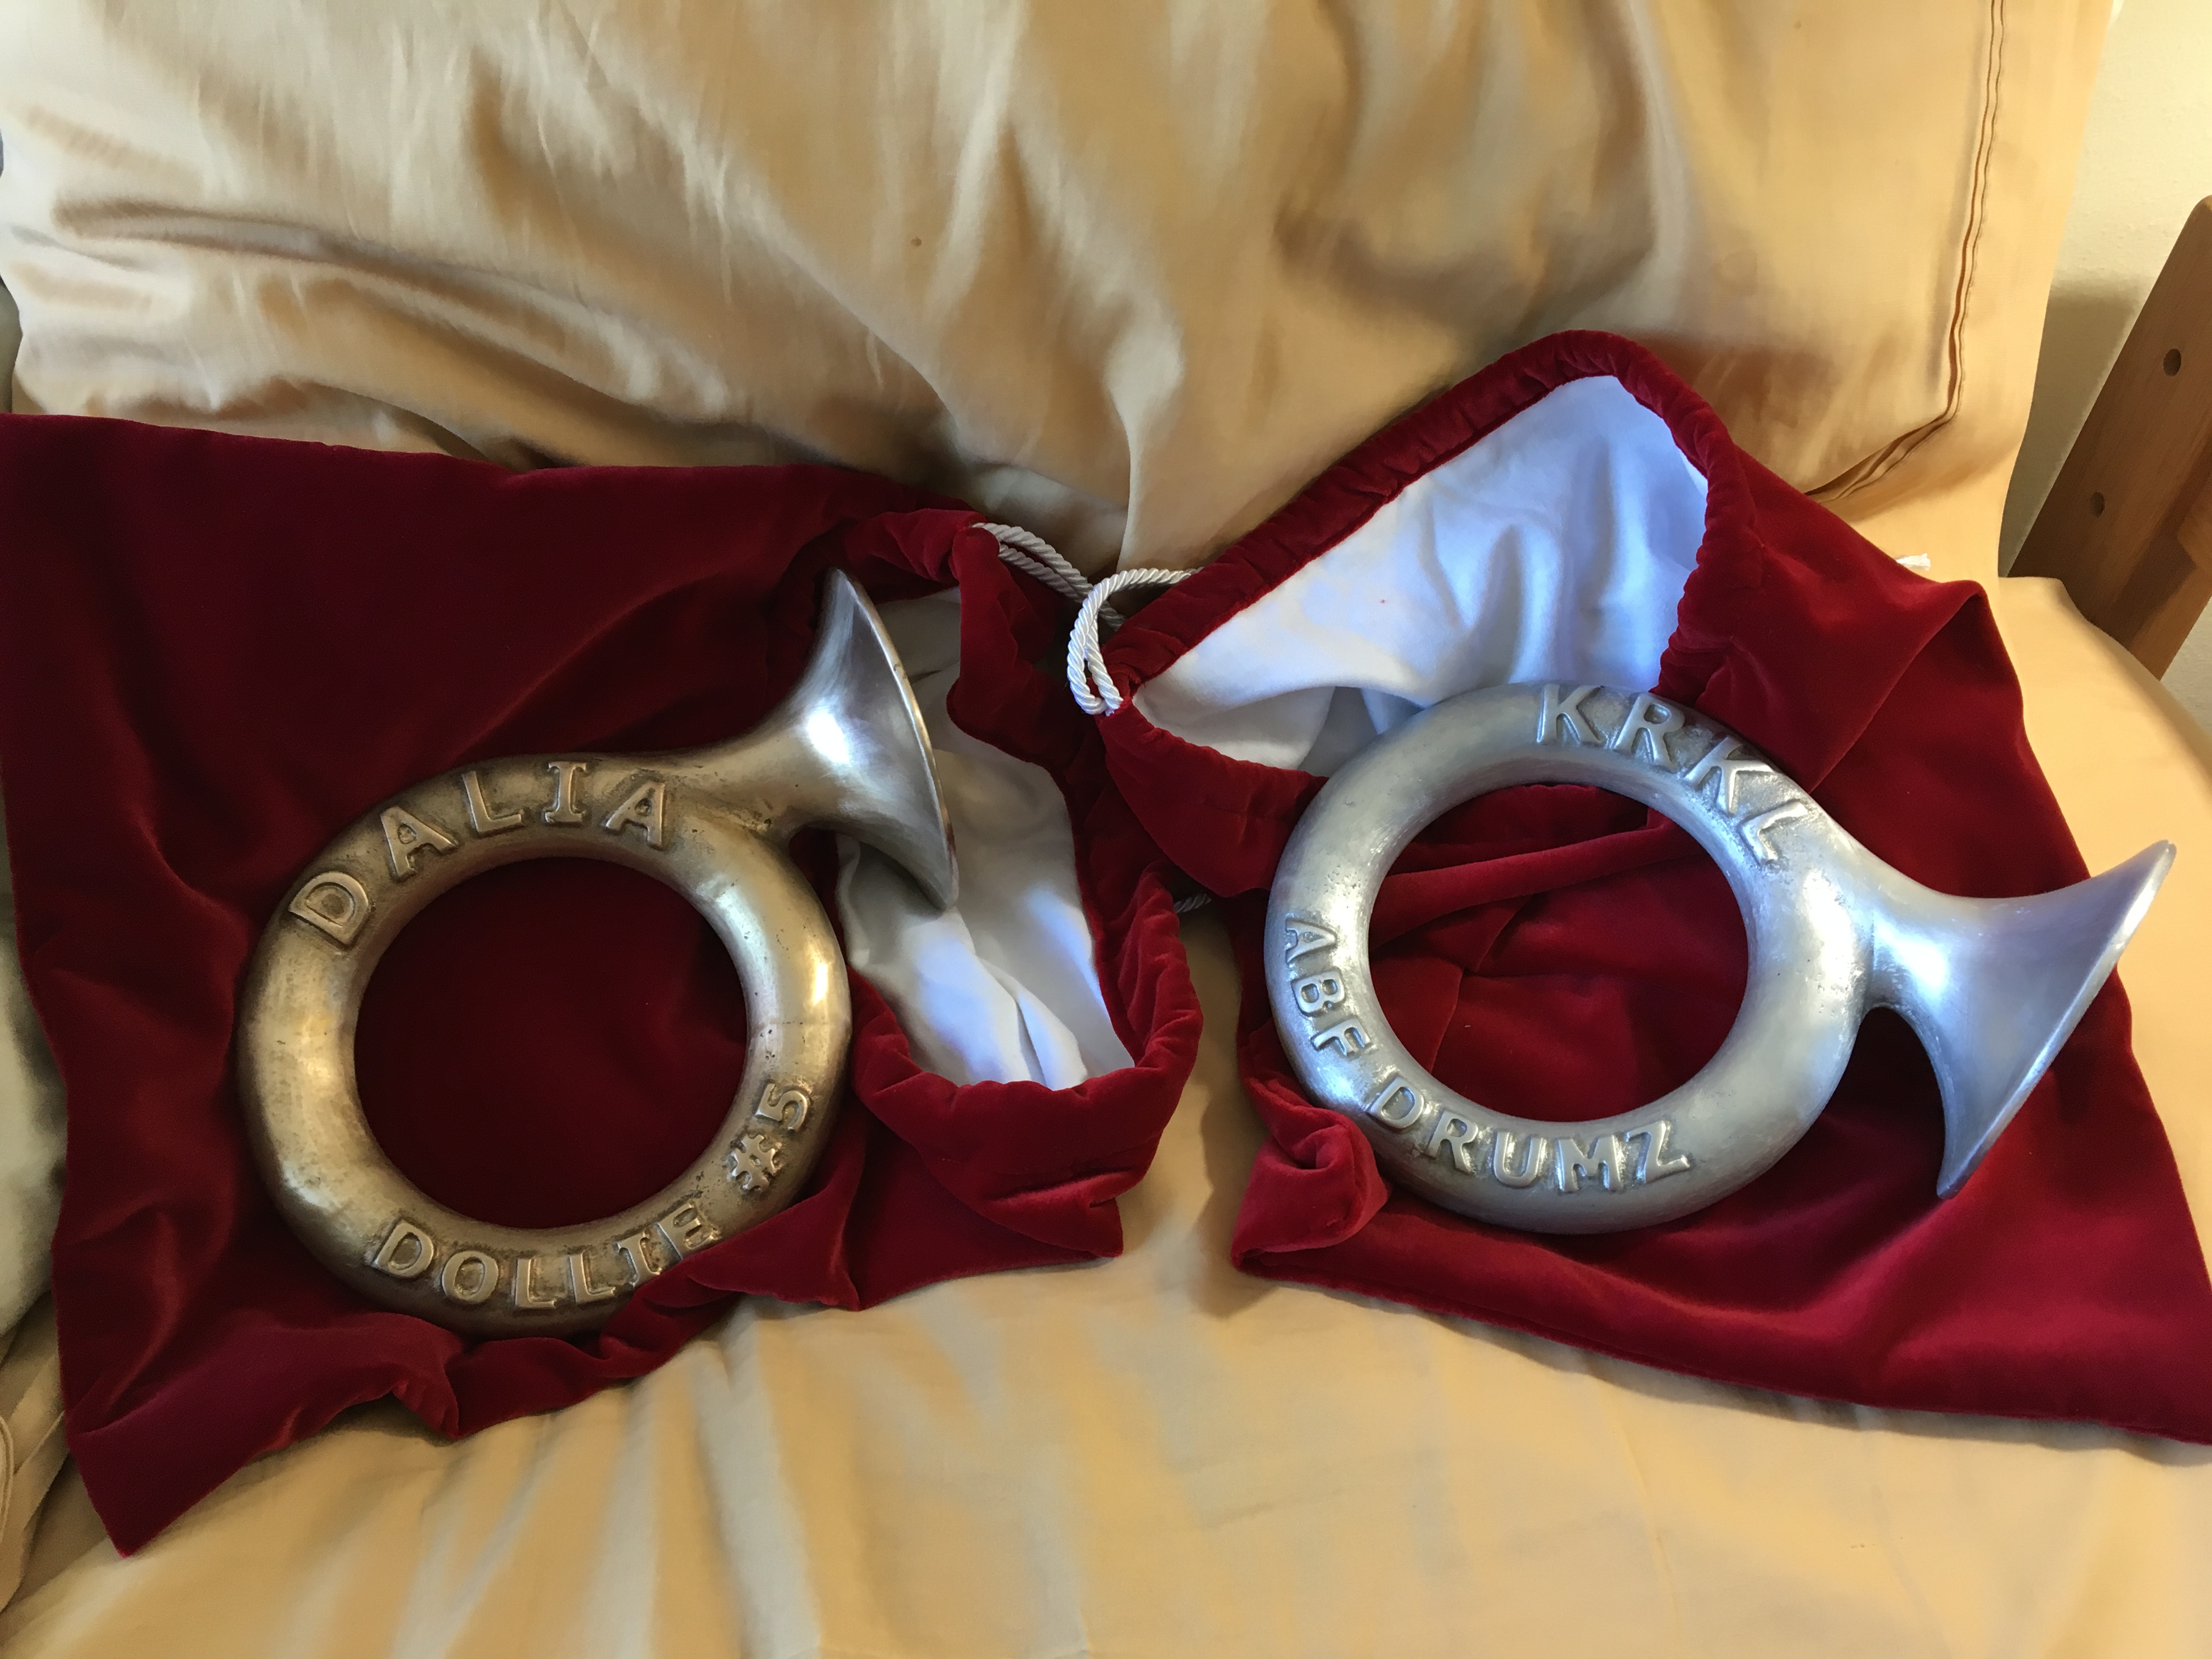
I kept two pieces for myself, one bronze and one aluminum. I sanded and polished the bronze one, but haven't yet completed finishing the aluminum one. I want to get it powder coated or anodized in a bright red.
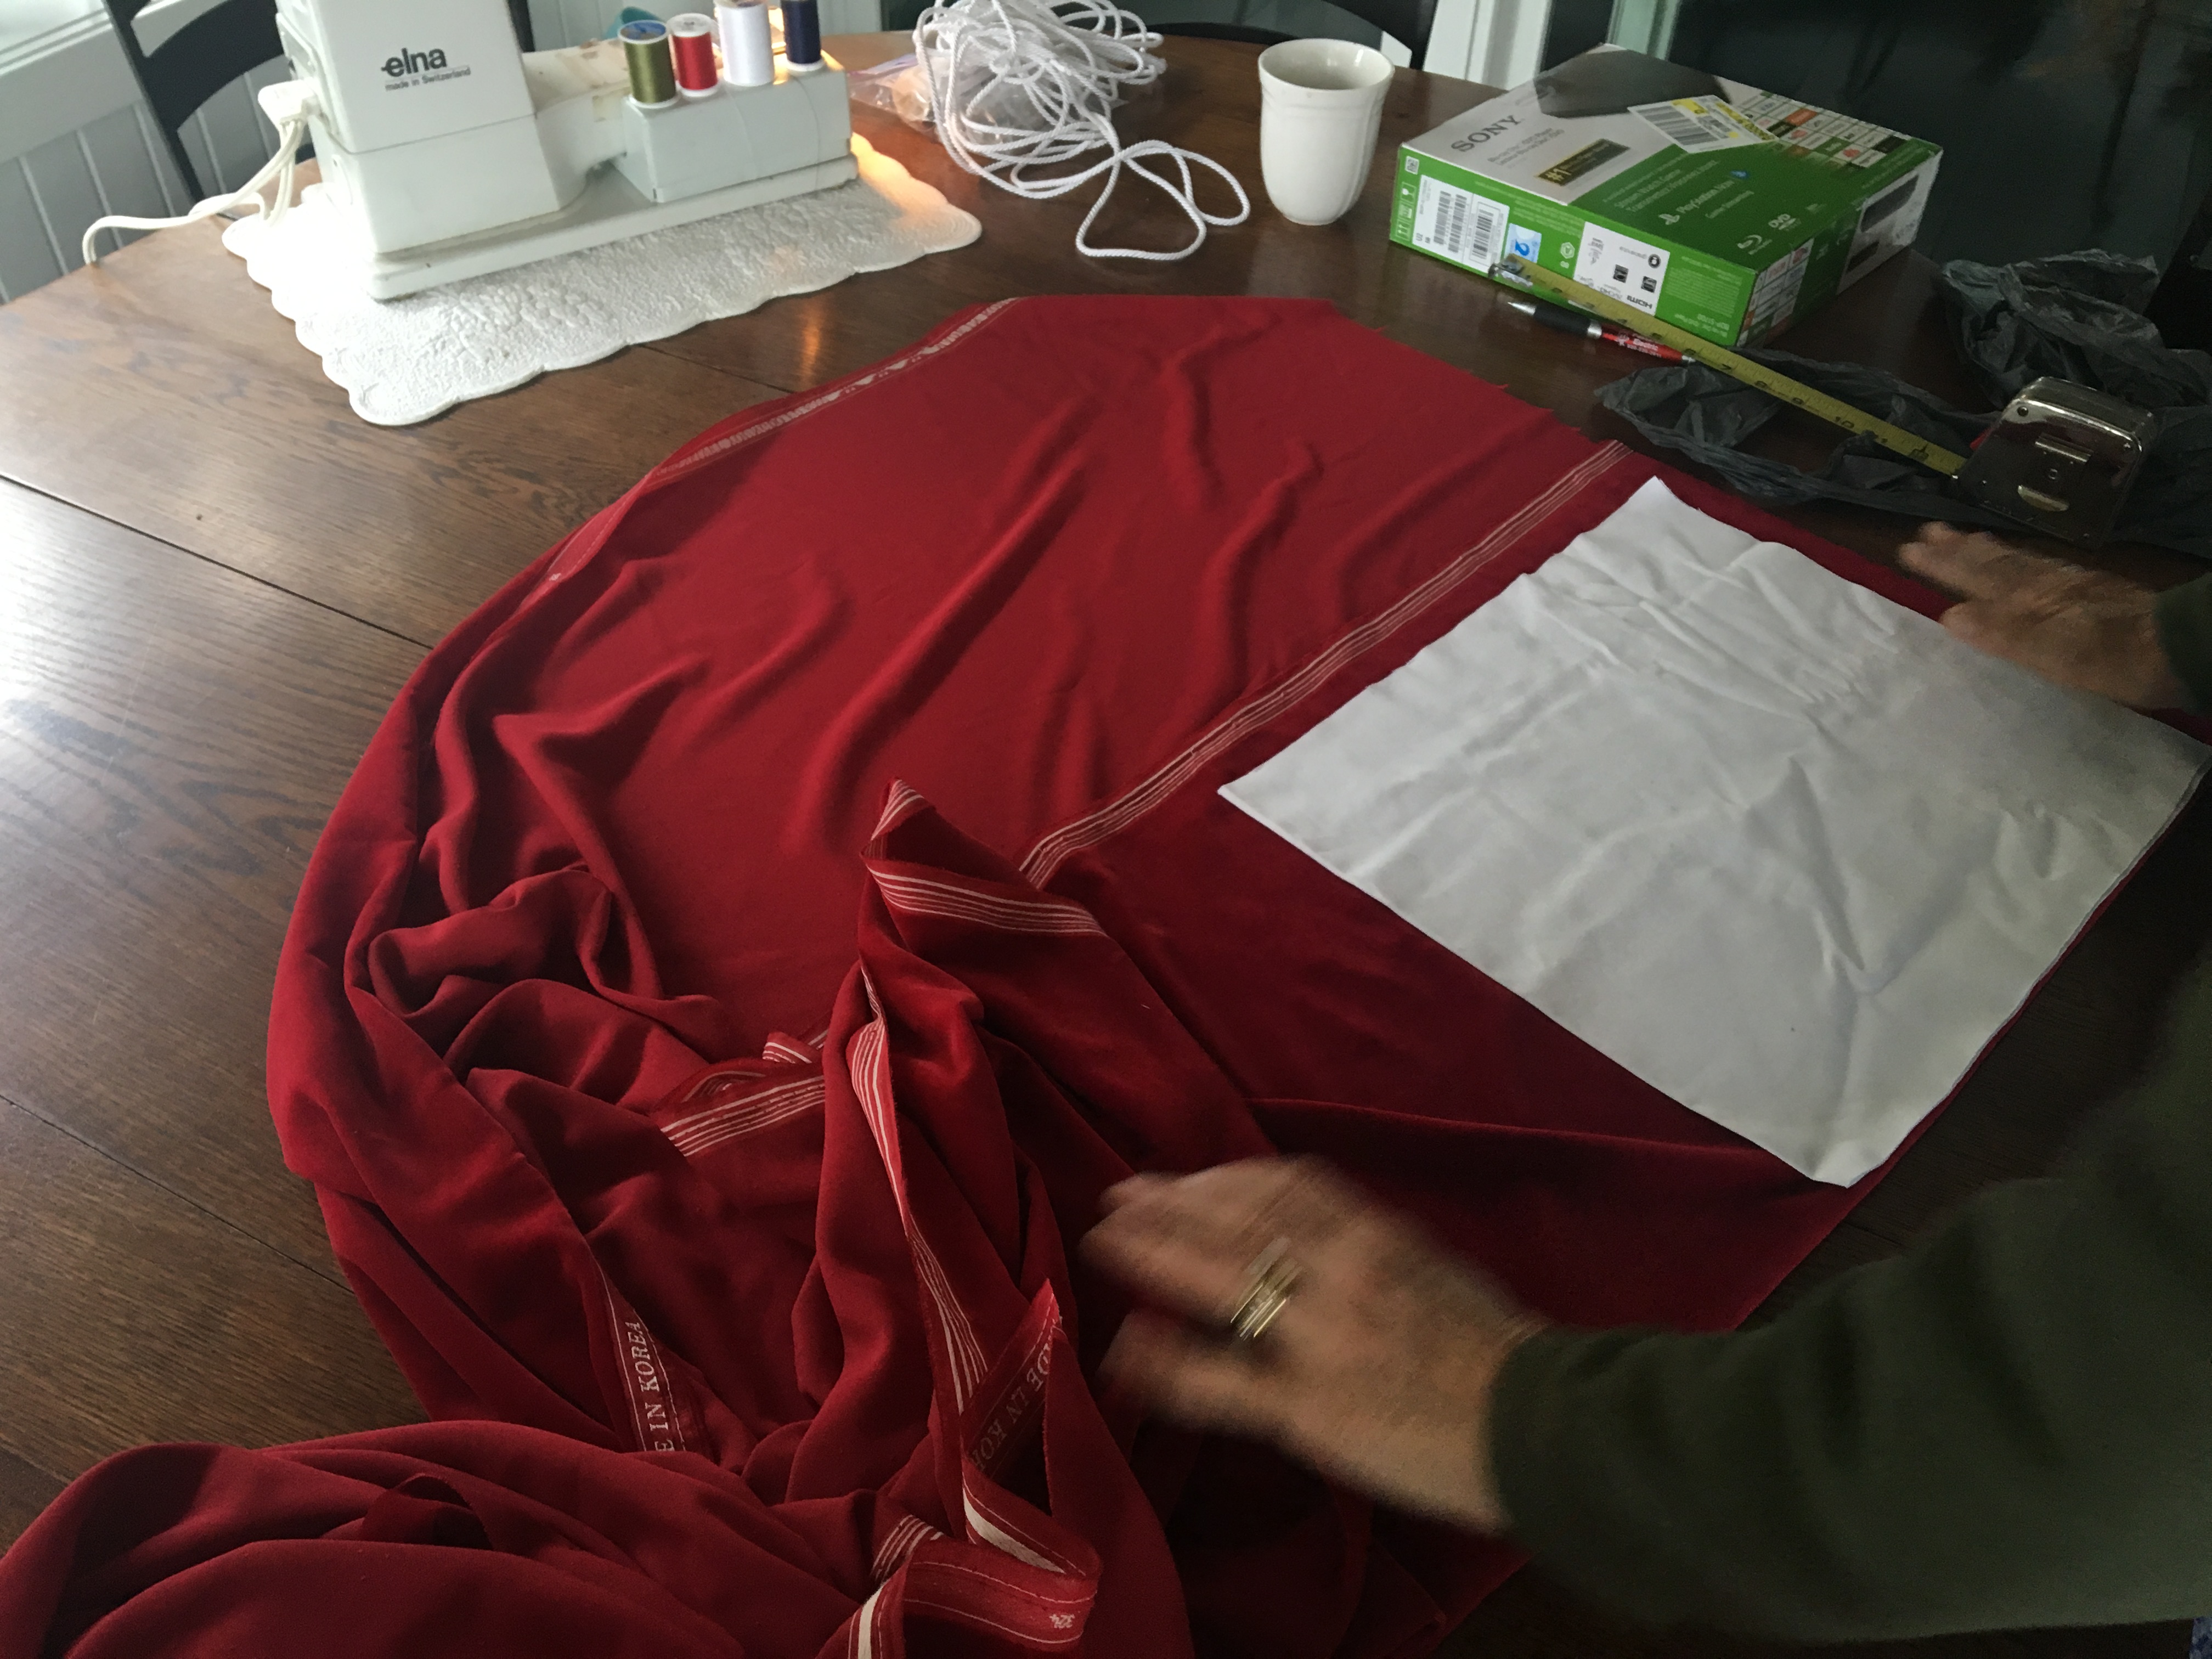
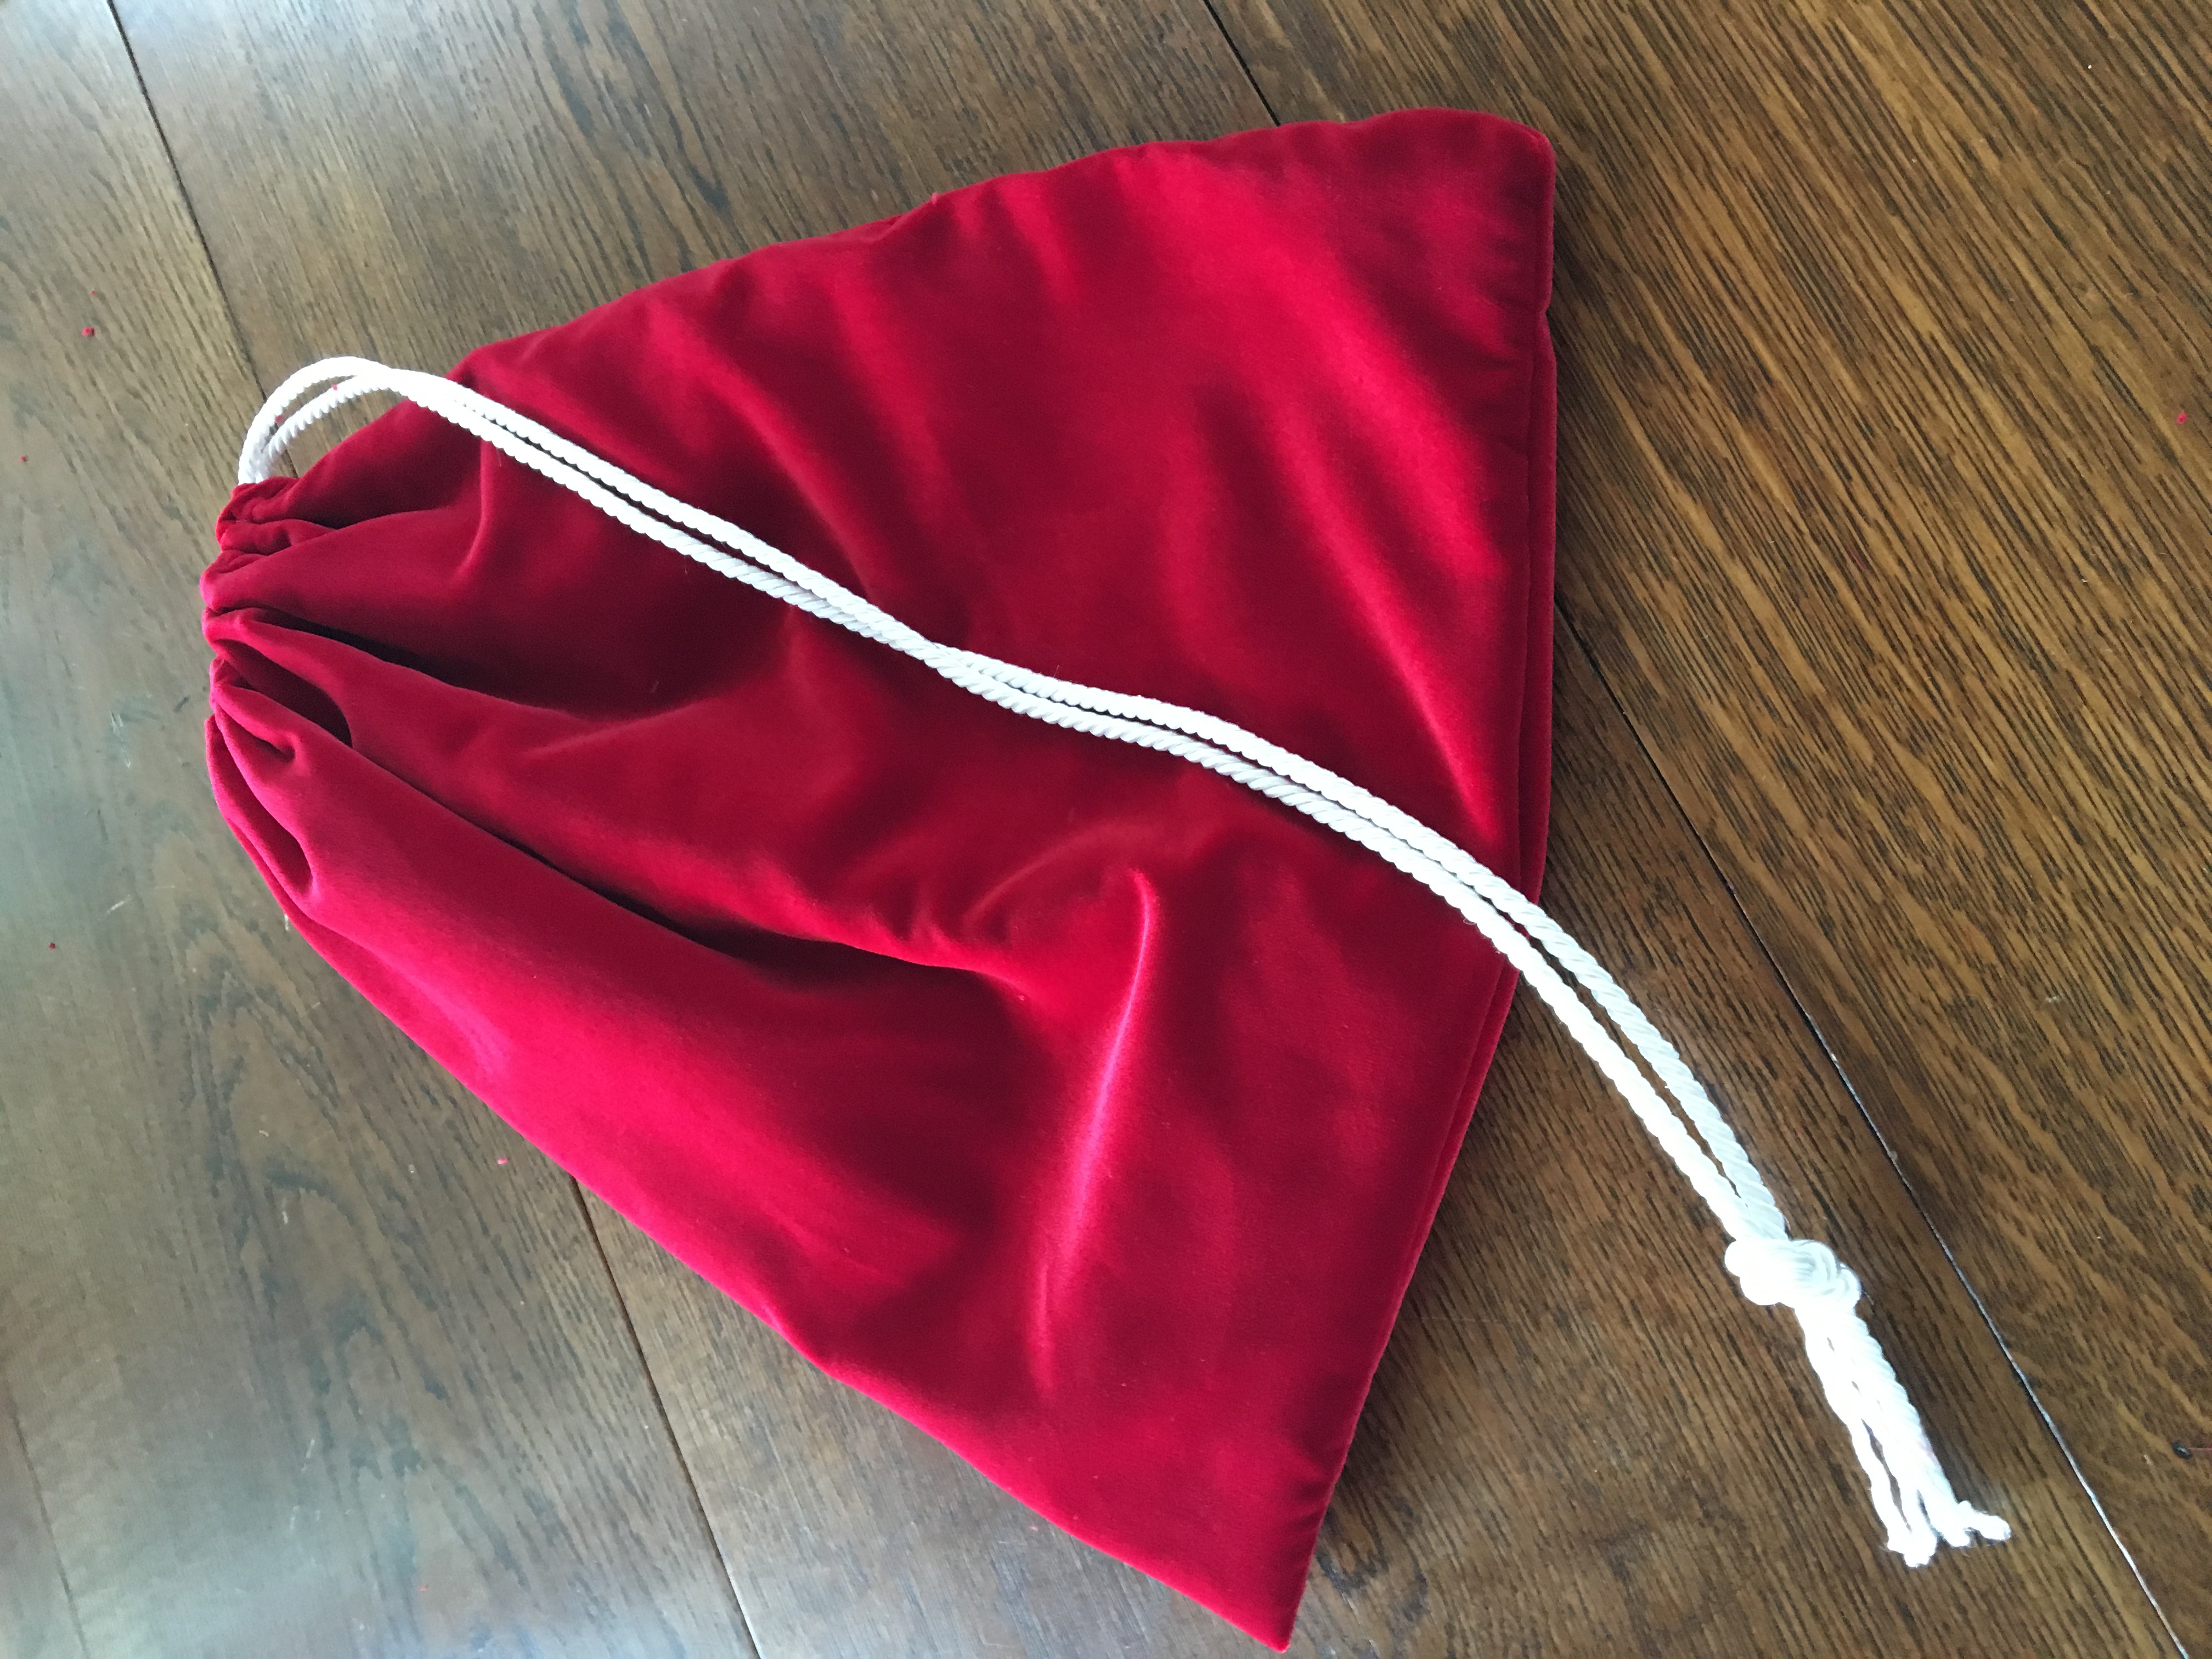
Velvet Bags
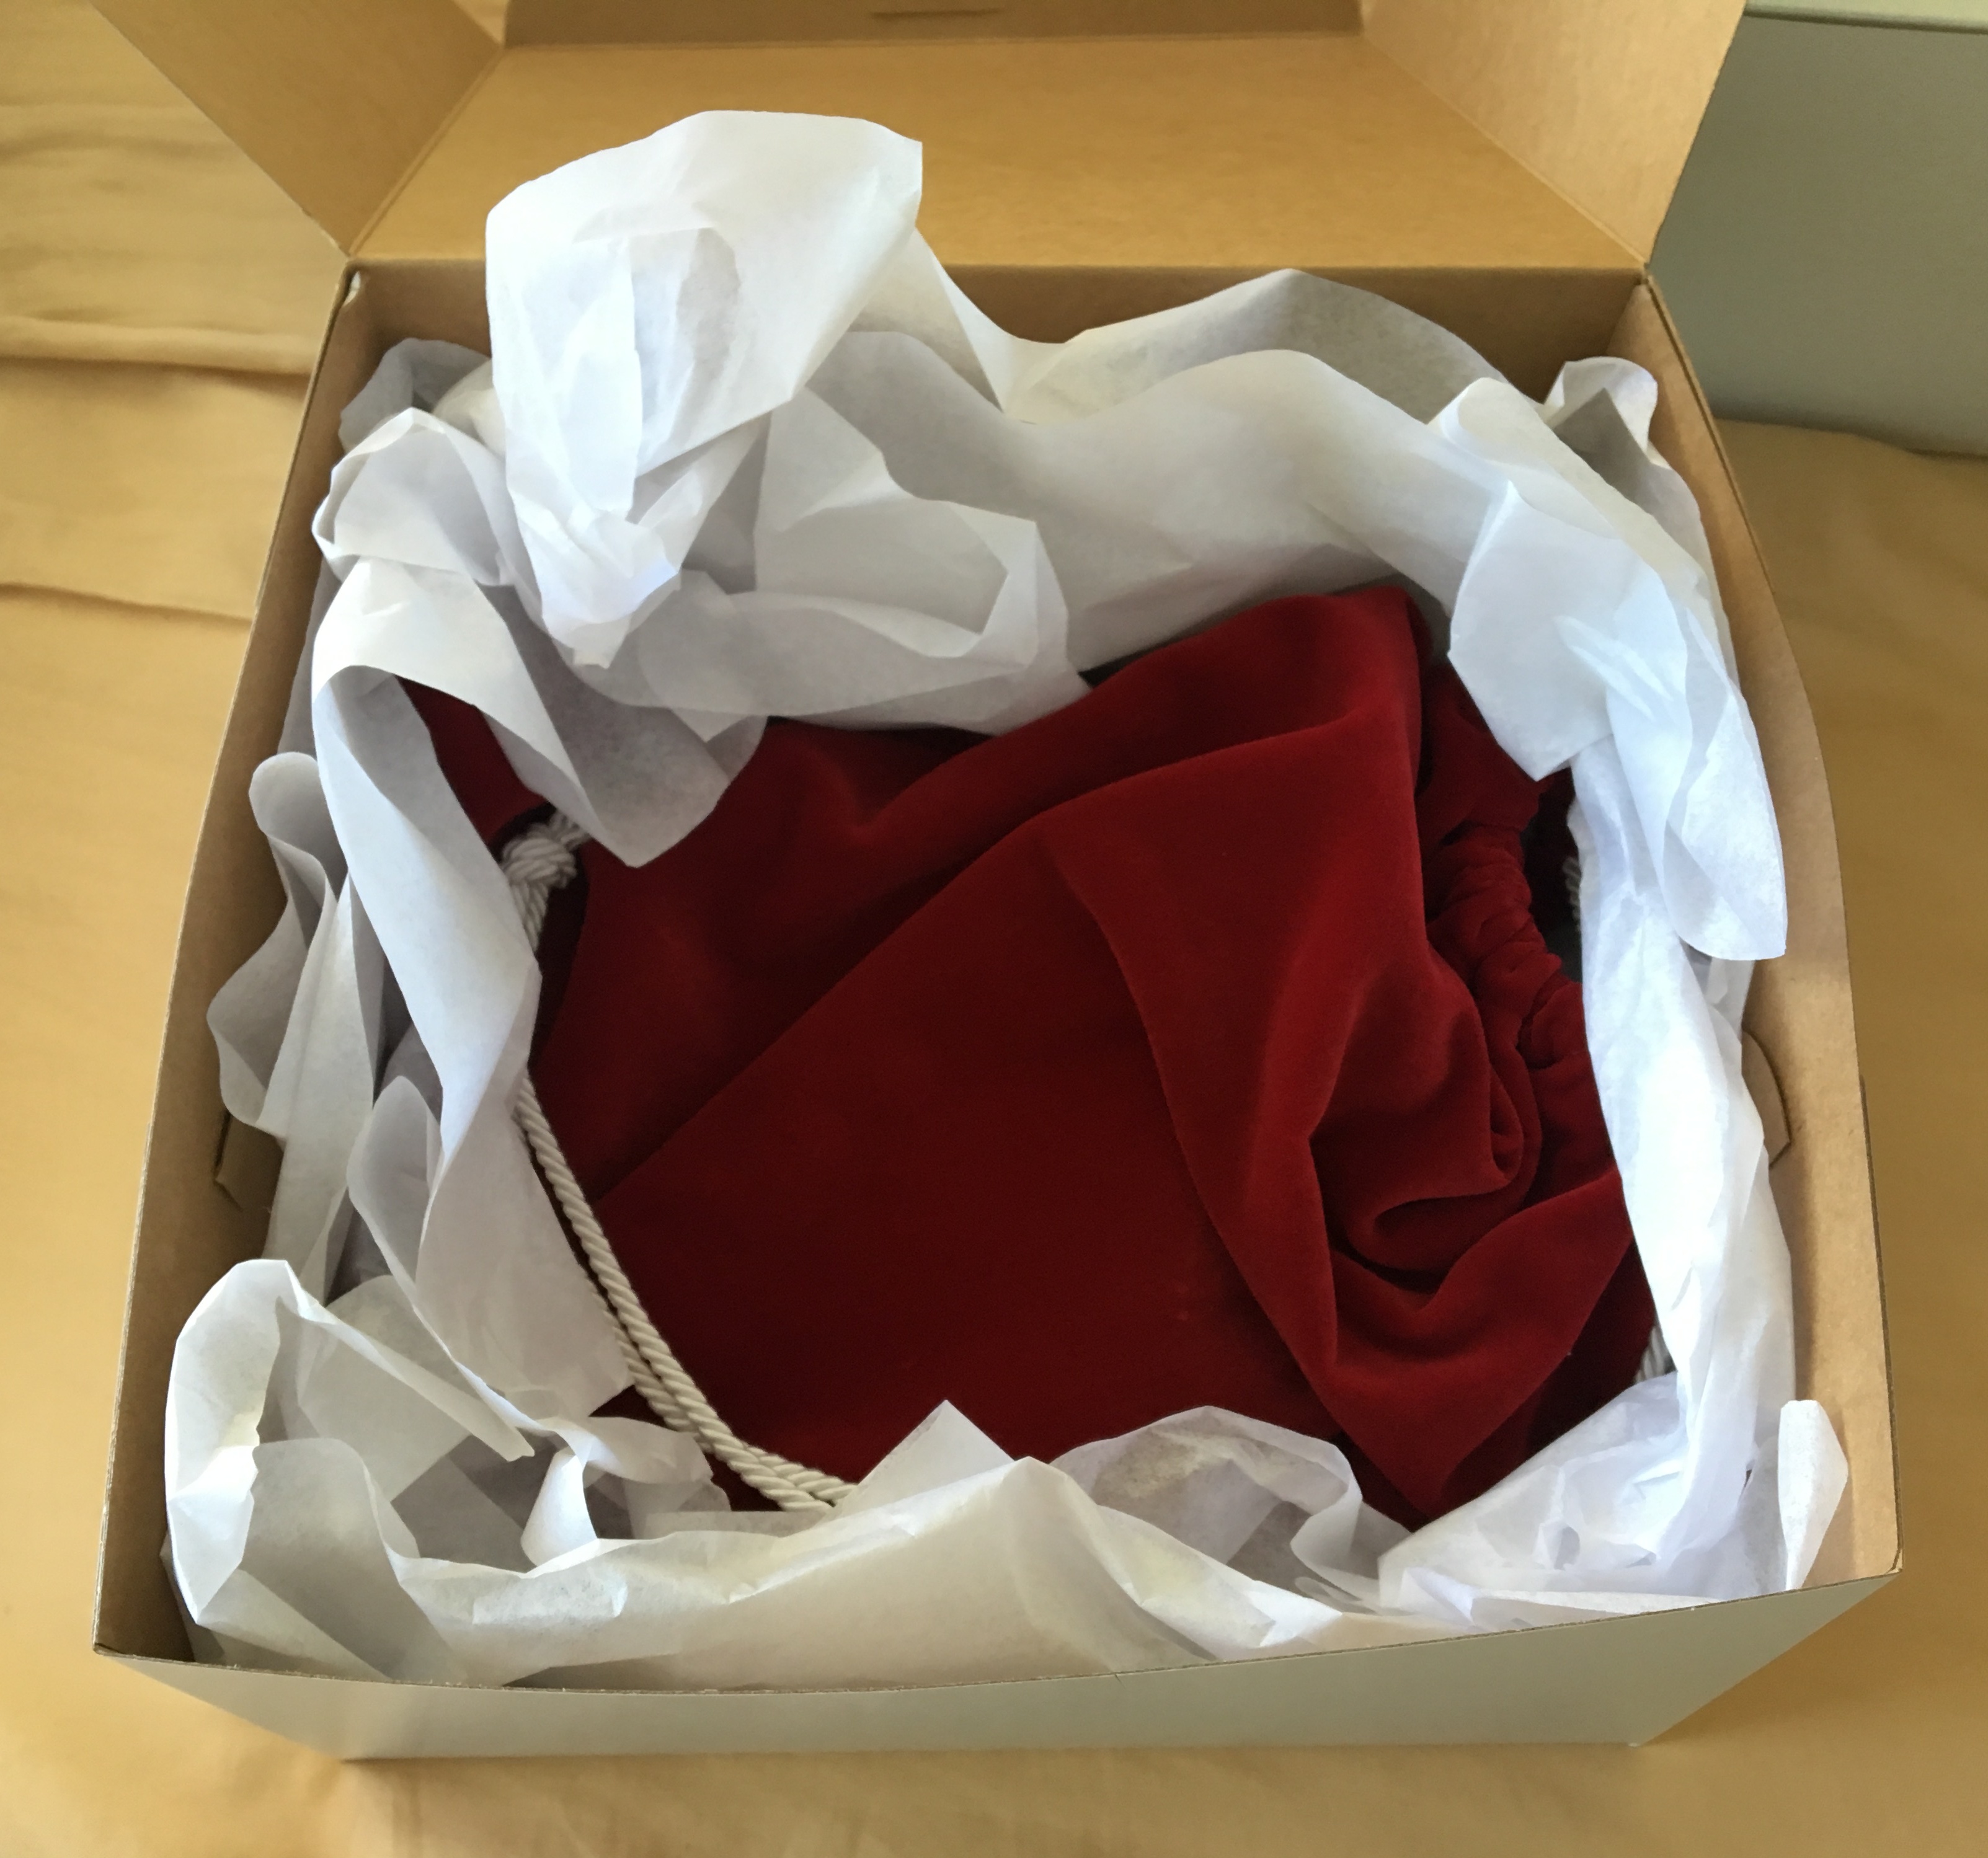
As a finishing touch to the project, I wanted to create nice bags for storage. I envisioned red velvet drawstring bags with a white interior. My mom, seamstress extraordinaire, handled this part. One we got the materials from the material store, she was able knock these out in just a few hours.

I delievered the final cast embos in a cake box, in their velvet bags with some white tissue paper. I made trips to The Container Store, the post office, and multiple bakeries to find a box just the right size.